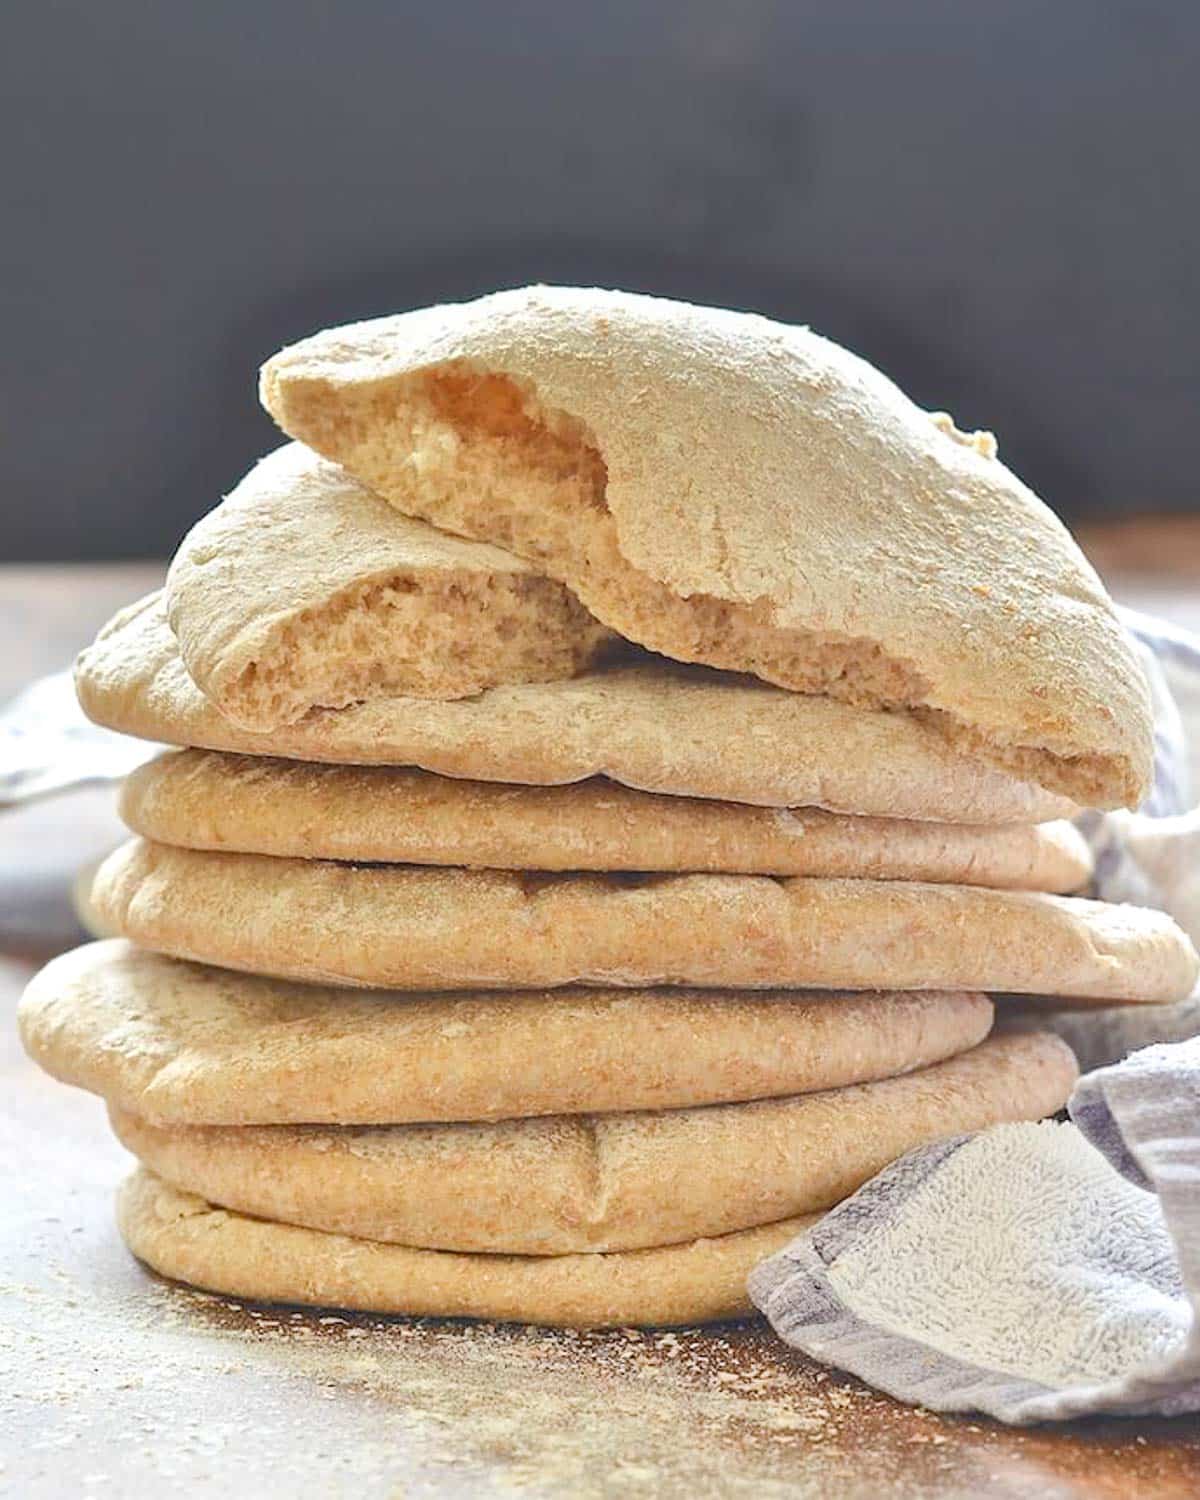
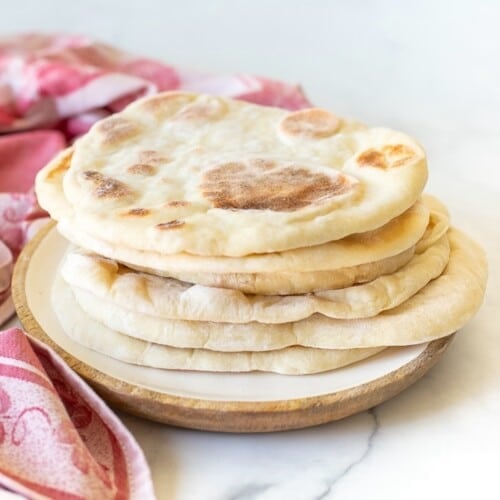
Soft, delicious, quick, and easy Homemade Pita Bread made with just 4 ingredients. Ready in a little over 1 hour! These puffy little pillows taste so much better than store-bought pita bread. Video tutorial included.
💌 SAVE THIS RECIPE!
Watch out for more tasty treats coming your way! Unsubscribe at any time.
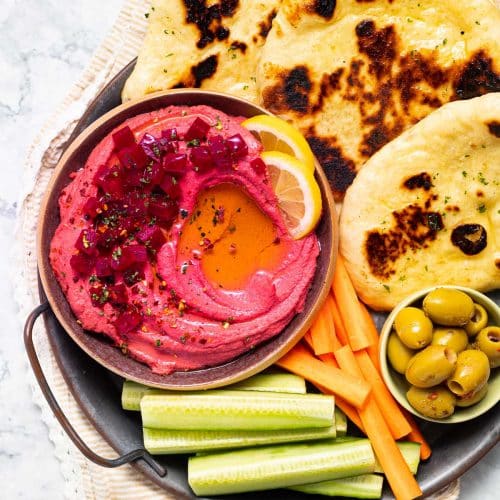
Just for one minute imagine freshly baked, still steaming, warm, soft, fluffy, and puffy homemade pita bread being torn into chunks, swooped into a bowl of creamy hummus then delivered straight into your mouth.
It doesn't get much better. And guess what? I'm about to teach you how to make quick and easy homemade pita bread in a little over one hour. Don't let the fact you need to use yeast put you off. It's not anywhere near as scary as it sounds. Promise!
In this post - Everything you need to make perfect pita bread:
Strapped for time? Give my super quick yeast-free flatbreads a try instead. They can be ready in about 15 minutes start to finish! Be sure to come back to this fast pita bread recipe another time though!
What is Pita Bread?
Pita bread is a yeast-leavened flatbread that is a staple of Middle Eastern and Mediterranean cuisine. The bread is cooked at a really high temperature which forms a crust on the outside very quickly. This traps moisture inside the dough which turns to steam. As the steam builds, it causes the bread to expand and puff, creating the characteristic pita pockets we all know and love.
Ingredients
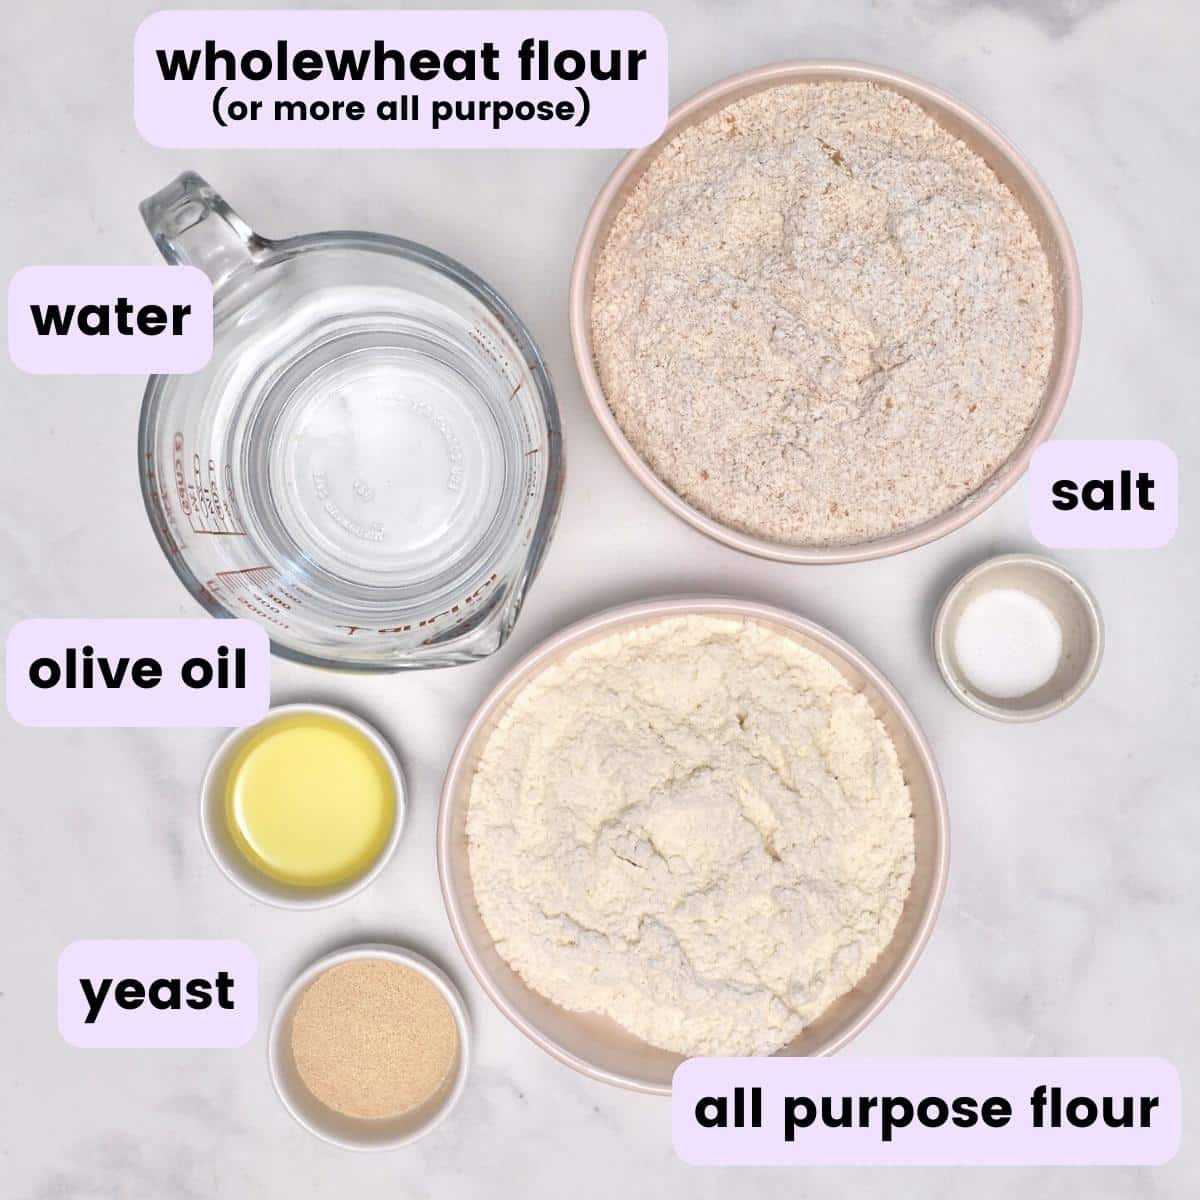
You need just a few pantry staples to make this quick homemade pita bread:
And a few ingredient notes:
- Flour - I like to use a 50/50 blend of all-purpose flour & whole wheat flour, but you can use 100% all-purpose if you prefer. I don't advise using 100% wholewheat flour because the pitas will be too heavy and won't puff up well.
- Yeast - For this fast pita recipe you need to use fast action or instant yeast. You could use active dry yeast instead but it will need to be activated before you proceed with the recipe. To do this follow the directions on the packet, using a portion of the water from the recipe (at the correct temperature to activate the yeast) and a little sugar.
- Water - Straight from the tap but make sure it's warm (not hot or cold). As with all bread recipes, the amount of water you need will vary hugely depending on the brand of flour you use, time of year, and humidity etc, so the amount stated in the recipe is just a guide and you need to use your own judgement.
- Olive oil - Important for softness, puff, and flavour. It also works as a preservative, keeping your pita fresher and softer for longer.
Expert Tip - For the very best results I recommend using a digital scale to weigh your ingredients. Cups are not accurate enough for baking recipes where precision is key to good results.
How To Make Homemade Pita Bread
Here is a quick summary of the pita bread-making process. For the full and detailed homemade pita bread recipe see the recipe card below. A video is also included as a visual guide.
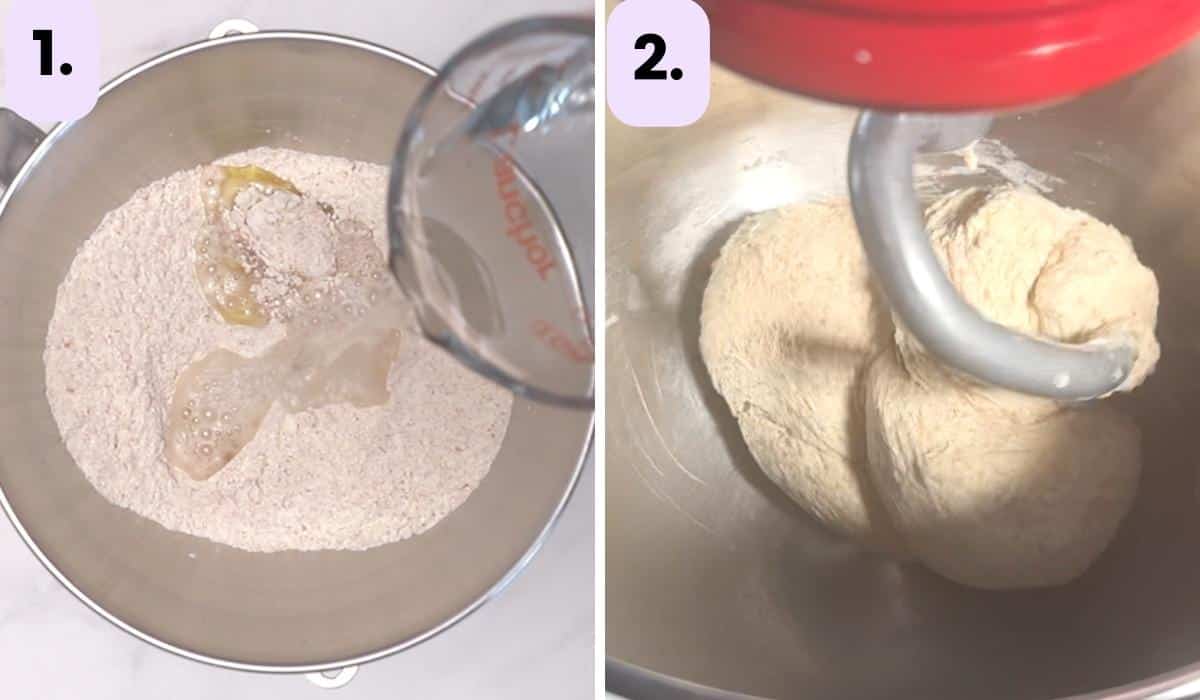
- Mix the dry ingredients together in a large mixing bowl then add the olive oil and water.
- Knead by hand or in a stand mixer.
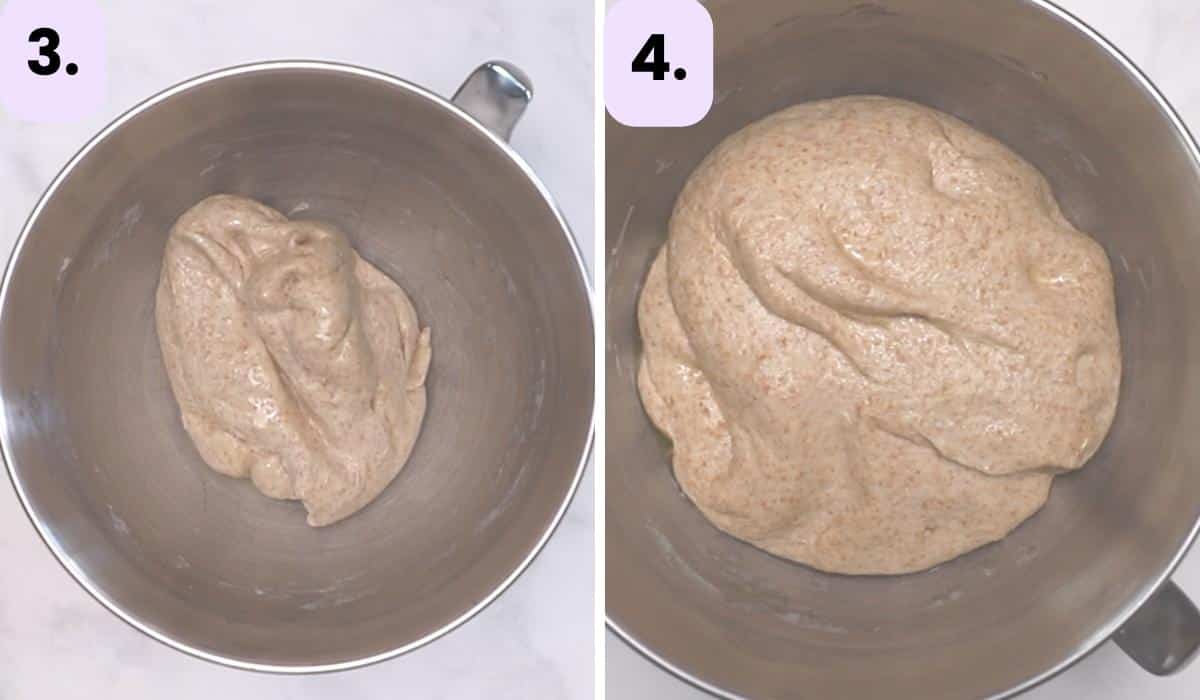
- Coat the dough ball in some oil.
- Cover and leave to rest for 30 minutes. It will visibly puff up.
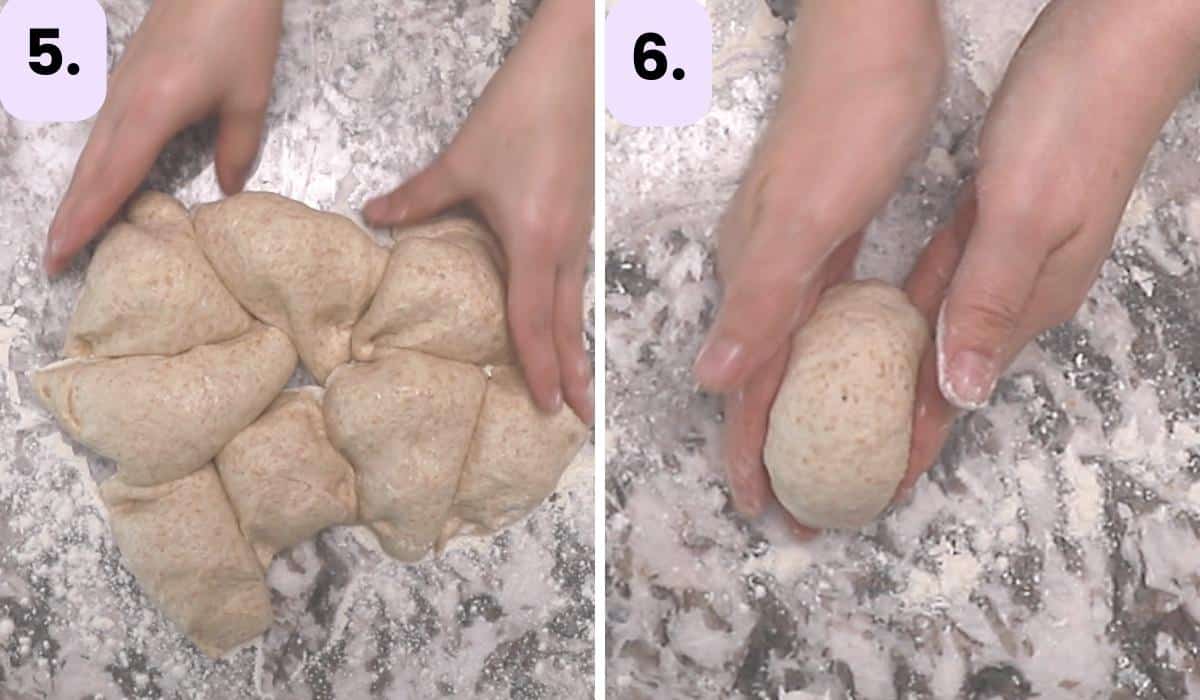
- Cut the dough into 8 pieces.
- Roll each piece into a ball.
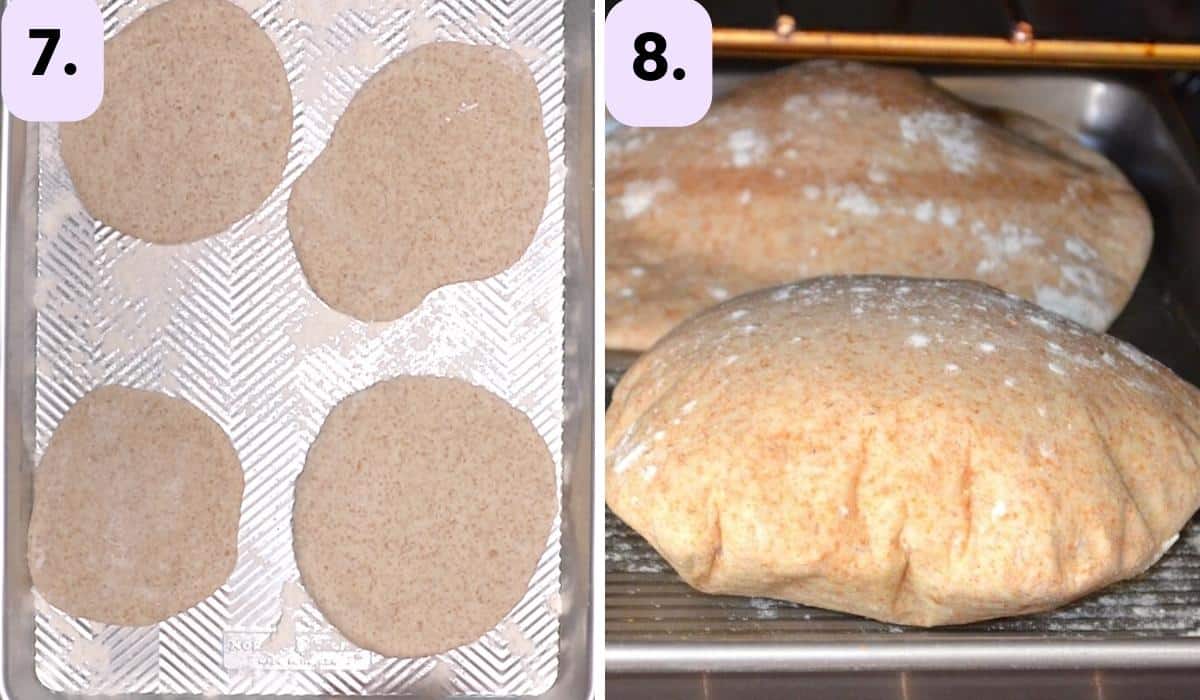
- Roll each ball out into a pita shape and place on a lightly floured baking sheet. Cover with a damp clean kitchen towel or plastic wrap and let rest again.
- Bake in a very hot oven for about 5 minutes. Be sure to watch through the oven door while they are baking. The dramatic puffing up is really fun to see!
When they are done and you remove them from the oven they will be like puffy pillows and will gradually deflate.
Expert Tip - As soon as the pita bread has been removed from the oven wrap in a clean dish towel. This slows the release of the steam and makes them extra soft.

Storing Pita Bread
Keep the pitas wrapped in a clean dish towel until cool then store in a plastic bag or airtight container for up to 2 days. They can also be wrapped well and frozen for up to 3 months.
Heating Pita Bread
To heat pita bread, or to soften up slightly stale pita bread, place it on a baking tray and bake in a preheated oven at 350°F (175°C) for about 5 minutes. You can even warm them straight from the freezer. Just add an extra minute or two to the reheat time. When you remove them from the oven immediately wrap them in a clean dish towel to trap steam and keep them soft until they are served.
How To Use Pita Bread
Homemade pita bread tastes so much better than store-bought and makes the perfect accompaniment to falafel, gyros, shawarma, hummus, baba ganoush, Greek salad with vegan feta cheese, and dips. They split easily for stuffing too.
My fave pita accompaniments include:

I also love to use leftover pita bread to make super quick individual pizzas. Spread pizza sauce, tomato paste, tomato sauce, or leftover marinara on the pita bread then top with vegan cheese and pizza toppings of choice. Pop under the broiler for a few minutes until hot and bubbly.
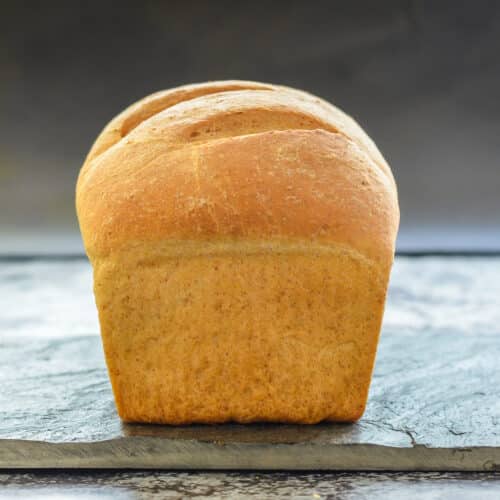
More Popular Bread Recipes
Pita Bread FAQs
Yes, although they don't tend to puff up and get the characteristic pocket inside. They are still delicious though! Follow the recipe as instructed, but only let the rolled-out pita bread dough rest for 15 minutes. Then heat a cast-iron skillet over medium-high heat until really hot. Brush the skillet with a little olive oil then cook the pita one at a time. Carefully place them in the hot pan and cook for about 1 minute to 1 minute 30 seconds until bubbles start to form and they are nicely coloured underneath, then flip and cook for another 1 minute or so until dark, golden spots form on the other side. Remove and wrap in a clean dish towel while you finish cooking the rest of the batch.
You can omit the oil but you won't get the very best results. The recipe will work but the pita bread won't be as soft and fluffy, and it will stale a lot quicker. So if you do omit the oil and you won't eat them all on the day of baking, I recommend freezing them as soon as they are cool.
If your oven isn't hot enough, or if your dough is too dry, or rolled out too thick, the pita won't puff. It's really important that your oven is as high as it will go and that you are quick when putting them in. Don't leave the door open too long or open the door while they are cooking and before they puff.
Recipe

Quick & Easy Pita Bread
Author:WATCH HOW TO MAKE IT
Ingredients
- 2 cups (250 grams) all purpose flour , (strong white flour in the UK)
- 2 cups (260 grams) whole wheat flour , or use the same weight (not volume) of all-purpose flour for white pita
- 2½ teaspoons (7 grams) instant yeast , sometimes labelled quick or fast action yeast
- 1½ teaspoons (7.5 grams) sea salt
- 1 tablespoon olive oil
- About 1½ to 1⅔ cup (360 ml to 400 ml) lukewarm water , amount needed will vary
RECOMMENDED EQUIPMENT
INSTRUCTIONS
- Add flour, salt, and yeast to a large bowl or the bowl of a stand mixer. Give it a quick whisk then add the olive oil and water a little at a time until you have a soft, sticky dough and all the flour is incorporated. The amount of water you need will depend on the flour you are using, how you store it, the time of year, humidity, etc so you will need to use your judgment.
- Knead the dough in your stand mixer for 5 minutes. If you don't have a stand mixer, scrape the mixture onto a clean surface that has been rubbed with olive oil. Don't use flour because you'll make the pita too dry. Oil works much better for kneading. Oil your hands too, and knead for 10 minutes. The dough will start out sticky but will become supple and moist as you knead.
- Put the dough ball in a lightly oiled bowl (I use the one I mixed it in. No need to wash it). Give it a toss around so it is lightly coated in oil then cover the bowl. Leave to rest for 30 minutes.
- Tip the dough onto a lightly floured surface. Cut into 8 pieces. Shape each piece into a ball, then with a rolling pin roll each one out into a circle or oval shape about 3 to 4mm (⅛ inch) thick. Place on a couple of lightly floured large baking sheets and cover gently with clean, damp dish towels. Leave to rest again for 30 minutes.
- While you are waiting preheat your oven to 500 °F (260 °C). If your oven doesn't reach 500, set it to the highest temperature possible.
- After 30 minutes uncover and place the trays in the hot oven. Bake for 5 - 6 minutes until puffy and swollen. Don't let them colour. They should stay pale.
- Have a clean, dry, dish towel handy. Remove the pita bread from the oven and place them stacked up in the middle of the tea towel. Wrap them up and leave them in there until you serve, or until cool if you aren't eating them right away. The towel slows down the escape of the steam and makes the pita bread nice and soft.
NOTES
💌 SAVE THIS RECIPE!
Watch out for more tasty treats coming your way! Unsubscribe at any time.
NUTRITION
This recipe was originally published on Aug 25th 2015 but has since been updated with new photographs & a video.
Marie says
Hello, this recipe looks great. Would I be able to open up the inside of the pita bread, like a stuffed pita bread, and make a sandwich out of it or is it just for wrapping and dipping? Thanks
Melanie McDonald says
It depends. If your oven is hot enough and you get them in and get the door shut quickly to preserve the heat, and the dough isn't rolled out too thickly, the pita should puff up and get a pocket in the middle. Having said that, this happens best if the oven is at 500°F and although my oven does get that hot, I know some home ovens can't reach that temperature. I've tested at different temperatures in my oven and it's a bit hit and miss if the temp is lower. So really it depends on your oven. Whatever happens they'll be fluffy and delicious though!
Rev says
Thanks for the recipe. I have tried other recipes for Pita and they had been disasters. This one turned out great! Made half the quantity and ended up with 8 small pitas, around 4 inches wide. Put the oven rack higher than the middle and kept watching them puff up - it was exciting (LOL)!
My only suggestion would be to add a teaspoon of sugar to give a slight sweetness to and give even more rise to the dough.
Melanie McDonald says
I'm so pleased you're enjoying the recipe! Feel free to add a touch of sugar for flavor, but you don't need it for more rise. There are enough natural sugars in the flour to feed and keep the yeast happy.
Pete W says
Thanks Mel,
My wife and I have been vegan since 2011.
This recipe worked as promised, when I did it correctly. I say that because, although I followed your ingredients to the letter, I did not roll out my ass think as I should have, I left it a bit too thick. It still tasted fine, but it didn't puff at all and was a bit dense. For the the next 7, I did roll them out nice and thin. These puffed up reasonably well. I say that, because my oven was otherwise in use so I cooked them on the stove in a skillet on a medium heat. I cooked them as I have other flat bread for 1 minute on the 1st side then 1 minute on the opposite side and then for 1 additional minute on the first side. They bubbled more so than evenly puffing, but I'm still happy with the resulting bread. As each was cooked I popped them into a 10" Nordic Ware Microwave Tortilla and Pancake Warmer, which kept them pipping hot and they continued to stream while they were in there, much more so than wrapping them in tea towel alone. I highly recommend it.
Next time though, I will try using the oven to bake them as I'm curious to see if my results differ.