

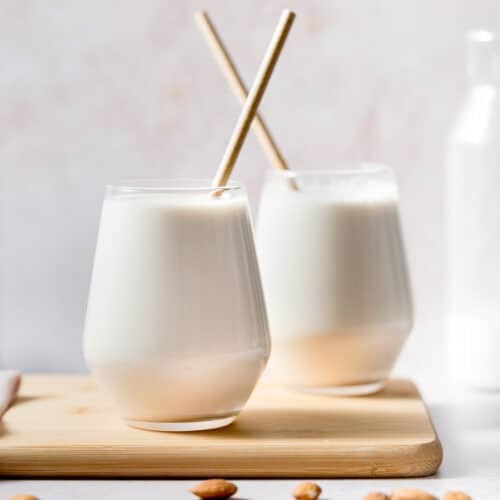
Make homemade Oat Milk in minutes with just 2 ingredients. This easy oat milk is super quick, and very budget-friendly, and after years of perfecting my method, it is not slimy!

💌 SAVE THIS RECIPE!
Watch out for more tasty treats coming your way! Unsubscribe at any time.
FEATURED COMMENT
"Such a simple and delicious recipe, I'm never buying oat milk again! This tastes like one of the more expensive barista brands!"
- Teresa ⭐️⭐️⭐️⭐️⭐️ More reviews →
Two words: Oat Milk. One of my favourite plant-based milks and this homemade oat milk recipe is a game-changer.
Just like my homemade cashew milk, it is super quick and easy to make. No soaking or fancy equipment and it's so budget-friendly! Once you've made some, be sure to give my Iced Brown Sugar Oat Milk Shaken Espresso a try ;O)
This is a recipe that was originally published in 2018. Since then I've made it thousands of times and gradually changed and refined how I do it. This oat milk recipe is my new and improved version. It's quicker and easier than the original, and it's not slimy at all!
If you've made oat milk before you'll know this can be an issue. Be sure to read all of my expert tips to get the very best results. I've done all the testing so you will get perfect results every single time!
Mel x
Ingredients
Oat milk is a very budget-friendly and sustainable non-dairy milk. Much more so than nut milks like almond milk, and you only need 2 ingredients to make it:
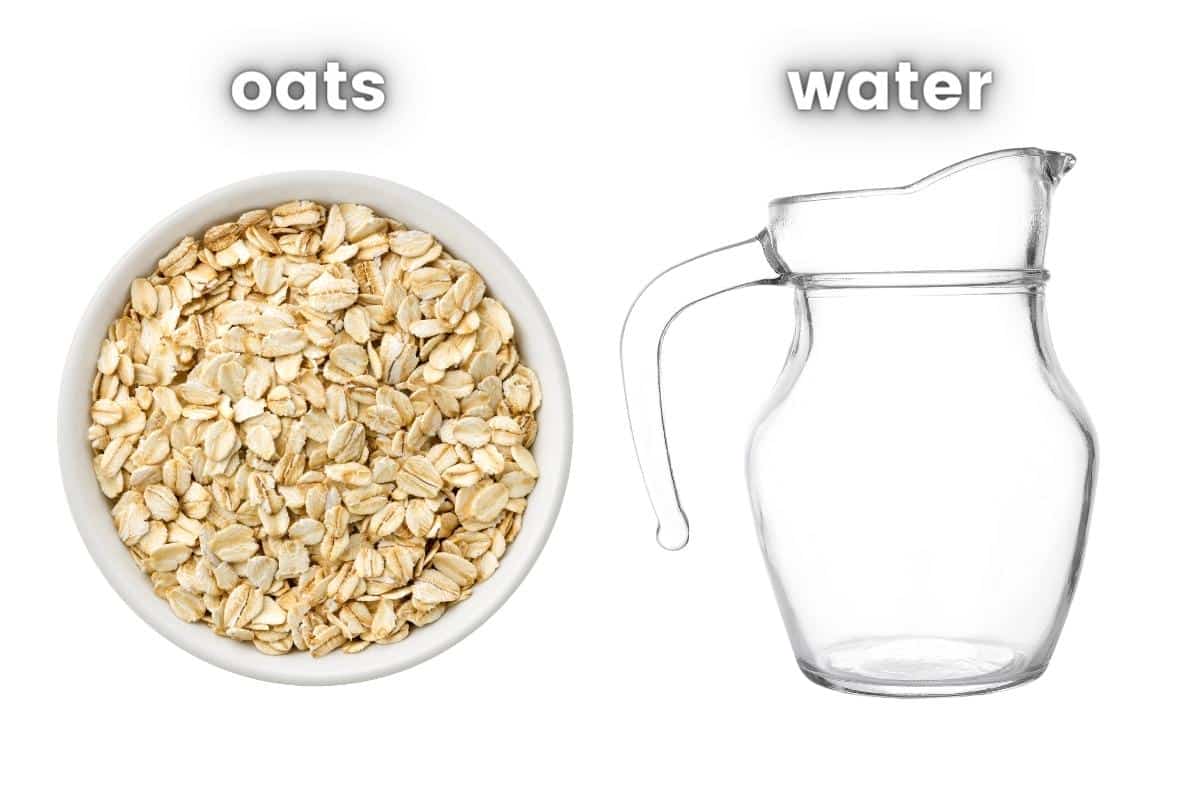
I recommend using old-fashioned or rolled oats. Steel-cut oats, quick, or instant oats don't work as well.
You can also include some optional add-ins for more flavour:
- 1 or 2 tablespoons of maple syrup or agave for sweetness. Don't use dates to sweeten this recipe. If you're wondering why see the FAQs.
- A drop of vanilla extract.
- A pinch of salt.
- A couple tablespoons of cocoa powder and sweetener of choice, or some chocolate syrup.
- Fresh berries, cinnamon, matcha or brewed coffee for fun flavour.
To make the milk you will need a blender and a sieve/fine mesh strainer. A nut milk bag, cheesecloth, or very fine cloth or lint-free towel will also work.
Let's Make Oat Milk!
Making oat milk is such an easy process and as long as you have some rolled oats in the pantry, you are minutes away from a fresh batch. Be sure to follow my instructions though. They include several steps that ensure your oat milk remains slime-free.
Here's how it's done:
- Add the oats to a blender with chilled water and any optional add-ins, then blend.
- Strain the mixture through a fine mesh strainer or nut milk bag twice letting it run freely without help (very important), then decant into a bottle/container of choice and refrigerate.
Adjust the thickness/thinness of the milk by increasing or reducing the water when you blend it or by adding more water after you've strained it. The beauty of homemade milk is you can make it exactly how you like it.

How To Avoid Slimy Oat Milk
- Don't soak the oats before blending.
- Use old-fashioned or rolled oats, not quick or instant oats.
- Use cold water when blending. Heat makes it slimy.
- Do not over-blend. High-speed blenders produce heat as their motor runs and warm the liquid as it blends. Blend in short bursts and not for more than 30 to 40 seconds total. A few ice cubes added with the water can help to keep things cool if you have a blender that runs warm.
- Strain at least twice but let the milk run freely through the strainer. Don't squeeze or smush it.
How To Use Oat Milk
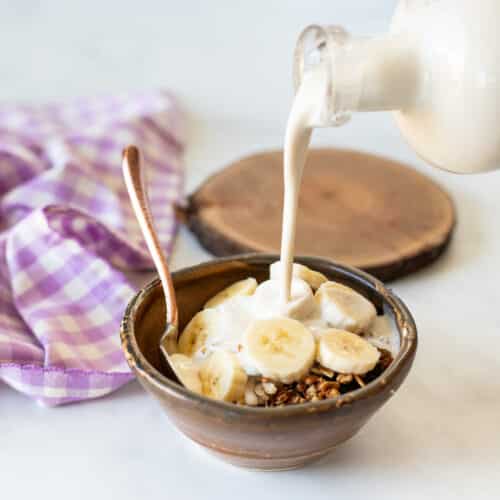
Oat milk is perfect for drinking ice cold with cookies and for use in:
- Baked goods.
- Smoothies.
- Iced coffee.
- Chocolate milk, just add 2 to 3 tablespoons of vegan chocolate syrup.
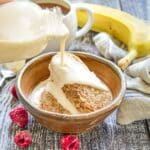
- Breakfast cereal like vegan granola, overnight oats, or Bircher Muesli.
You can also add a dash to your tea and coffee but do not use it for making hot sauces or hot milky drinks like lattes or hot chocolate because as it heats up it thickens a lot and becomes slimy.
Think about what happens when you heat oats and water to make oatmeal. The mixture thickens very fast because of the starch in the oats. This starch is also present in your oat milk. Commercial oat milk is treated with anticoagulants or enzymes to prevent this happening.
Recipe
Oat Milk Recipe
Author:WATCH HOW TO MAKE IT
Ingredients
- 1 cup (90 grams) rolled or old fashioned oats , certified gluten-free if necessary.
- 4 cups (960 ml) cold water , from the fridge. Or as cold as you can get it from the tap with a handful of ice thrown into the blender (reduce the water a little to compensate for the ice).
Optional additions
- 1 to 2 tablespoons maple syrup
- ¼ teaspoon sea salt , optional. I don't recommend using table salt.
- 1 teaspoon vanilla extract , (optional)
RECOMMENDED EQUIPMENT
INSTRUCTIONS
- Add the oats to blender.
- Cover with around 3 cups / 720 mls of the cold water then blend for a maximum of 30 seconds. It's important that the contents of the blender don't warm up, so try not to blend any longer than that. If you feel it get even slightly warm add a couple of ice cubes to cool it down.
- Check the thickness. It will likely be quite thick like cream consistency. Add enough extra water to get it to the thickness that you like and give it a very quick pulse in between additions. If you are using it as a coffee creamer then it's nice left pretty thick. Otherwise it's better a little thinner.
- Strain the milk through a sieve/fine mesh strainer into a bowl. Do not press or squeeze it while straining. Just let gravity do the work.
- Pour the milk back into the blender jar, give the strainer a quick rinse out, then strain again.
- Once strained twice pour into bottles or jars. At this point if you notice it is still a little too thick, you can fill the bottles to about ¾ full, then add a little water to the bottle and shake to thin it further.
NOTES
💌 SAVE THIS RECIPE!
Watch out for more tasty treats coming your way! Unsubscribe at any time.
NUTRITION
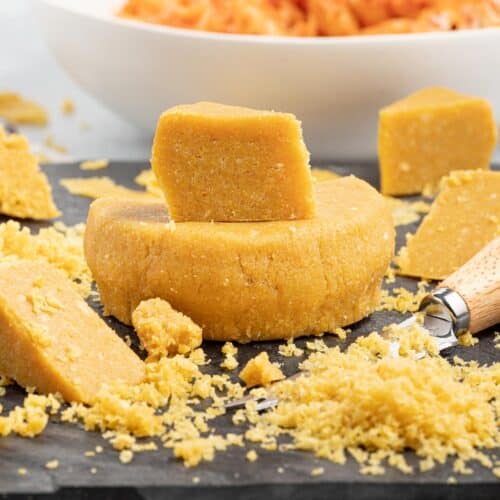
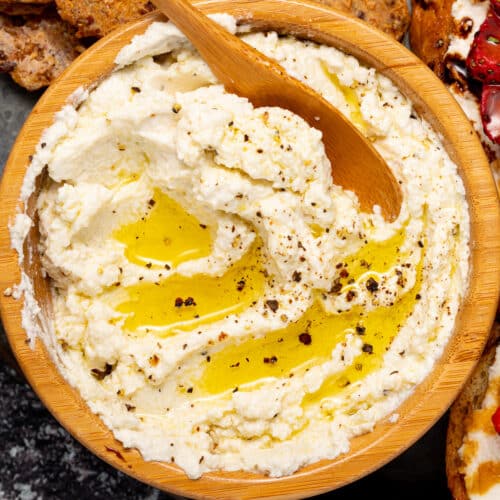
More Vegan Dairy Alternatives
Recipe FAQs
This is completely normal. Because it is homemade it doesn't contain emulsifiers like storebought oat milk. Simply give it a good shake before serving.
You can use certified gluten-free oats if you need your oat milk to be gluten-free. If you are sensitive to gluten-free oats then I don't recommend you make this beverage.
You can use leftover oat pulp to make my oat pulp cookies, or you can add it to smoothies or oatmeal. You can also dehydrate it (use a dehydrator or spread it out thinly on a baking tray and bake in a low oven until completely dry, then add to granola recipes or energy bars/balls.
I don't recommend using dates to sweeten this milk. We need to minimize the blending to stop the milk from warming in the blender and becoming slimy. Dates (even softened ones) will not blend completely before the starch in the oats activates and starts to thicken and become gelatinous. It's safer and easier to add a liquid sweetener like maple syrup.
Annie says
Hi. I love this milk and it is so easy. I use rolled oats and chilled water from the fridge. I start by mixing just 3 cups of water as per your instructions. But it's not thick at all, but quite watery. I don't always add the other cup of water. It's still great for cereal etc. But I just wondered why it's watery and not creamy. Any idea what I could be missing? Thanks
Melanie McDonald says
Glad you're enjoying it! It's probably because the oats you're using aren't as starchy as the ones I use. Oatmeal brands use oats from different oat cultivars/plants so they vary a bit and are all processed slightly differently. You can just use less water (or more oats) to get it to the thickness you want. Hope that helps!
Sue Sulli says
I was wondering if you could use a paper coffee filter to strain the oatmilk?
Melanie McDonald says
I've never tried it but if you do, I have a feeling you might regret it. I think it would take absolutely ages (hours) to drip through because oats are quite claggy and starchy (unlike coffee grounds). That's if it doesn't get clogged completely. You wouldn't even be able to hurry it along if you got fed up waiting because it would be too small to squeeze and the filter would probably tear. Hope that helps.
Sue Sulli says
Thank you for your advice, what you say makes sense so I won't even try it.
Jane says
This oatmilk tasted great! So fresh and creamy. I made sure to keep the ingredients and blender cold and that made a huge difference over my previous attempts. Now I'll need to check out the oat pulp cookies recipe to use the remaining pulp, or just add them to some other baked goods.
Thank you for your always-wonderful recipes!
Melanie McDonald says
Thank you for your review Jane. I'm really pleased you're enjoying it!
Teresa says
Such a simple and delicious recipe, I'm never buying oatmilk again! This tastes like one of the more expensive barista brands! 😋
Melanie McDonald says
I'm so pleased you're enjoying it, Teresa! Thanks for coming back to leave a review. It's much appreciated!
Kelsey says
I have made slimy oat milk before and it had discouraged me from trying to make it again, but after seeing it on a virtual vegan's instagram, I had to give it another go. It worked super well! Delicious oaty flavour, simple, customizable and budget friendly! No more slimy oat milk in our household!
Alexandria Phillips says
I finally succeeded in making drinkable oat milk with this recipe!! Thank you. Mine kept coming out slimy and none of the kids would use it. Now I can stop buying it and spending an arm and a leg on milk every week!!
Melanie McDonald says
Yay!!! Love this. So pleased this method is working well for you.