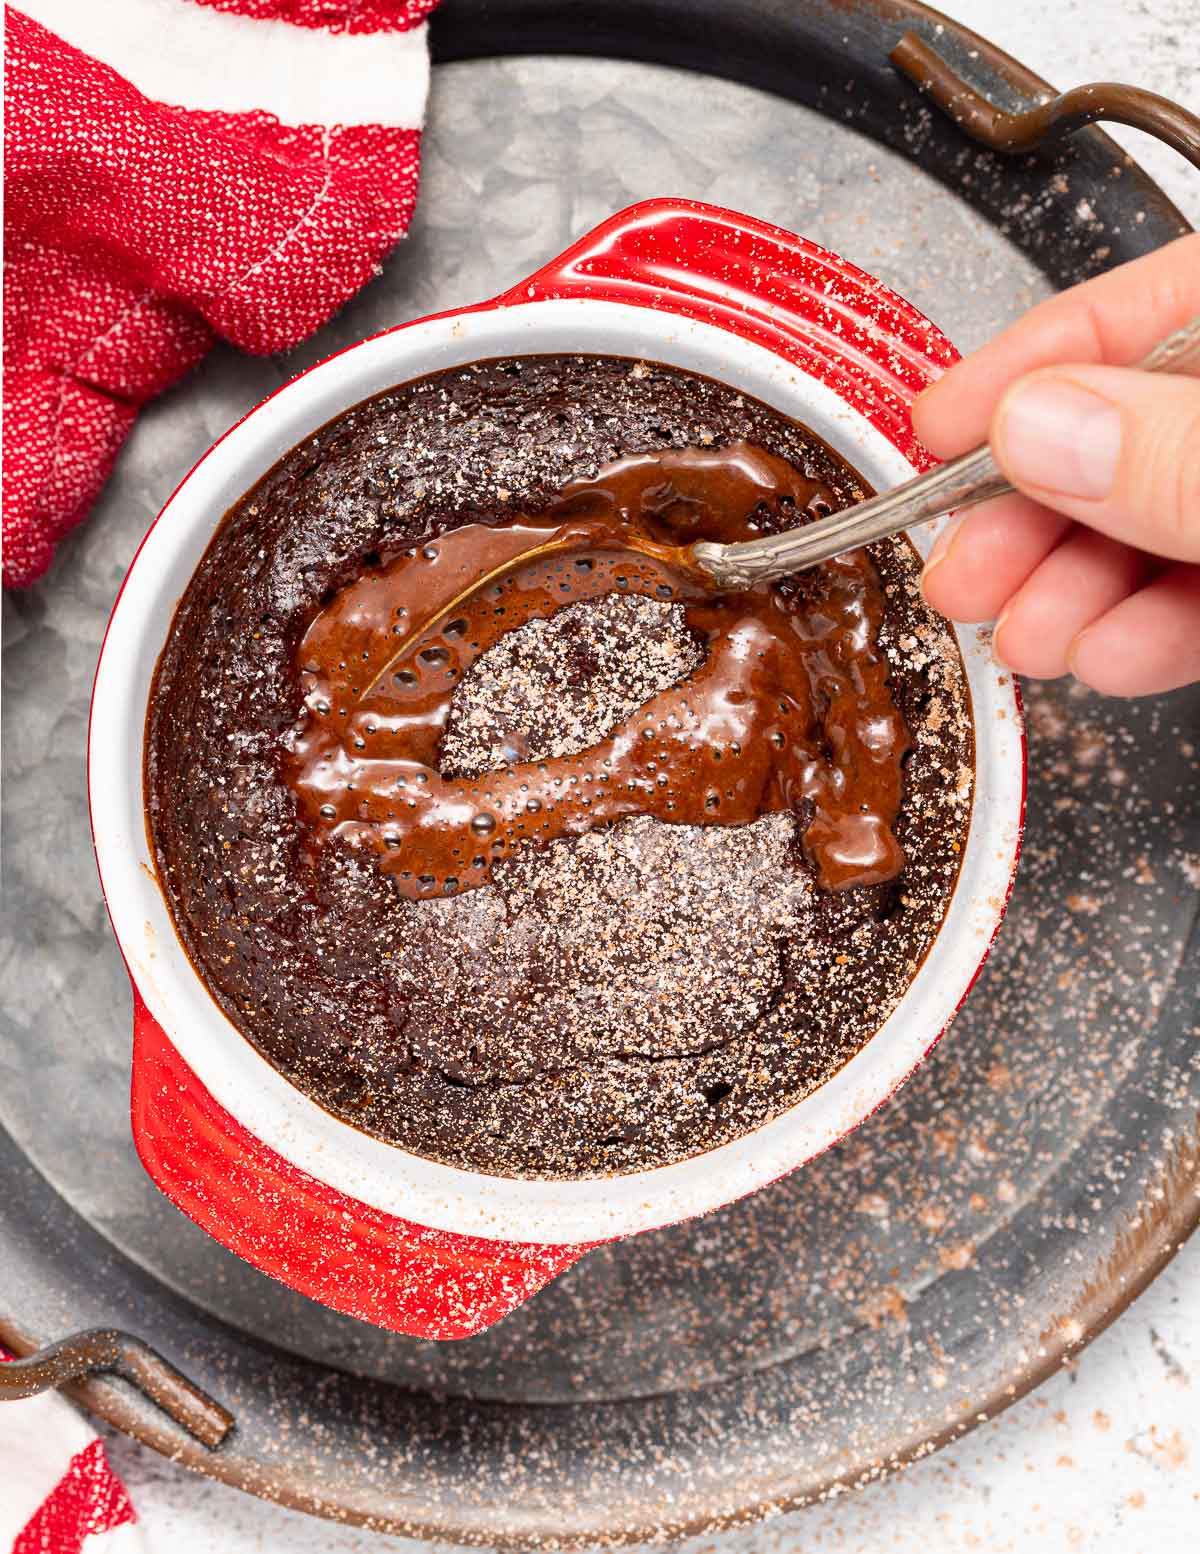
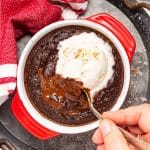
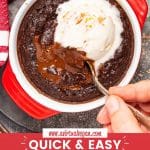
Vegan Lava Cakes featuring warm chocolate cake surrounding a gooey, molten chocolate middle. It doesn't get any better than this because they are incredibly delicious and super quick and easy to make. A treat every chocoholic will love!
💌 SAVE THIS RECIPE!
Watch out for more tasty treats coming your way too! Unsubscribe at any time.
Let's talk about fudgy vegan lava cakes with gooey, melted chocolate (or peanut butter) centres... Because we all need a decadent dessert from time to time and this one is so ridiculously quick and easy to make.
Even better these dairy-free and egg-free lava cakes are made from only a handful of ingredients. They are whipped up in a few minutes and only take about 13 minutes to bake.
And the list of positives just keeps getting bigger because they can easily be made gluten-free, you can cook them in a microwave if you want to, and each cake is only about 200 calories!
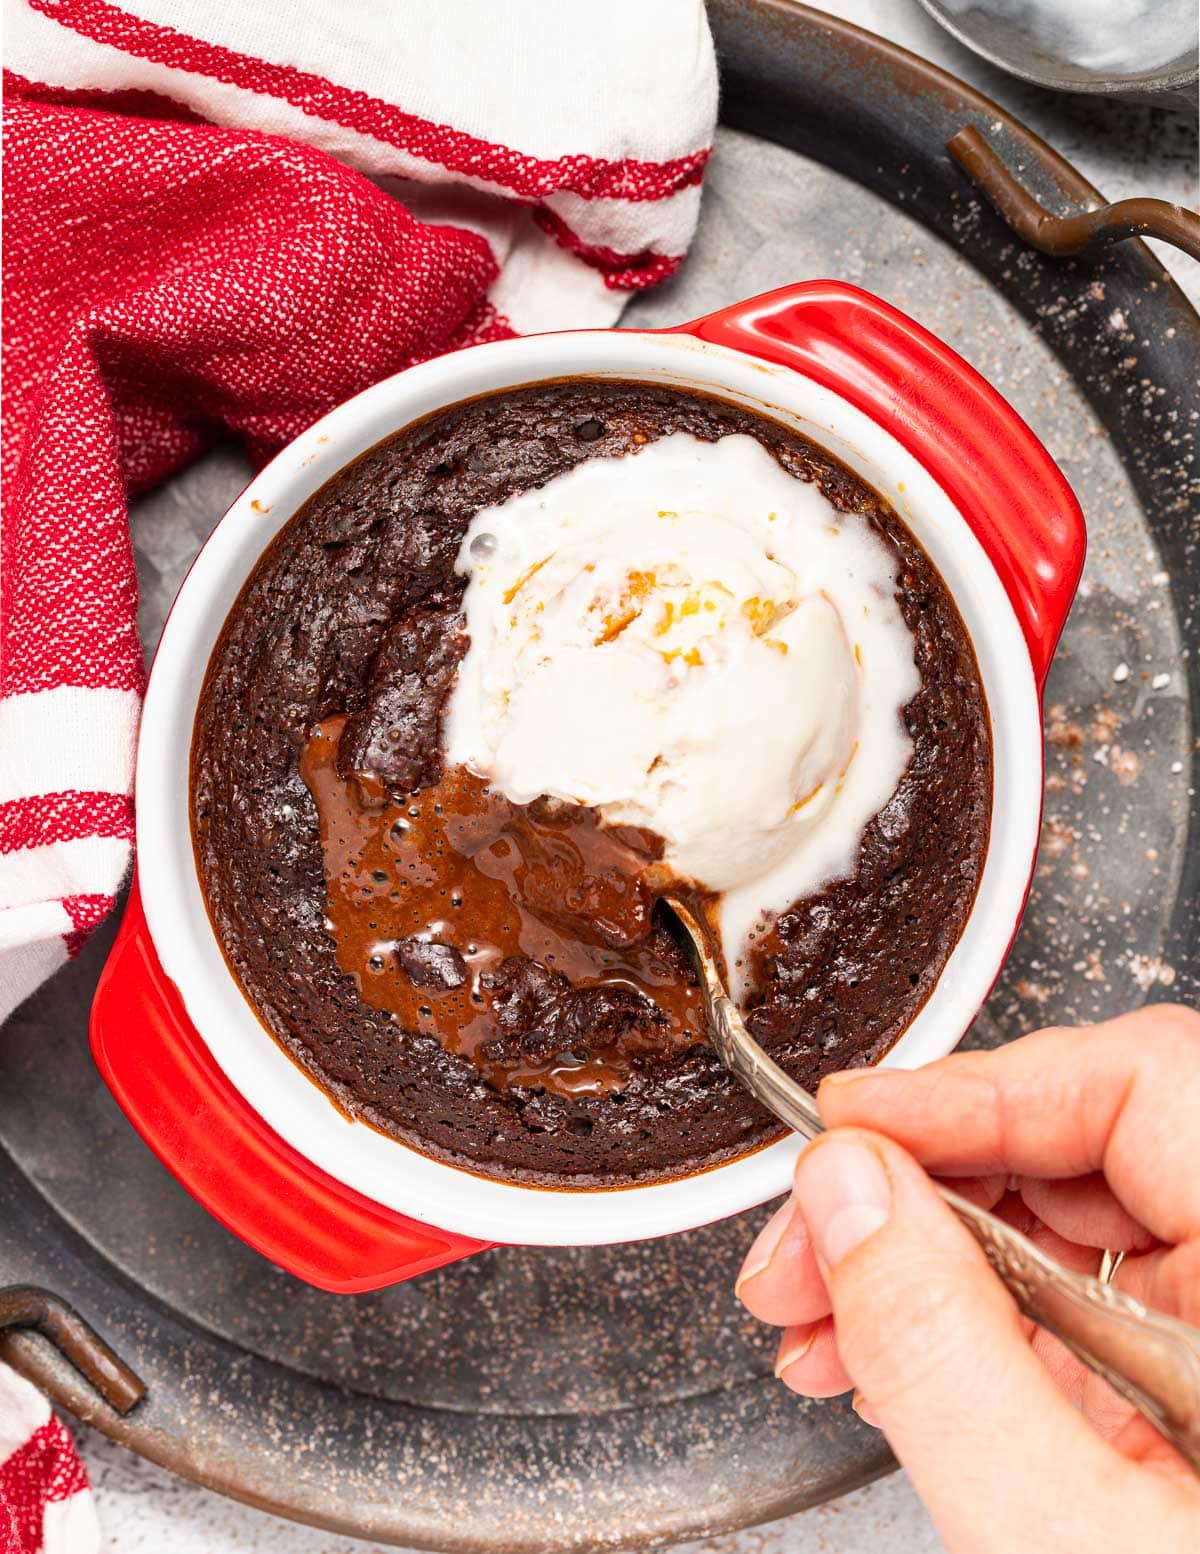
What is a molten chocolate lava cake?
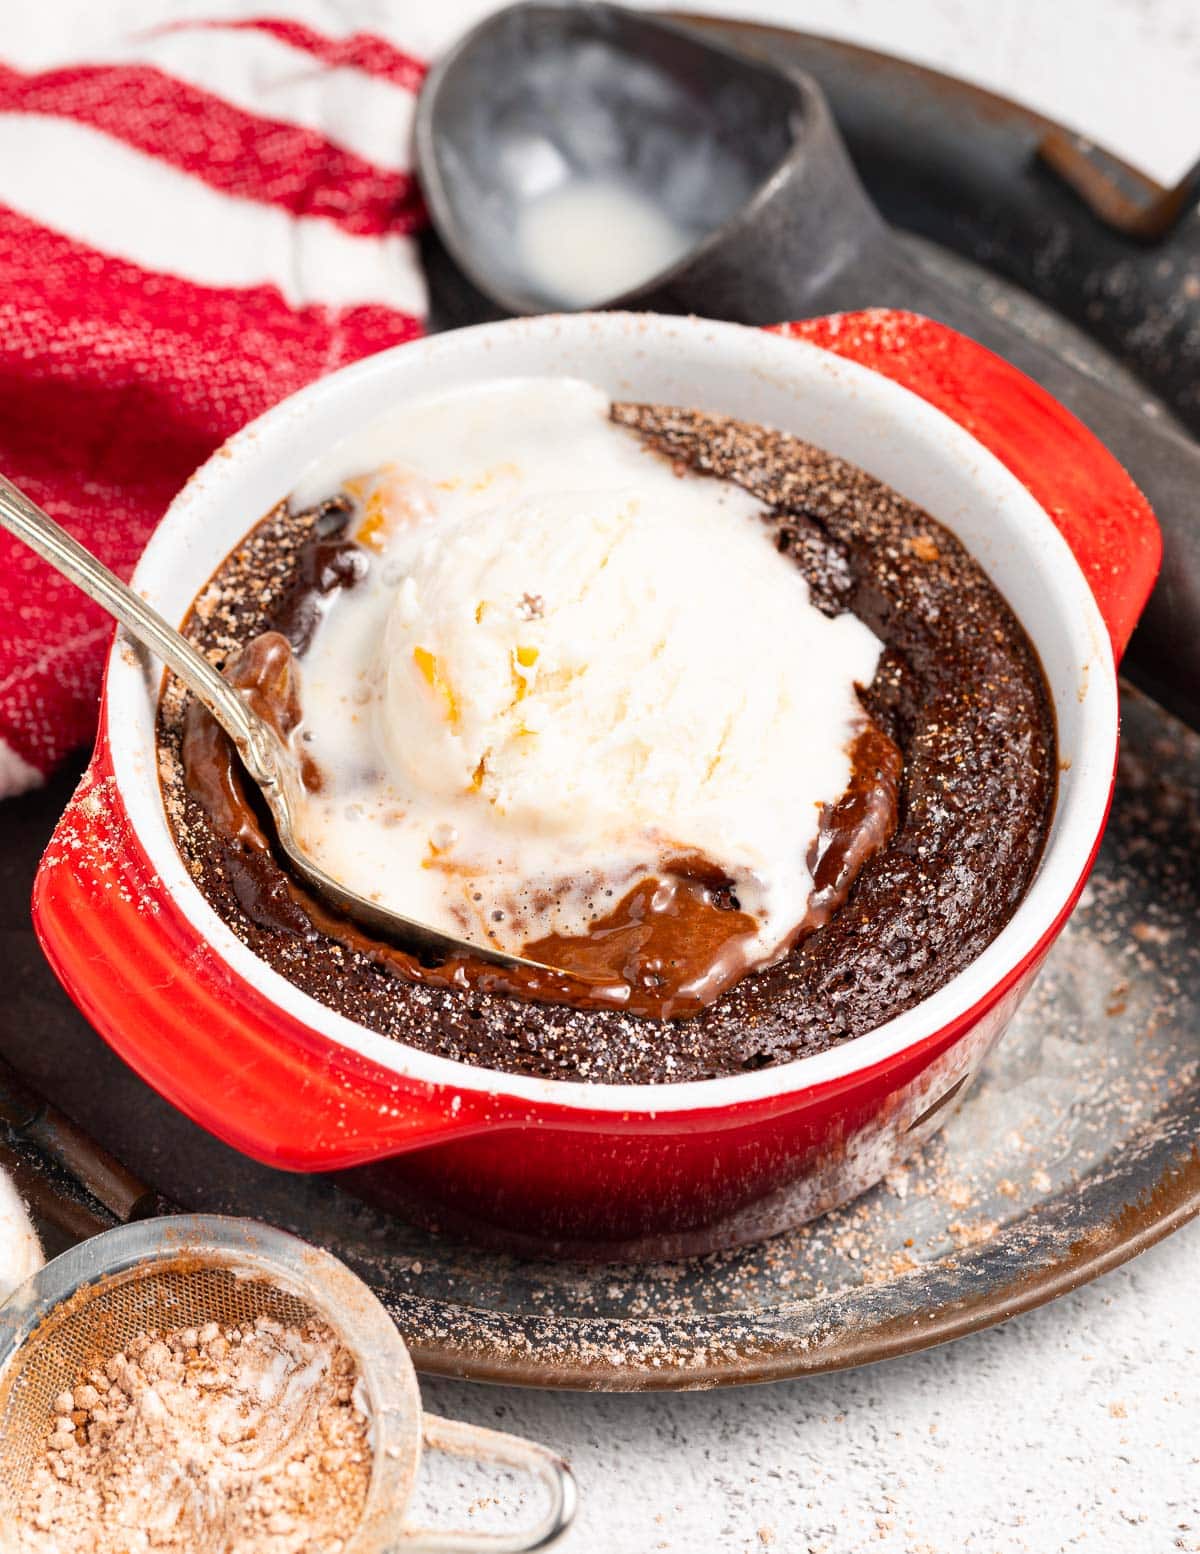
Molten chocolate lava cakes are warm, individual chocolate cakes with an oozing, liquid centre. They are baked in mini cocottes or ramekins and can either be served in the dish they are baked in, or can be carefully turned out on a plate. Served fresh from the oven they are fantastic topped with dairy-free vanilla ice cream or whipped cream.
Ingredients and equipment
Here's what you'll be needing to make Vegan Lava Cakes:
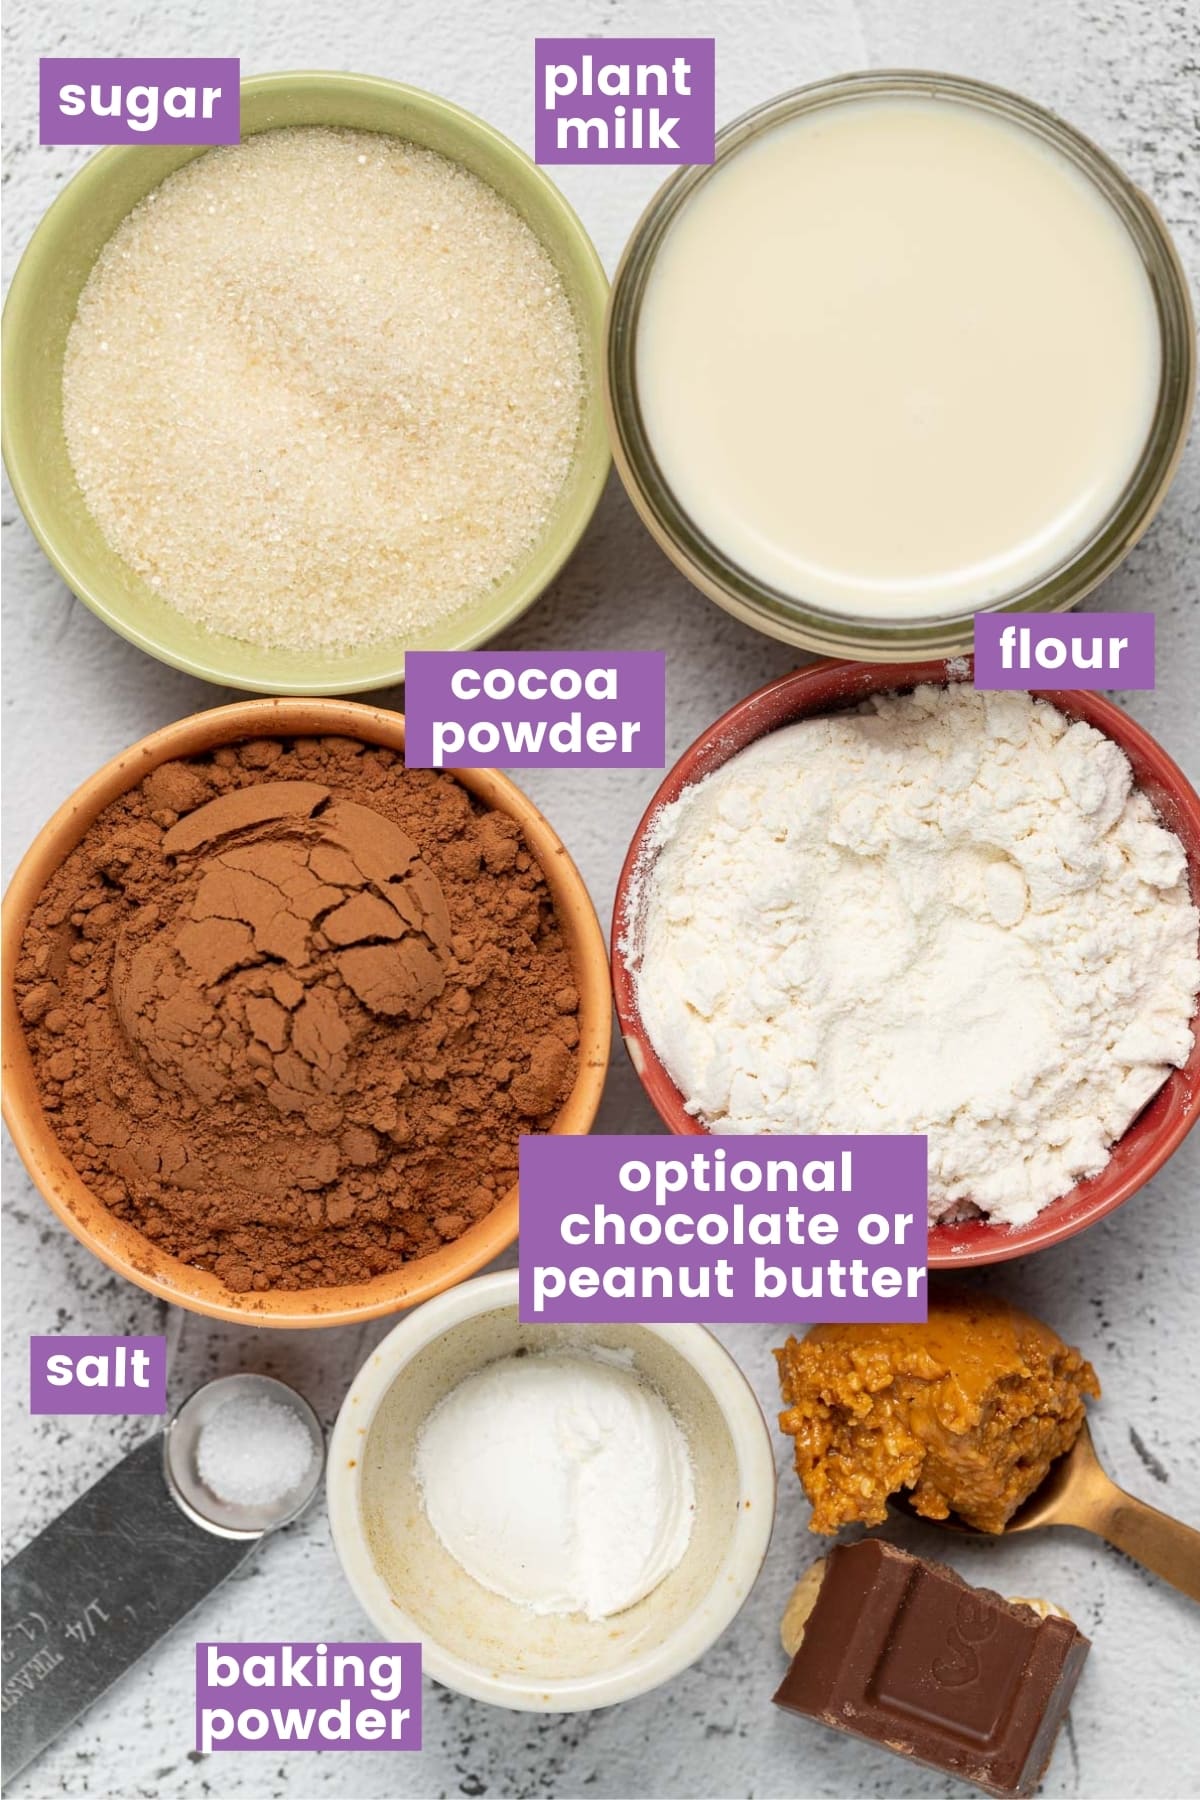
These vegan lava cakes are baked in small dishes like ramekins or cocottes and are a fun way to give everyone their own individual cake. Any ovenproof containers that will comfortably hold 175mls (6 oz or ¾ cup) will be fine.
How to make vegan lava cakes
Making homemade vegan lava cakes is a lot easier than you may think:
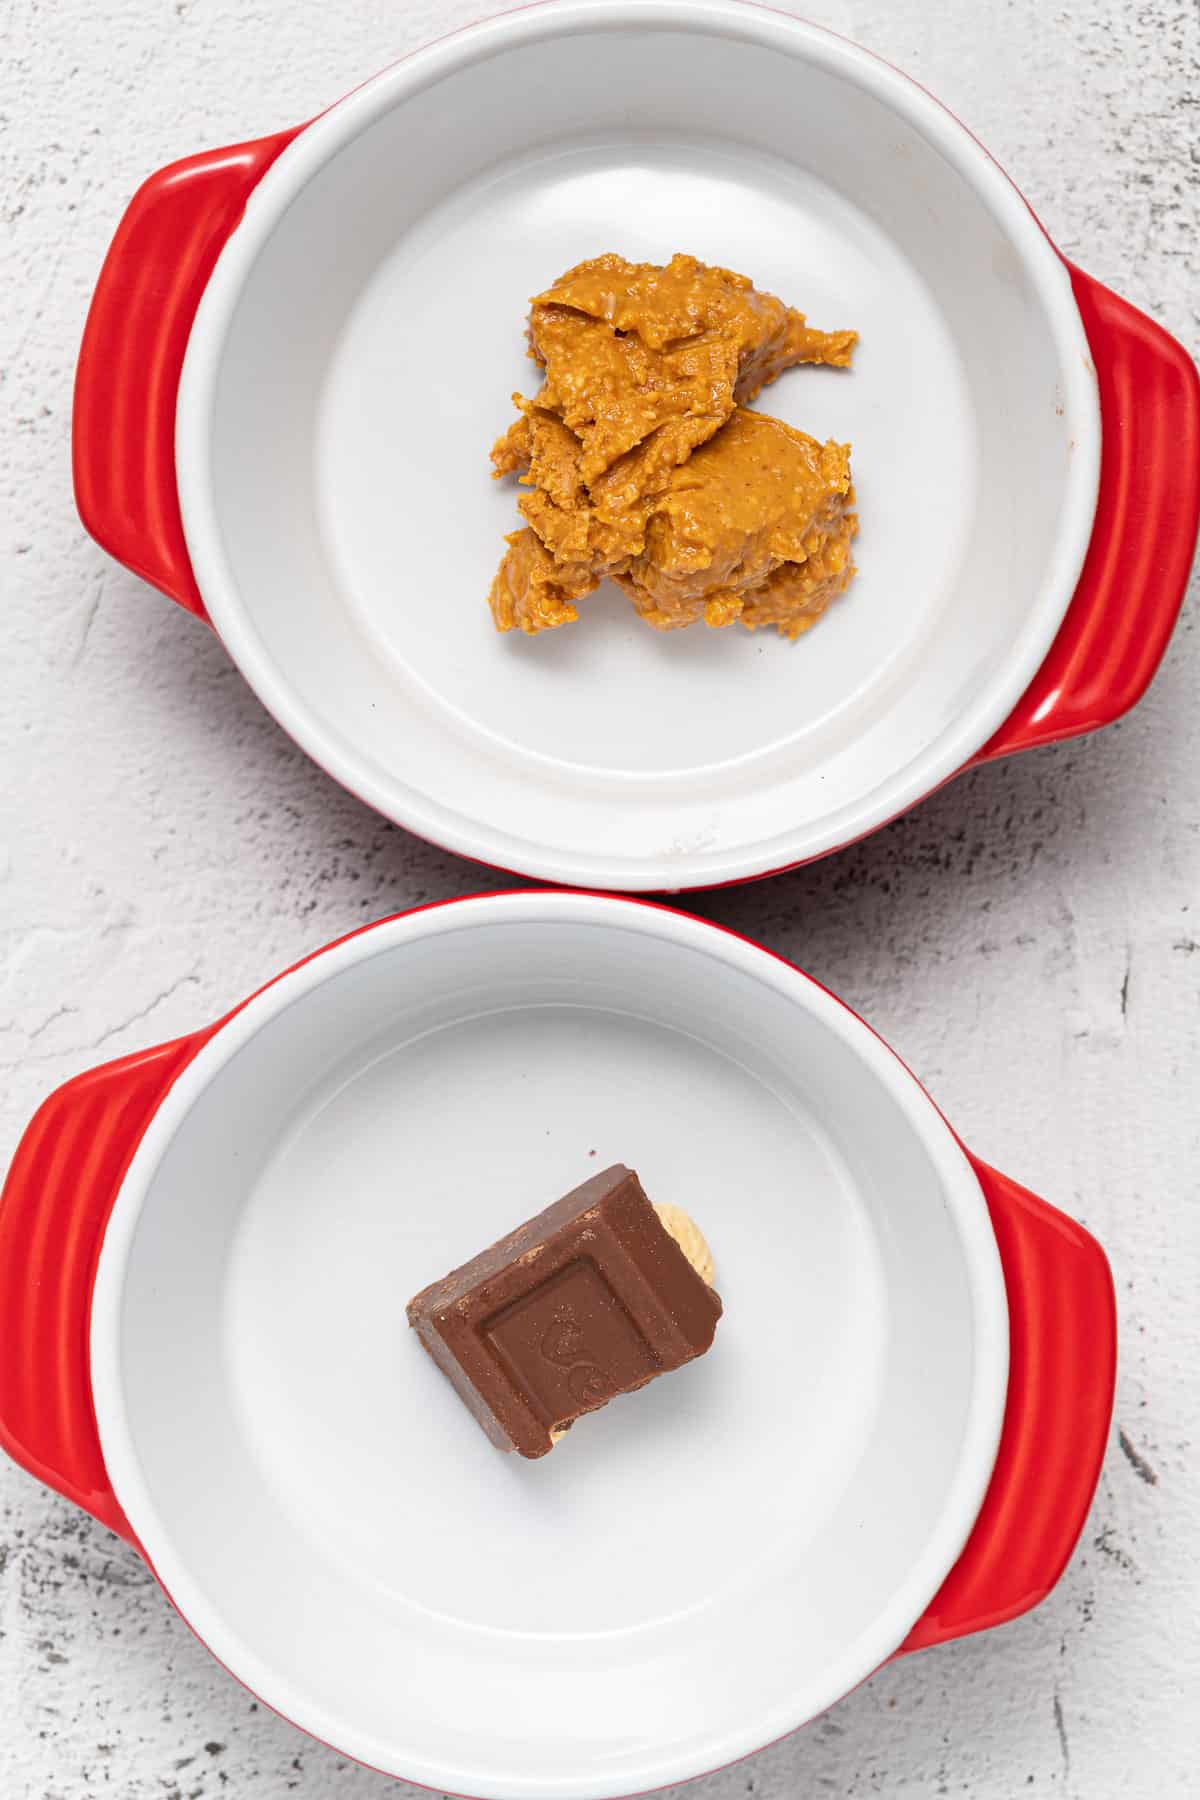
Step 1 - Prepare your mini cocottes or ramekins and place the optional peanut butter or chocolate in the middle of each one. They are still good without it though so don't worry if you don't have any.
Step 2 - Mix all of the dry cake ingredients in a bowl.
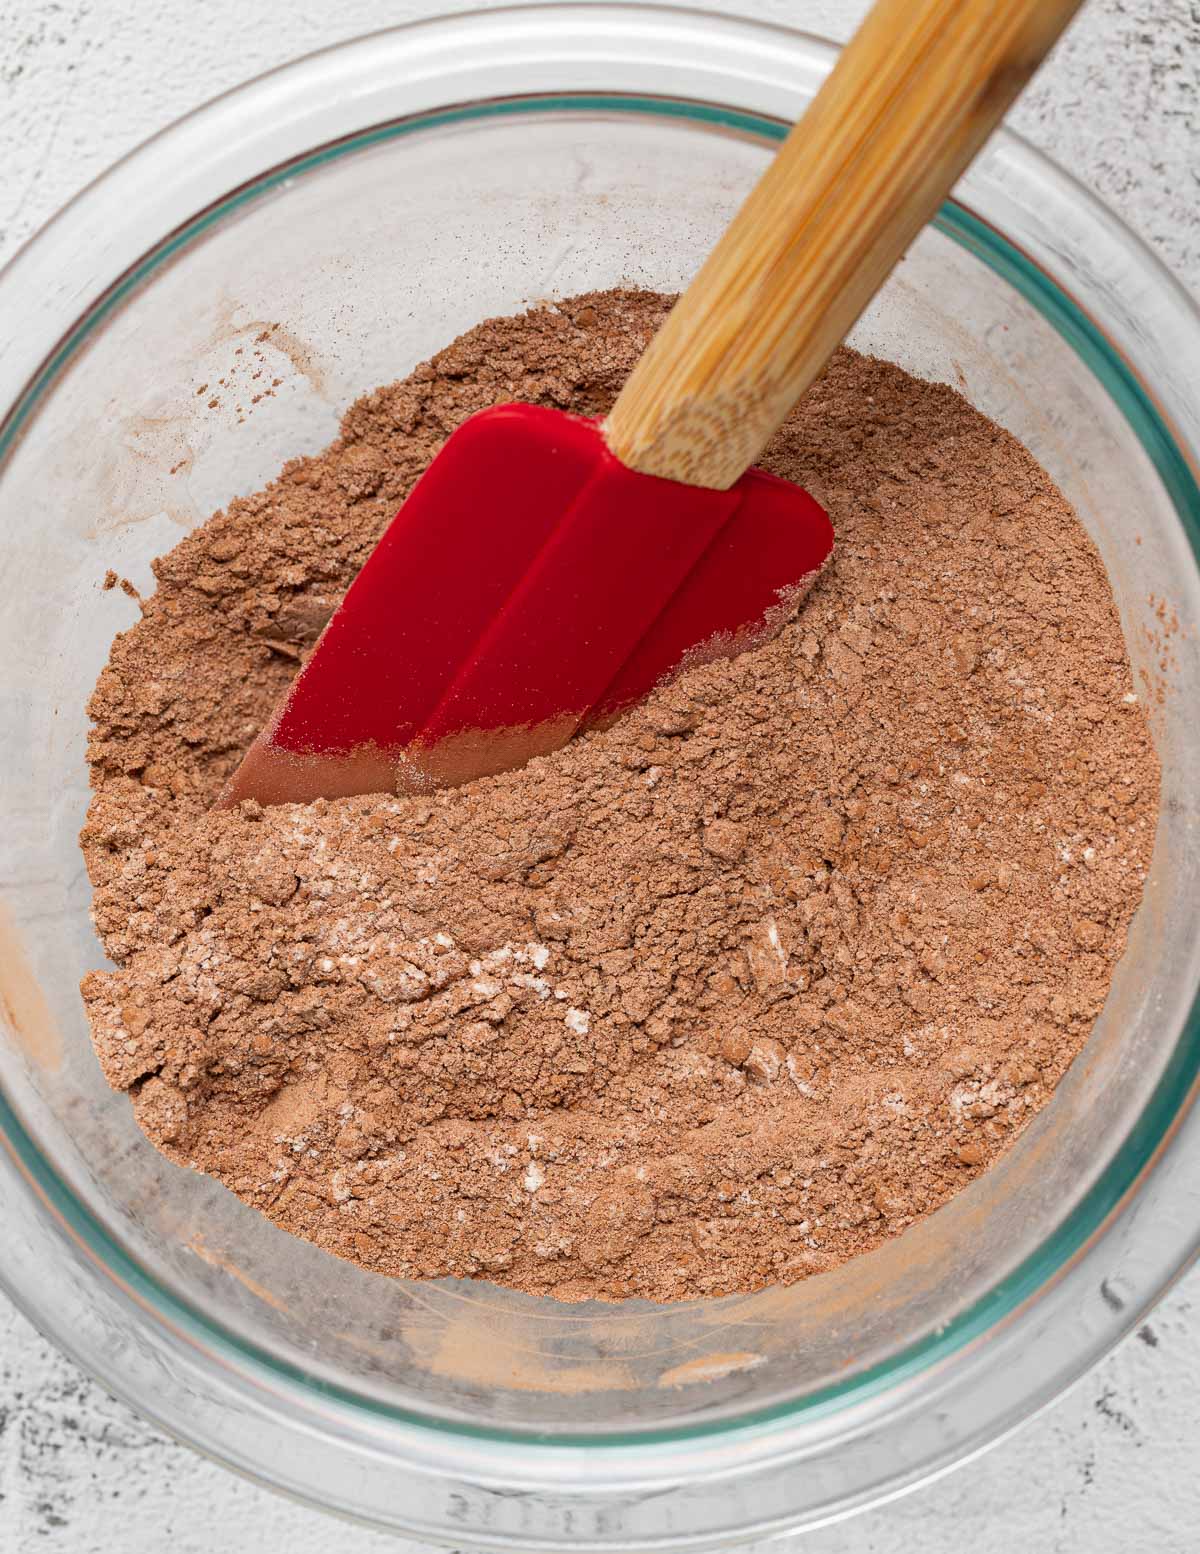
Step 3 - Pour the milk into the dry ingredients and whisk it up. The batter is really thin and runny. That's how it should be so don't worry.
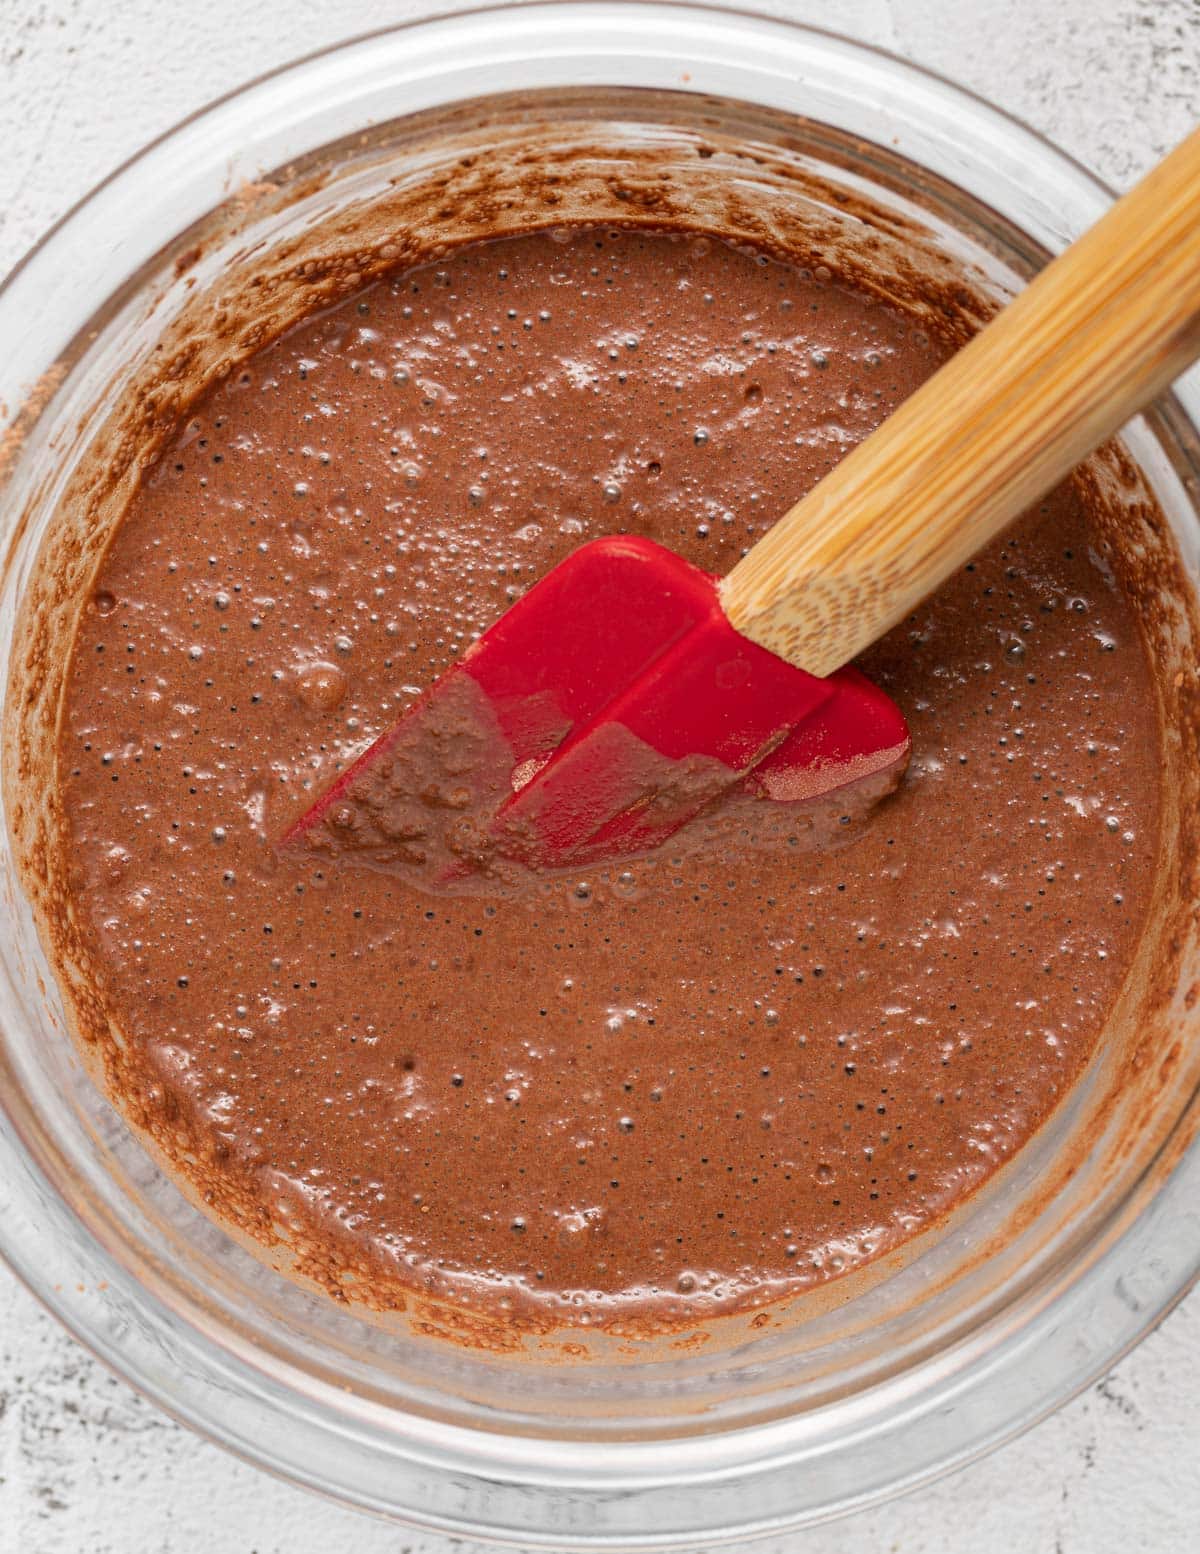
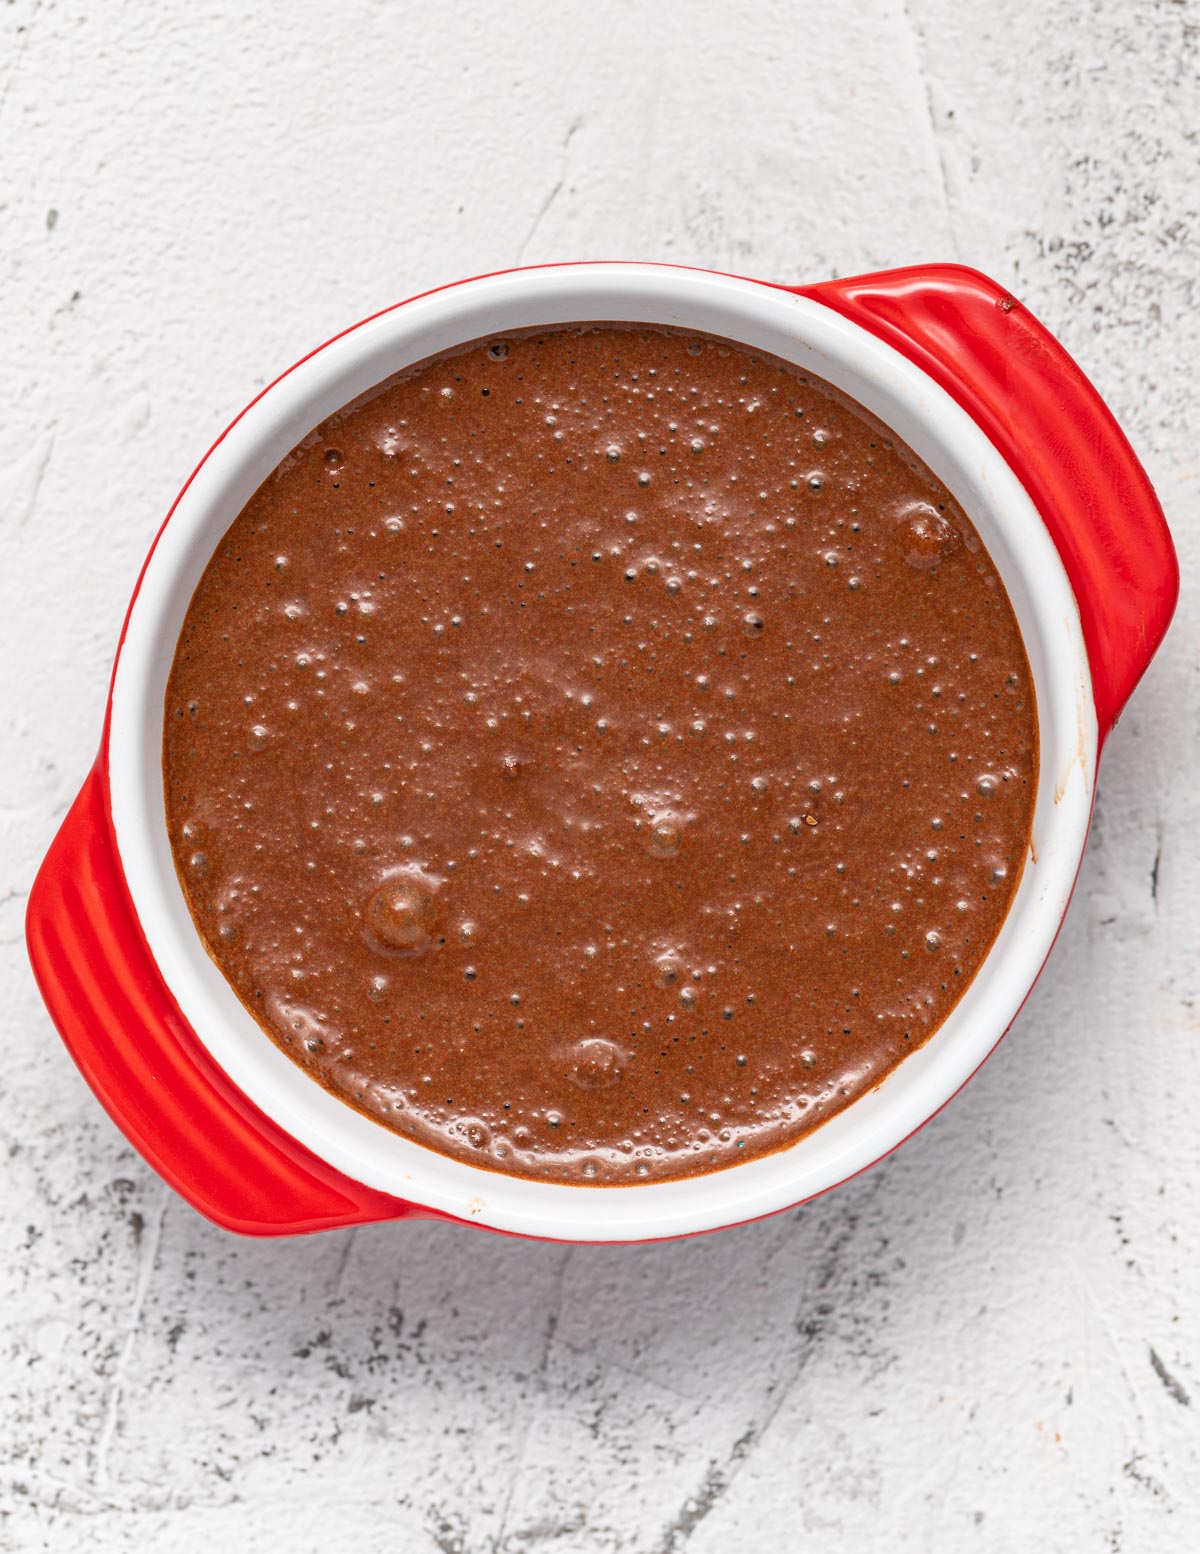
Step 4 - Divide the batter between your baking dishes (overtop of the peanut butter/chocolate).
Step 5 - Bake the cakes (they only take about 13 minutes!) then serve immediately.
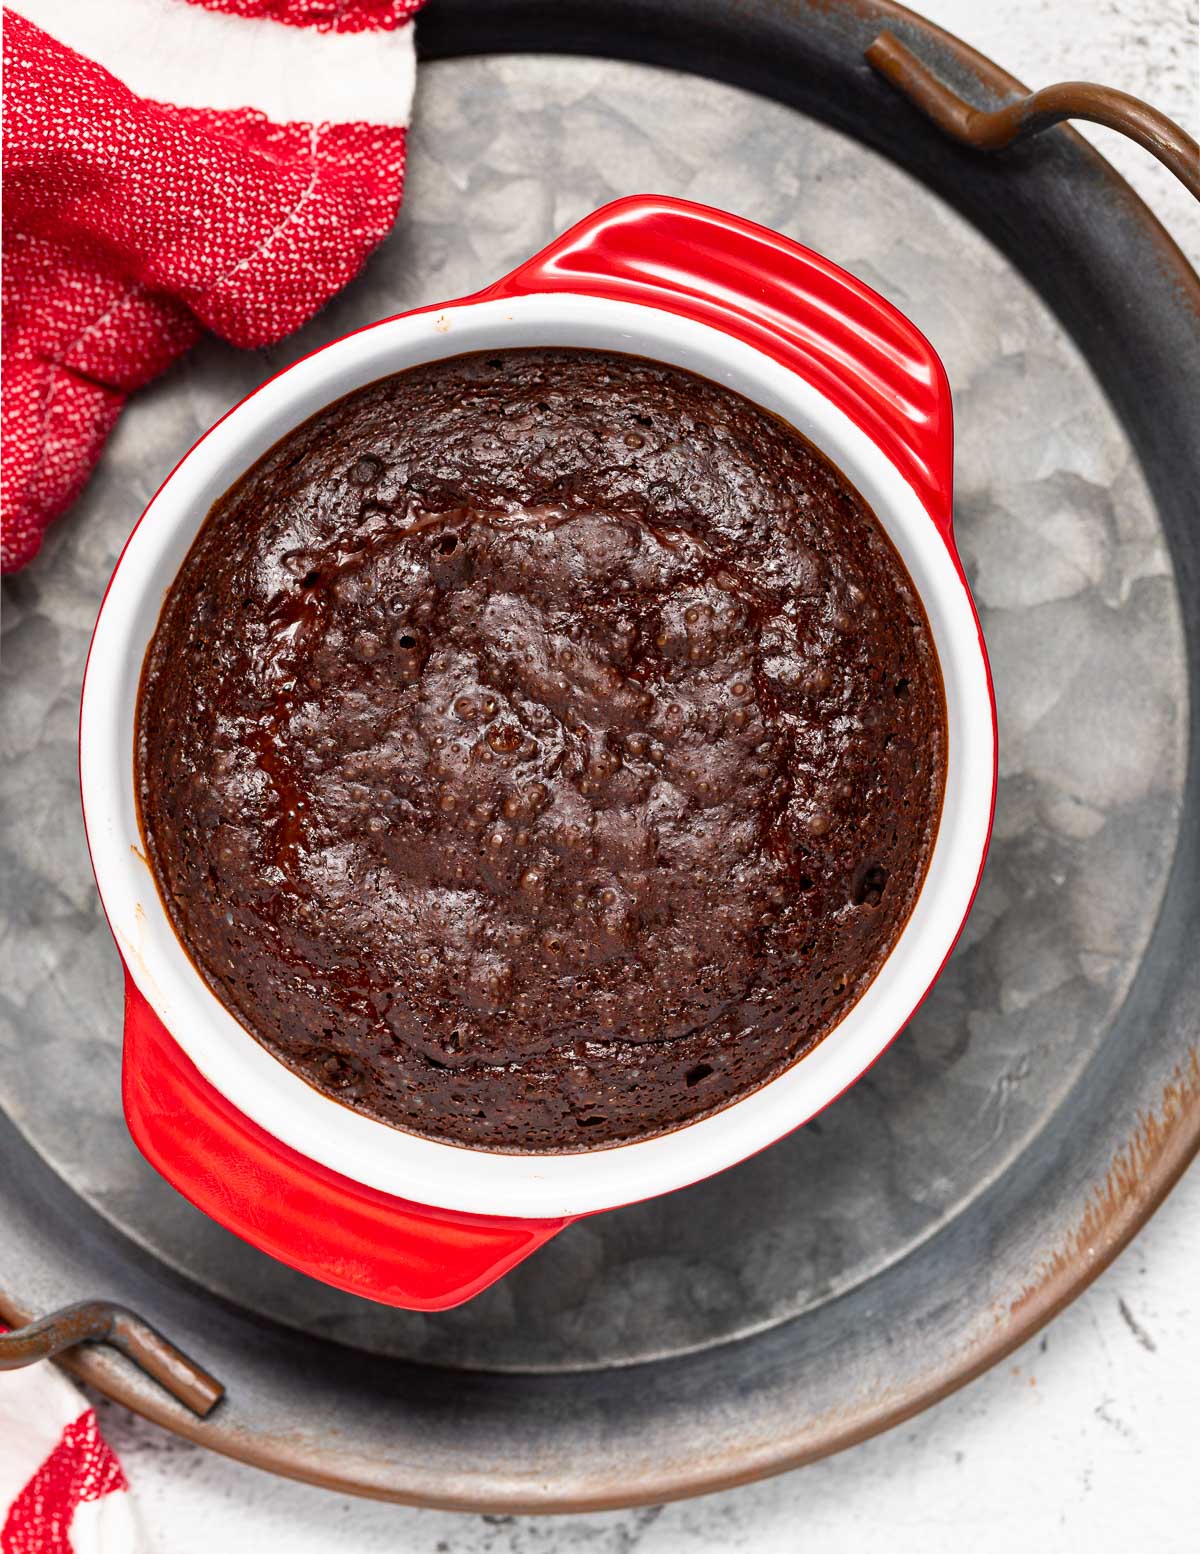
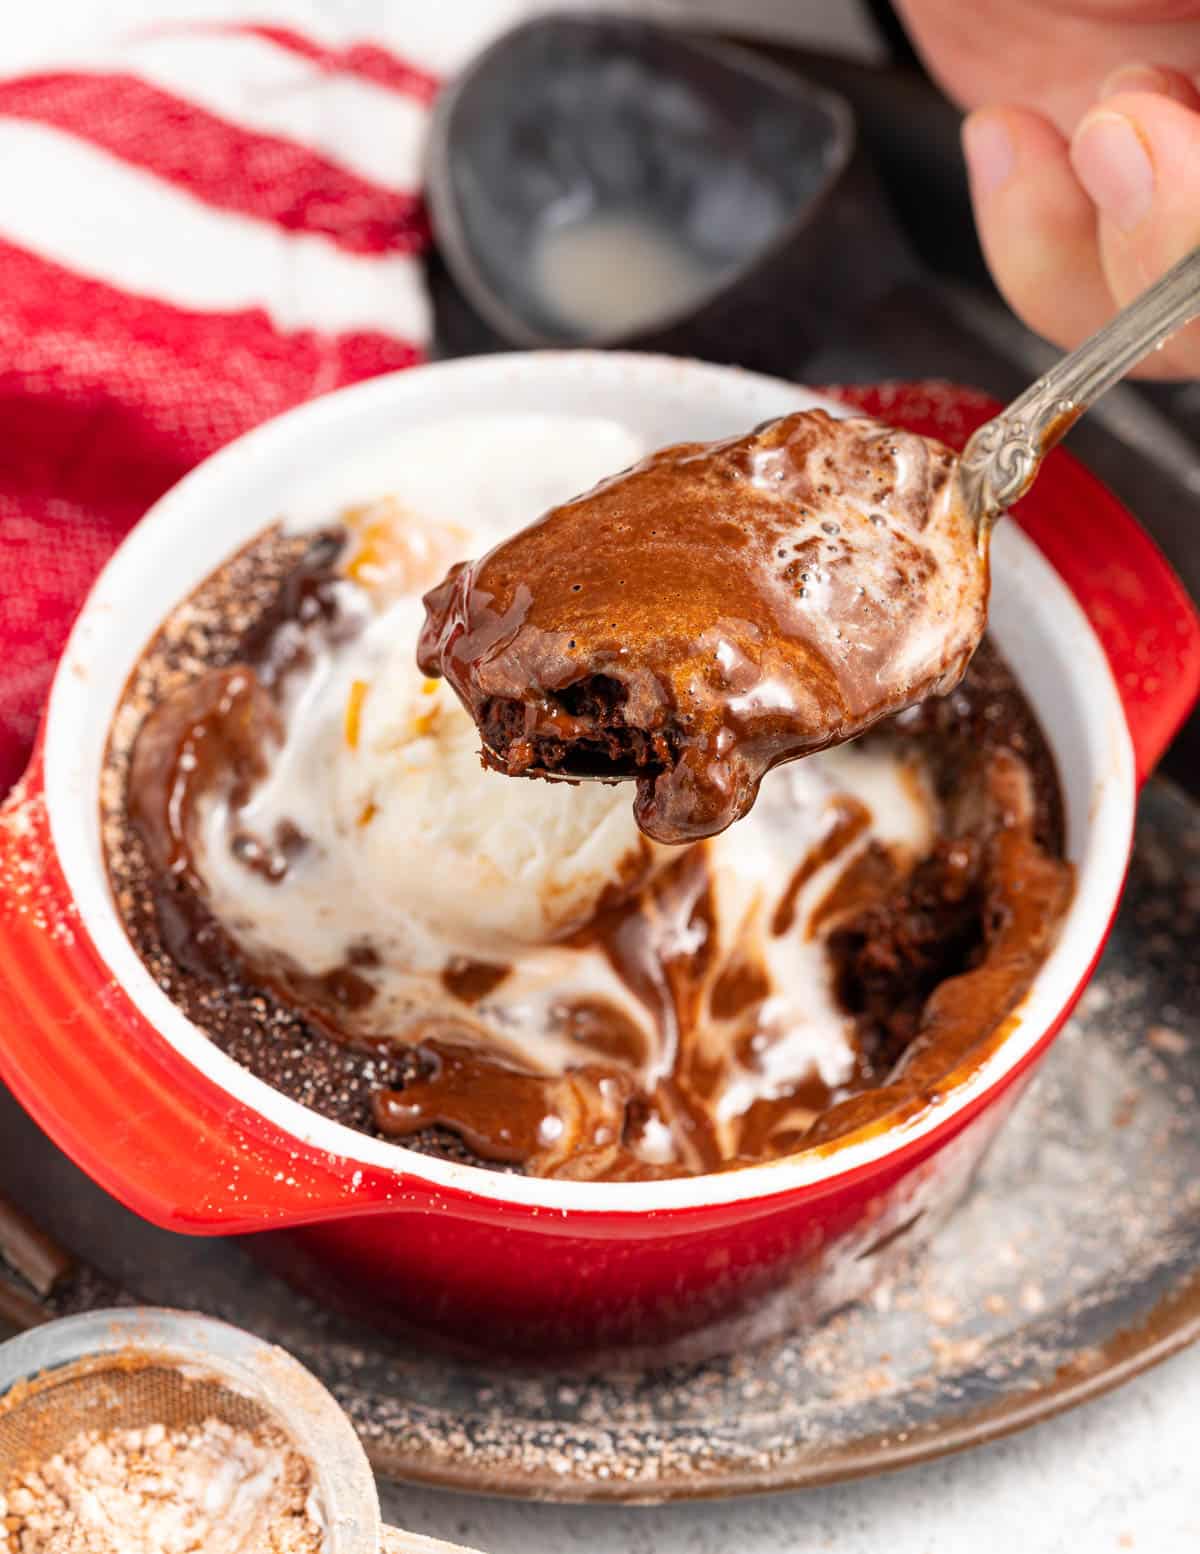
Just wait until you break into it!
Cooking in a microwave
To make the vegan lava cakes in a microwave the process is much the same but I advise going up a size in container because they have a tendency to swell up more than when you bake them in an oven. The time they take will vary greatly depending on your microwave too so the first time will be a little trial and error.
I recommend starting with 40 seconds on high power then cooking in 5-second increments after that until it's cooked well around the edges but still molten in the middle. Remember that microwaved food continues to cook a lot once you remove it, so be very careful not to go too far.
Success tips
- Don't overcook the cakes or the centres won't be lava-filled.
- Do not open the oven door while these are cooking or they could collapse. It won't be necessary to check on them before the 12 minutes mark.
- When you're checking if the cakes are done, keep in mind that they will continue to cook after they're removed from the oven so err on the side of caution. It's better to slightly under-cook them than it is to over-cook them.
- You can bake the cakes in a microwave but I find the results are much better when you use an oven.
- The cakes are designed to be eaten straight from the baking dish and don't need to be turned out onto a plate.
Variations
The main ingredients of this recipe need to be kept exactly as they are for the cakes to turn out well, but there are a few ways you can make them your own:
- Add a dash of espresso powder to the batter for a stronger chocolatey flavour (without it tasting like coffee).
- Add a few drops of mint, coconut or orange extract to the batter.
- Add some chopped nuts or shredded coconut to the batter.
- Use almond butter or coconut butter instead of peanut butter.
- Swap the dark chocolate in the middle for vegan white chocolate.
- Use vegan chocolate spread in the middle.
- Pop a vegan peanut butter cup in the middle
- Put some vegan caramel or date caramel in the middle
Serving Suggestions
Serve the vegan lava cakes immediately with your topping of choice. I personally don't think you can beat some dairy-free vanilla ice-cream, or as I used in the photos, a vanilla peanut butter swirl one, but you could also top them with:
- a dusting of powdered sugar or cocoa
- vegan cream or vegan yogurt
- caramel sauce or date caramel
- roasted strawberries
- berry compote or fresh raspberries or strawberries
- vegan custard
Recipe FAQs
Yes, it's so easy to make gluten-free vegan lava cakes. Swap the same amount of all-purpose flour with a gluten-free blend (I tested with Bob's Red Mill 1 for 1 Baking Flour) or you can use 6 tablespoons of oat flour or 6 tablespoons of rolled or old-fashioned oats in place of the all-purpose flour. If you use oats instead of flour though you will need to blend the batter rather than mix by hand.
Unfortunately, this vegan lava cake recipe isn't one you can prepare in advance. Once mixed the batter needs to be cooked right away, and if not served immediately the molten centre will solidify. If reheated, whilst still ok, the middle will not be gooey or molten. It will be more like eating chocolate cake than lava cake.
Recipe
Vegan Lava Cakes
Author:WATCH HOW TO MAKE IT
Ingredients
- 5 tablespoons (39 grams) all purpose flour or gluten-free all purpose flour (see recipe notes for oat/oat flour option)
- 6 tablespoons (32 grams) cocoa powder
- 3 tablespoons (37 grams) white or cane sugar
- 1 teaspoon baking powder
- 1 pinch fine salt
- ½ cup + 2 tablespoons (150 mls or 5 fl oz) plant-based milk
Optional
- 2 small dollops peanut butter , or seed butter
- 4 squares chocolate , or a small handful of chocolate chips
RECOMMENDED EQUIPMENT
INSTRUCTIONS
- Preheat oven to 390 °F (198 °C) and have 2 small ovenproof dishes such as ramekins or mini cocottes that will hold about 175mls (6 oz or ¾ cup) ready on a small baking tray.
- If using the optional peanut butter or chocolate (or both!) add them to the middle of both dishes.
- Then to a medium bowl add the flour, cocoa powder, sugar, baking powder and salt. Mix them together well.
- Pour in the milk and whisk really well to combine. It's easier with a whisk than a spoon as there is a lot of milk and the cocoa tends to want to float on the top. It's normal for the batter to be very thin.
- Divide the batter evenly between the 2 ovenproof dishes, over the top of the optional peanut butter/chocolate.
- Bake for about 13 to 14 mins or until they have puffed up and look set but if you wobble them or poke the centre really gently you can feel they are still liquidy. They will continue to cook a little once removed them from the oven. If you leave them in too long the centre will set.
- Serve immediately.
To cook in a microwave
- Important - It's very easy to overcook these cakes in the microwave. Cooking them in the oven is much easier. Remember that all microwaves cook at different strengths so the first time you make these it will be a case of trial and error. If you want to try, here's how:
- Follow all of the above instructions but use microwave-safe containers. I recommend going up in size a little as the cake swells up more in the microwave than in the oven. Keep an eye on them through the door while they cook in case they start to overflow.
- Cook on full power for about 40 seconds. Check after 40 seconds. You need them to be puffed up and set around the edges with a wobbly/liquidy middle. If you poke the centre gently with your finger it should have a bit of a crust on the top but feel liquidy underneath.
- If they aren't at that stage, cook again in 5 second increments checking each time until done. Keep in mind that they will continue to cook once you remove them from the microwave so it's better to undercook rather than go too far.
NOTES
To make gluten-Free
You can either:- Use gluten-free all-purpose flour. This is a direct swap. Use exactly the same amount of flour as the recipe states. I used Bob's Red Mill 1 for 1 Baking Flour when testing.
- Use 6 tablespoons of oat flour and keep everything else in the recipe the same.
- Or use 6 tablespoons of rolled or old-fashioned oats in place of the all-purpose flour, keeping everything else the same, and blend the batter together until smooth. Keep in mind that the amount of batter here is small so it might not work well in a great big blender jar. I used my Blendtec Twister Jar when I tested this.
💌 SAVE THIS RECIPE!
Watch out for more tasty treats coming your way too! Unsubscribe at any time.

Karol says
Made this one for my boyfriend. He LOVED it, and said it was one of the best things I've ever baked. I used to spend HOURS preparing elaborate desserts, but these lava cakes took 20 minutes start to finish!! This will definitely be my go-to sweet treat! 😁
Melanie McDonald says
So pleased you both enjoyed them, Karol! If you like sharp and sweet lemony desserts I recommend my self-saucing lemon puddings too. That's a similar recipe and again super quick and easy.
Erin says
Delicious! I doubled the recipe to make 4 servings, and it was perfectly molten at 13 minutes. Served with vanilla vegan ice cream and it was over the top good.
Tosh says
Made one of these the other day Mel for my grandson, he absolutely loved it, thank you so much. My birthday party today and plan to make half a dozen. Would it be ok if I pre made them up and stored in the fridge until cooking time ?
Laura says
I made this last night for my husband's birthday. This morning, the first thing he said to me was, "I can't stop thinking about that cake." LOL! I'm going to make it again for valentines day but this time I think I'll put raspberry jam in the middle instead of peanut butter.
Melanie McDonald says
So pleased you both enjoyed the recipe. They will be delicious with raspberry jam!
marci says
sorry others gave you two stars for not using the correct ingredients, then not understanding weight vs volume.
oy
this recipe (done correctly)came out perfect as do all of your wonderful vegan recipes.
Melanie McDonald says
Thank you Marci. There is always one (or several in this case!🤪)
I'm really pleased you enjoyed the recipe and thank you for leaving a rating/review. It's much appreciated!
Nikki says
Wow! I just made this lava cake, and it’s absolutely delicious! I’m allergic to cocoa and cacao, so I used Carob powder in place of cocoa, carob chocolate chips! Still turned out great!! Baked exactly 14 min. Let it sit 3-5 min. Thank you so much!
Melanie McDonald says
So pleased you enjoyed it! It's great to know it works well with carob powder.
Michaela says
i tried, came out extremely bitter- way too much caocao
Texture was good though,
Might try it with more sugar less caocao.
Melanie McDonald says
I'm not entirely sure from this whether you used cocoa powder or cacao powder but if it was cacao then that explains why it was extremely bitter. The recipe calls for cocoa powder and has not been tested with cacao.
Daniella says
Hi just wondering can the batter be made the day before baking them? Thanks!
Melanie McDonald says
I've never tried it but I'm guessing they wouldn't rise as much as they should because the baking powder would lose some of its potency. They take just a few minutes to mix up anyway. You could make them even quicker by having the dry ingredients mixed up in a bowl, then just add the milk at the time and you're good to go.
Tosh says
Hi Mel
I've asked further up if I could mix batter first however you've already answered in this post. I'll mix the dry ingredients and add the plant milk when I'm ready to bake. Thank you again, I'll let you know how it goes ❤️
Tosh
Melanie McDonald says
Glad you found the answer you were looking for and that you're enjoying the recipe!
Cat says
Hi there, The recipe is super easy and fast! Problem is I think you should check the quantities!!!
Probably just the conversions into gr are wrong because how come 5 tablespoons is more than 6 converted into grams?!
Also 3 tablespoons of sugar with 6 TBS of unsweetened cocoa powder it makes it too bitter!!!
Overall the quantities in grams make more sense!!!
Loved the recipe but gave you 2 stars only because it's not accurate!
Melanie McDonald says
The measurements are all absolutely correct.
RE "how come 5 tablespoons is more than 6 converted into grams?!"
You clearly don't understand measurements and weight. 1 tablespoon or 1 cup of flour weighs a completely different amount to 1 tablespoon or 1 cup of cocoa because they are not the same thing. Just like 1 cup of feathers and 1 cup of stones weigh a different amount.
Volume is very different to weight.
I'll explain the flour so you can see it's correct: 1 cup of flour is 125 grams. Divide that by 16 and you get 1 tablespoon which is 7.8 grams. 7.8 x 5 = 39. Exactly what the recipe says.
It is you that is incorrect here not me.
Also if everything is measured correctly the sweet/bitter balance is perfect.
Thanks so much for the 2 star rating 🤨
Amy says
This recipe was AMAZEBALLS. Seriously. We made it for New Year’s Eve but it would also perfectly punctuate a lovely Valentine’s dinner or birthday meal. The cake was INCREDIBLE! Dark, lucious, smooth, velvety, creamy, warm, ooey gooey. It had the texture of a flourless chocolate cake with the depth of flavor of a dark chocolate brownie. We served with vanilla ice cream and fresh raspberries & it was pure Heaven. My fave recipe of 2022!
Alex says
I'm really sad to say these did not work at all as expected for us. Made the whole recipe using a scale so I know the ratios are good.
Cooking time was completely off for me, possibly due to using glass, tall-ish containers (like a 6oz cube). Oven was pre-heated for 1h. After 13min, there was a crust at the top but otherwise was just batter. Had to put them back for another 10min and they were still gooey.
My wife actually stopped eating hers because she couldn't handle it. She said she could taste the flour and they weren't sweet enough.
Melanie McDonald says
Sounds like the containers were way too deep. Ramekins are best for this recipe. When making a baked pudding/cake recipe it's always wise to use a very similar size dish/pan to the one used in the recipe. Depth affects bake time. Glass will have affected the bake too. It doesn't conduct heat well. Consequently, it takes a lot longer to heat and cook the contents than metal or ceramic. So you basically ended up with very undercooked puddings and they probably weren't as sweet as they should be because the sugar wouldn't have dissolved and caramelized as it should have and the flour wasn't cooked hence the flour taste. If you give them a try in ramekins they will be much better.
simone decker says
These vegan molten lava cakes are a home run! I was hesitant to try this recipe because it seemed to be too simple to be true. These are the best vegan molten lava cakes! Very rich, moist, and balance. would recommend topping with a little vegan whipped creme.
Cathy says
Super easy and oh so rich and decadent. We made some banana nice cream to go with it. A real winner!!
Lauren says
Quick and yummy!!
I made these in my air fryer. I cooked them 11 minutes at 375 degrees. I probably cooked them a minute or 2 too long because like mentioned, they do continue to cook when you take them out.
Put a scoop of ripple ice cream on top. So delicious!
Thank you!!
Melanie McDonald says
Good to know they work well in an air fryer. So pleased you enjoyed them!
Liz says
I’ve been messing around with single serve brownie recipes for a while now that I finally bought some ramekins. I’ve been disappointed with all of my attempts until now. These also don’t have a super high calorie count. I am so happy with these and they don’t use any inegriedients I don’t always have on hand! This was also super easy!
Lilly says
Wow, just wow. I added some dark chocolate in the middle rather than bottom and topped with flakey salt:) 10/10 would make again!!
Tip: My oven runs less hot than most and I only cooked for 12 minutes=perfect
Jeanette says
I followed the directions exactly and actually took them out at 11 minutes since my oven runs hot. They were still a little dry and no gooey center.
What are your suggestions? I'm sure it's me and not the recipe!
Thanks so much.
A Virtual Vegan says
The only reason it would be dry and not gooey is if it's overcooked so you can either just reduce the time further. Start checking at 8 minutes. If it's set well around the edges with a bit of a crust in the middle but you can feel it's liquidy inside, then take it out.
If it's too underdone at 8 minutes keep it going but check again every minute or so.
OR, reduce the temperature. Try 350 °F. I'd still start checking after 10 minutes though just in case.
Underdone is better than overdone and they continue cooking a bit when out of the oven anyway.
Once you've got it right once you'll know for future occasions.
Oh and highly recommend getting an oven thermometer. They are pretty cheap and it will allow you to know the temperature is correct for whatever recipe you're making.
Good luck!
Cathy says
I made this last night for the first time - saw the recipe in the weekly email. Wow!! So easy and delicious - I made it with peanut butter and used organic natural unsalted because it's all we buy - came out just great - gooey goodness. I am a type 1 diabetic so am really happy that 2 portions only uses 3 Tbsp. sugar. I could even cut it to 2 Tbsp. and I"m sure it would be fine. Thanks, Megan for all the wonderful recipes. This lava cake is a keeper - my boyfriend wants it again tonight! :)
A Virtual Vegan says
I'm so pleased you enjoyed it Cathy! And it's awesome it ends up being quite diabetic-friendly too!
Louisa Berry says
How large are the ramekins needed for this? Not sure if mine are too small. Thanks
A Virtual Vegan says
It says in the post and the recipe the size of the ones I used. It's 175mls (6 oz or ¾ cup). You would be able to make it in smaller ones, you'd just have to reduce the cooking time so it might be a little hit and miss the first time you make them.
Louisa Berry says
sorry, obviously can't read. thinking of trying these on monday for my birthday :)
A Virtual Vegan says
No worries! Hope you enjoy them!
Ramya says
will be making this soon for my birthday on 19 September will dm you if i make this and let you know how it goes Thanks Ramya