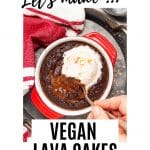
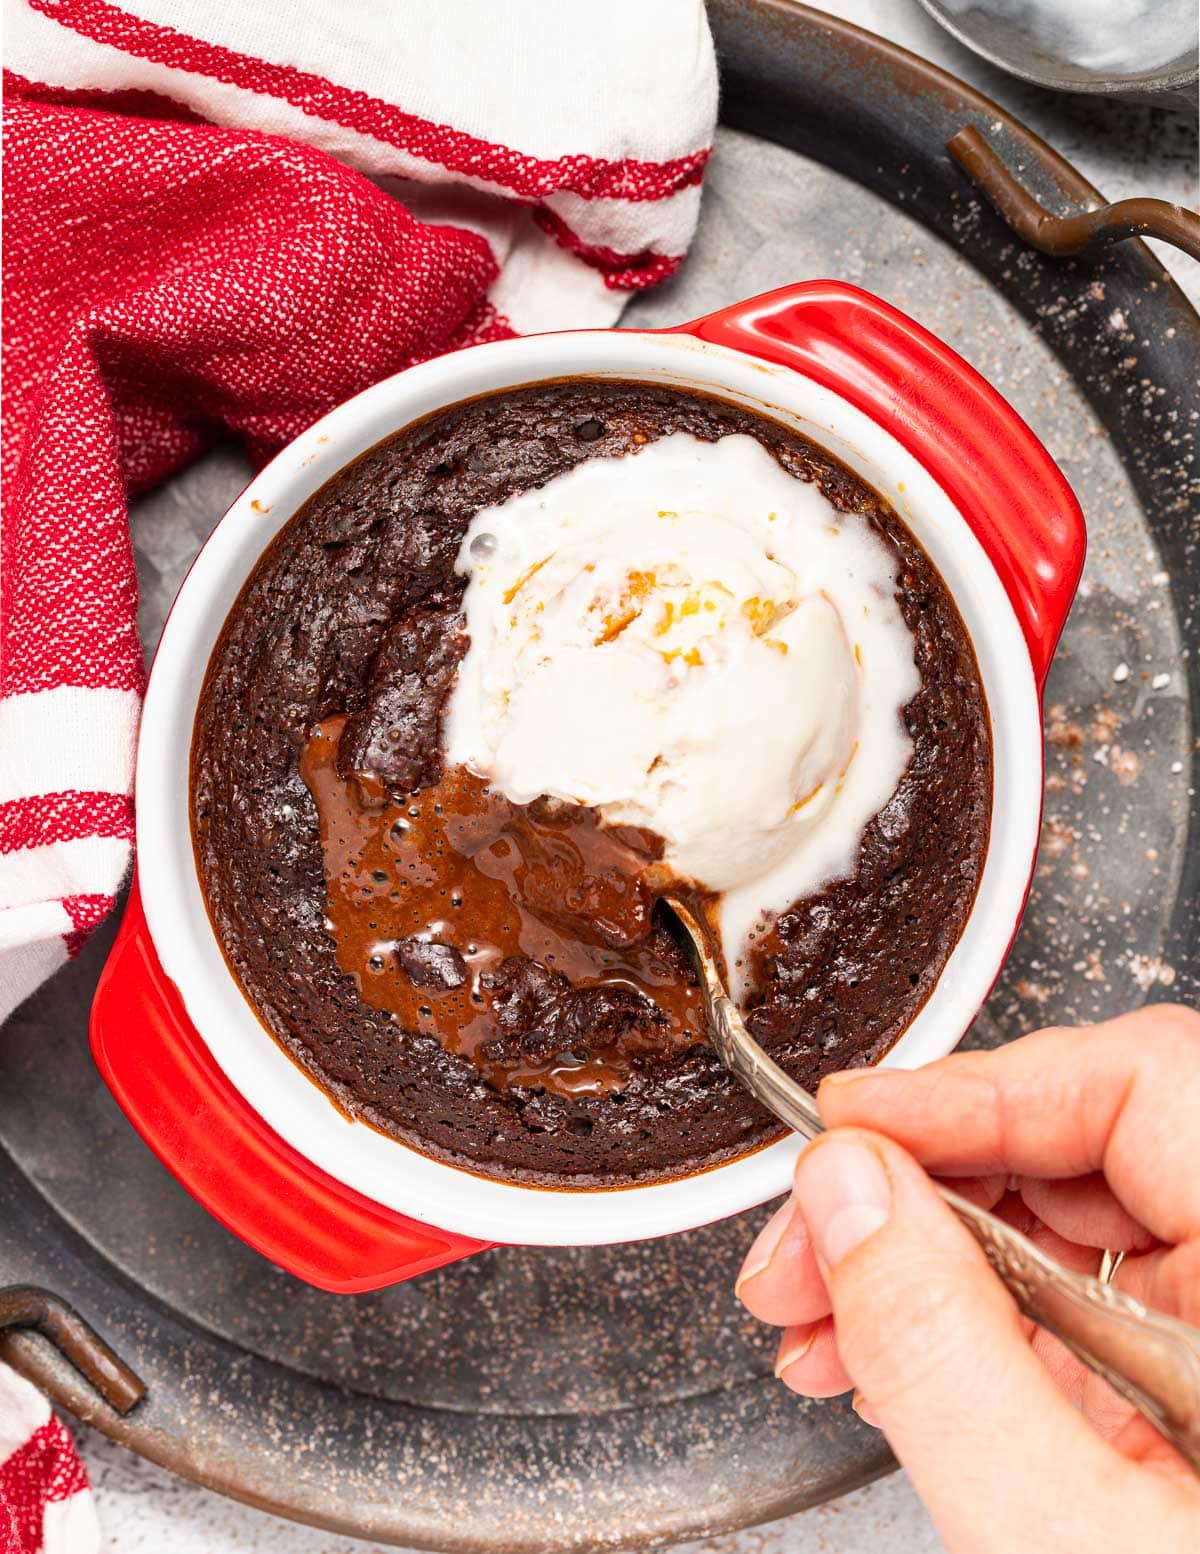
Vegan Lava Cakes featuring warm chocolate cake surrounding a gooey, molten chocolate middle. It doesn't get any better than this because they are incredibly delicious and super quick and easy to make. A treat every chocoholic will love!
💌 SAVE THIS RECIPE!
Watch out for more tasty treats coming your way! Unsubscribe at any time.
Let's talk about fudgy vegan lava cakes with gooey, melted chocolate (or peanut butter) centres... Because we all need a decadent dessert from time to time and this one is so ridiculously quick and easy to make.
Even better these dairy-free and egg-free lava cakes are made from only a handful of ingredients. They are whipped up in a few minutes and only take about 13 minutes to bake.
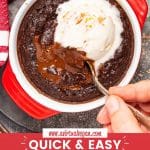
And the list of positives just keeps getting bigger because they can easily be made gluten-free, you can cook them in a microwave if you want to, and each cake is only about 200 calories!
What is a molten chocolate lava cake?
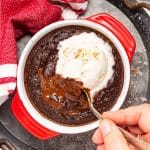
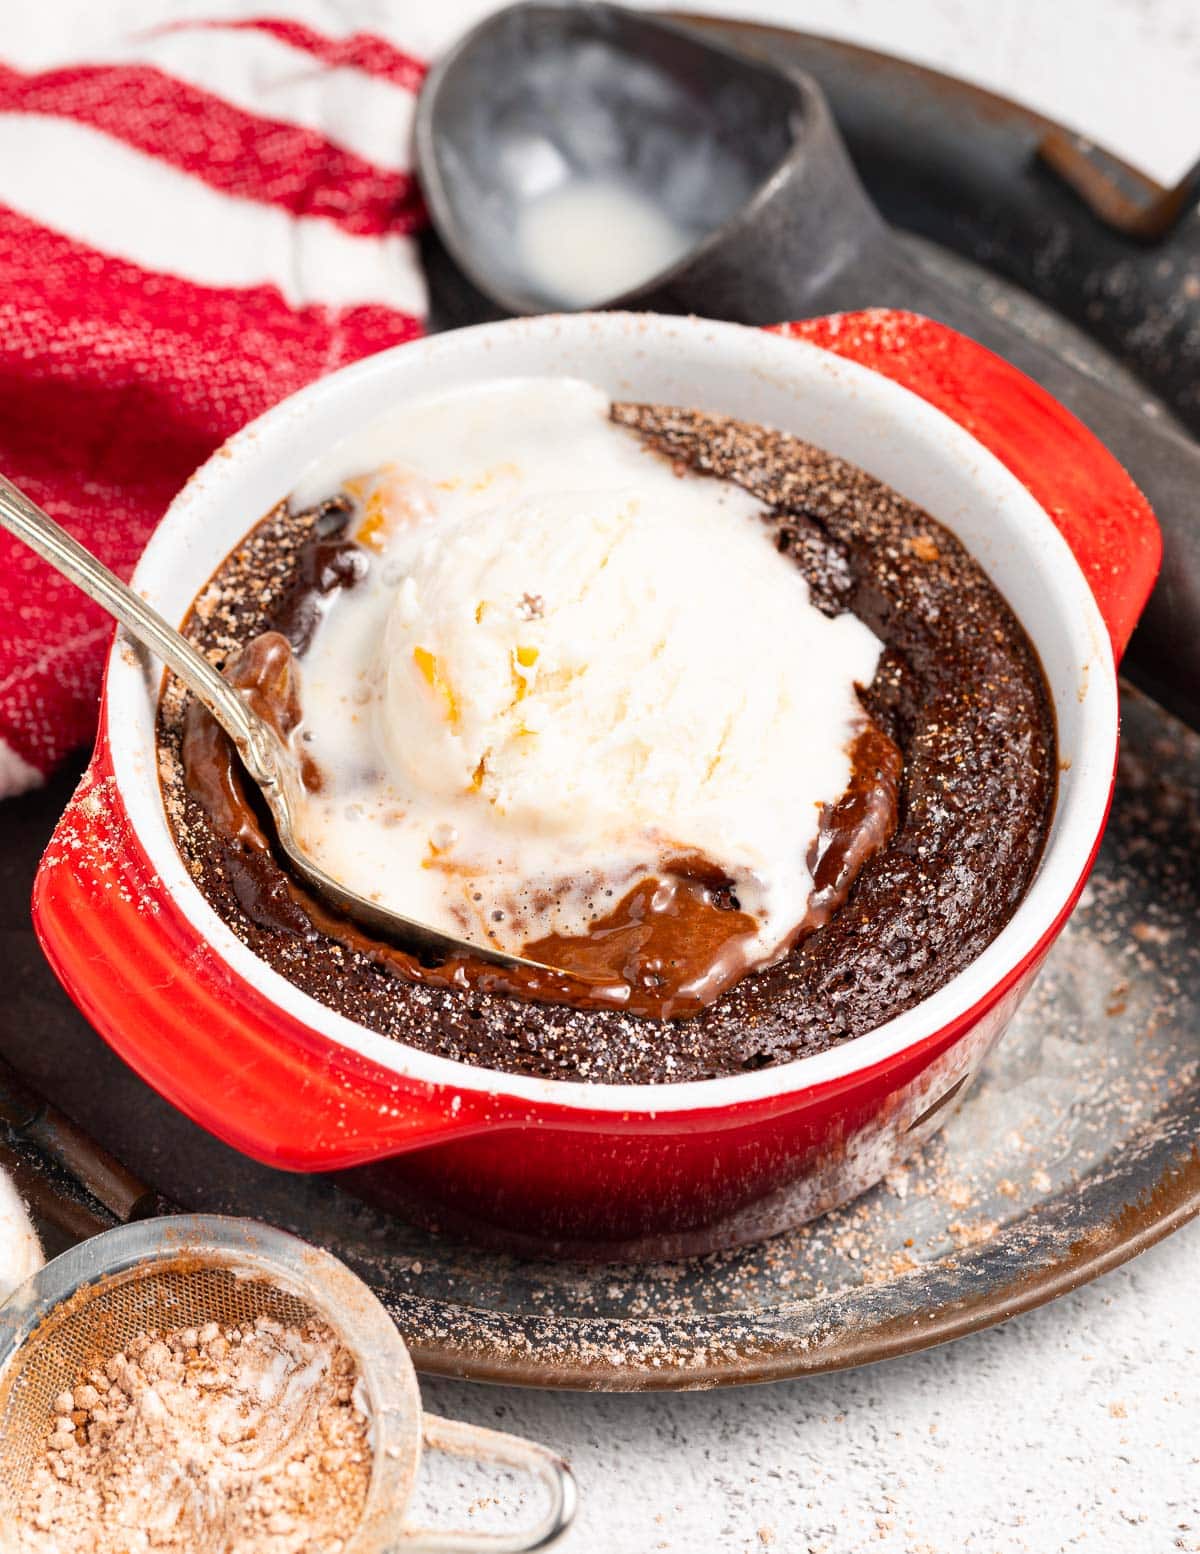
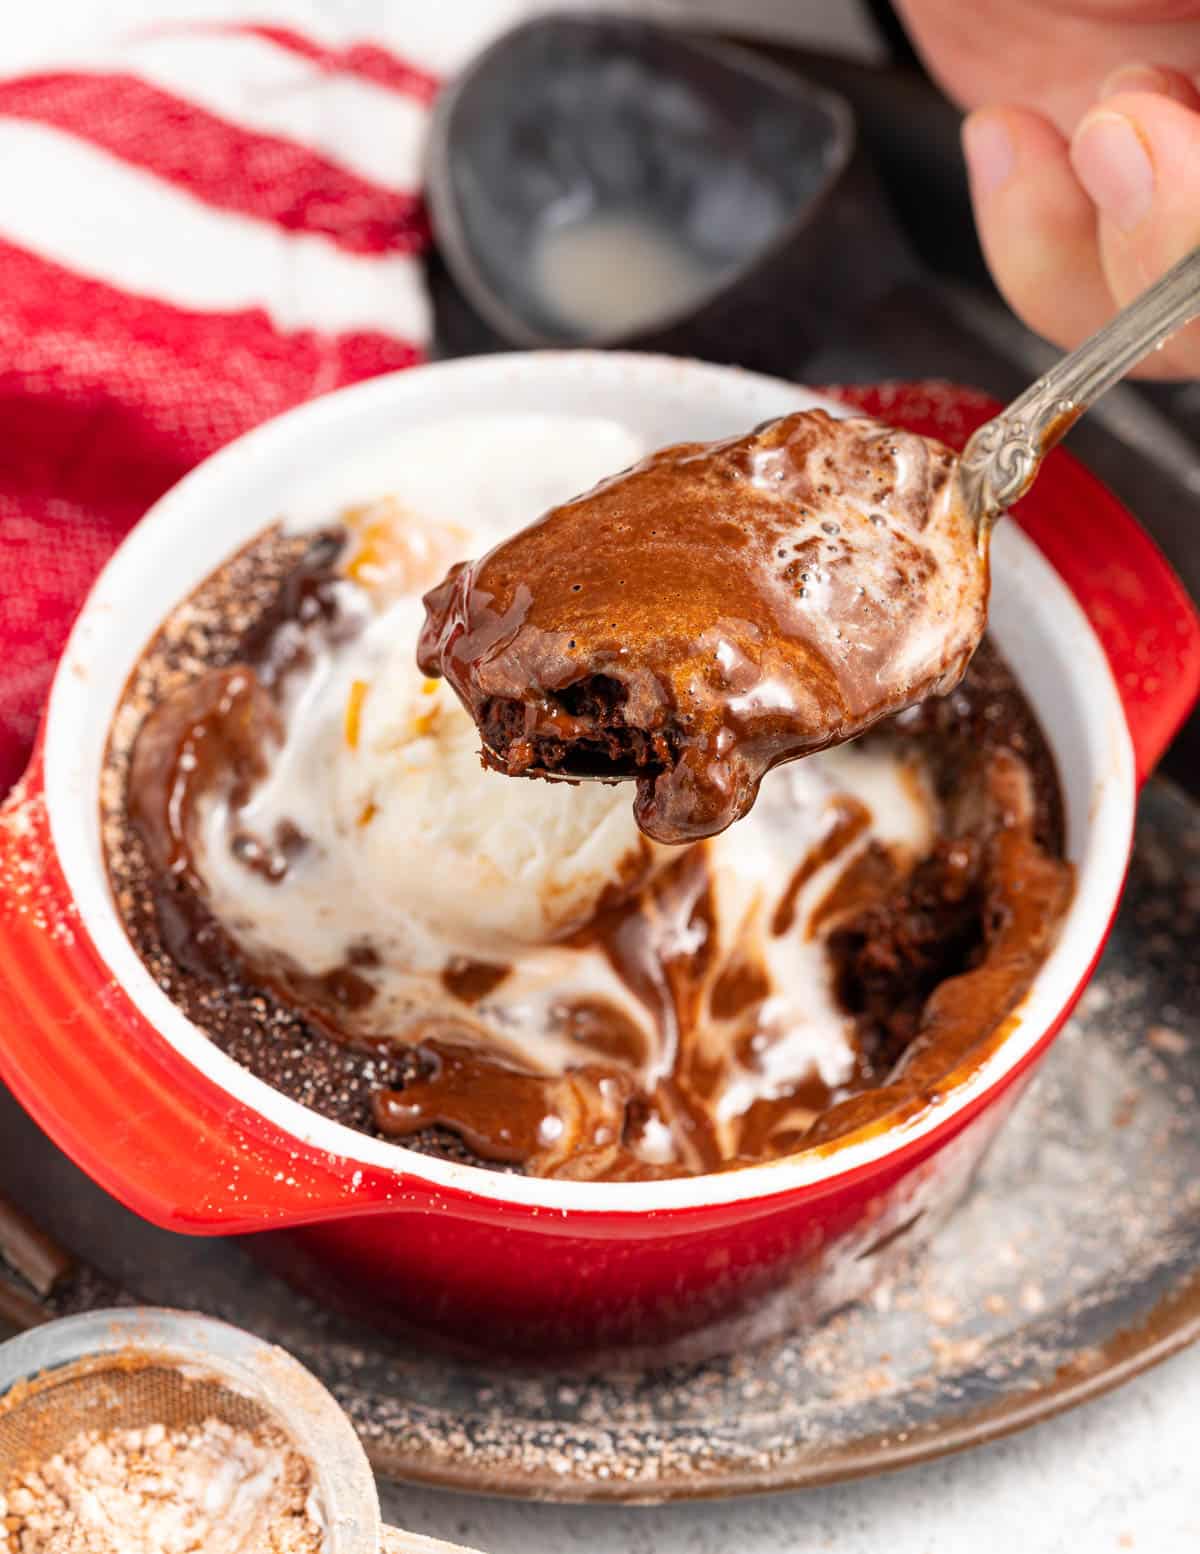
Molten chocolate lava cakes are warm, individual chocolate cakes with an oozing, liquid centre. They are baked in mini cocottes or ramekins and can either be served in the dish they are baked in, or can be carefully turned out on a plate. Served fresh from the oven they are fantastic topped with dairy-free vanilla ice cream or whipped cream.
Ingredients and equipment
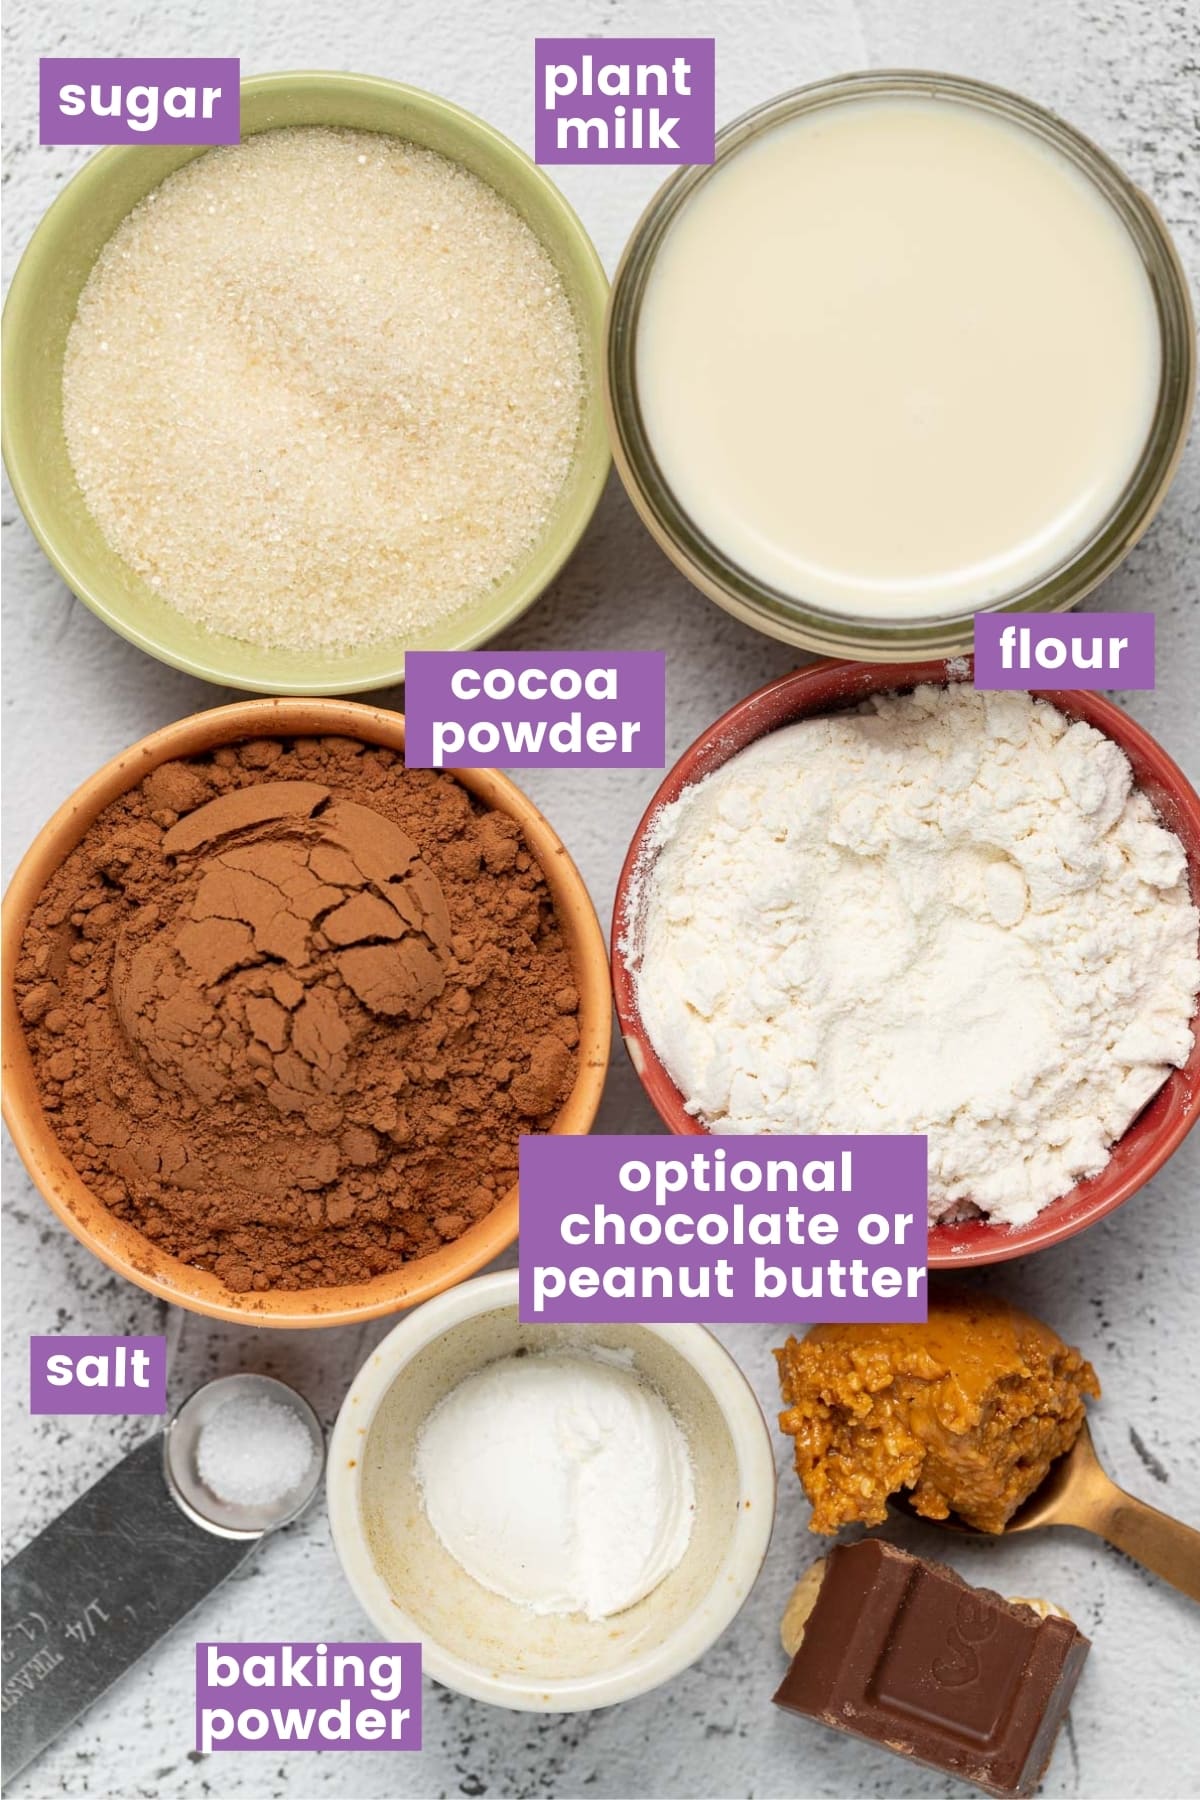
Here's what you'll be needing to make Vegan Lava Cakes:
These vegan lava cakes are baked in small dishes like ramekins or cocottes and are a fun way to give everyone their own individual cake. Any ovenproof containers that will comfortably hold 175mls (6 oz or ¾ cup) will be fine.
How to make vegan lava cakes
Making homemade vegan lava cakes is a lot easier than you may think:
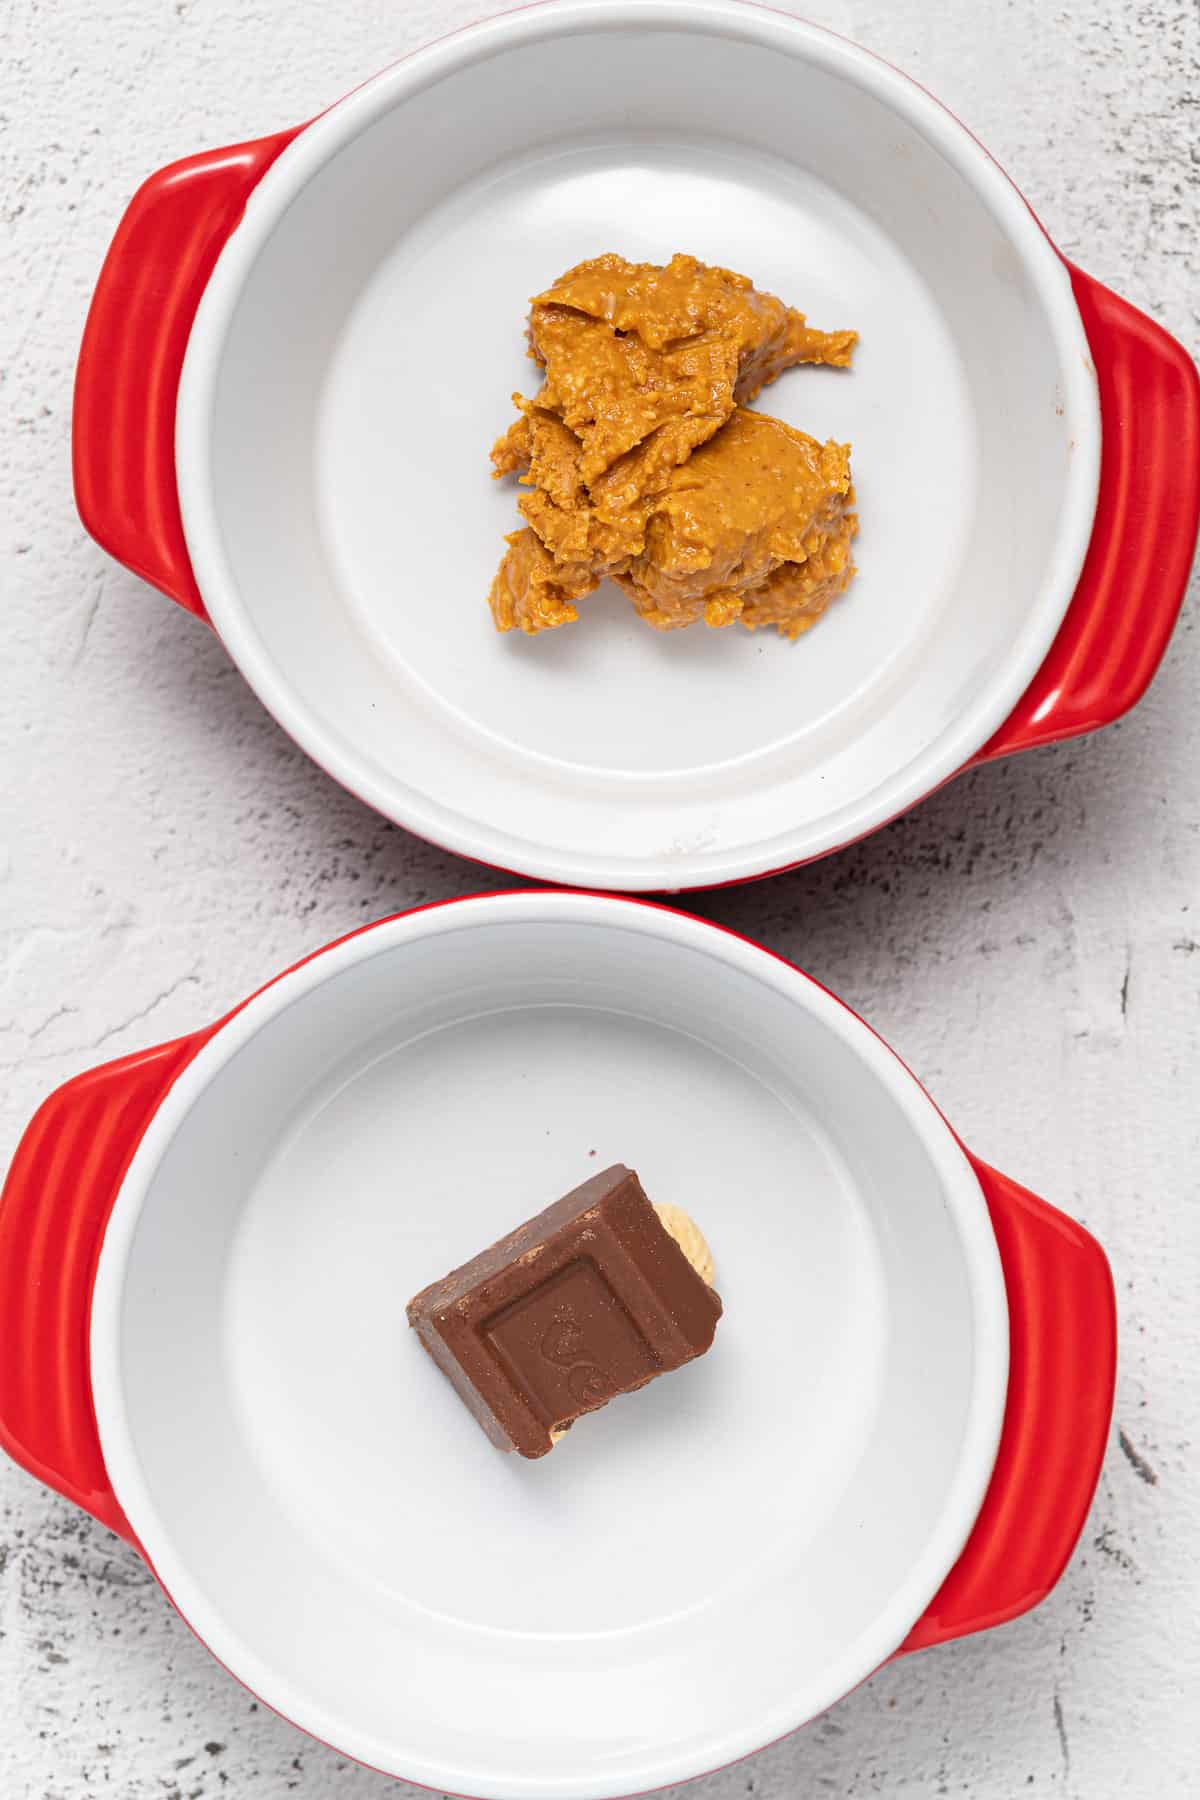
Step 1 - Prepare your mini cocottes or ramekins and place the optional peanut butter or chocolate in the middle of each one. They are still good without it though so don't worry if you don't have any.
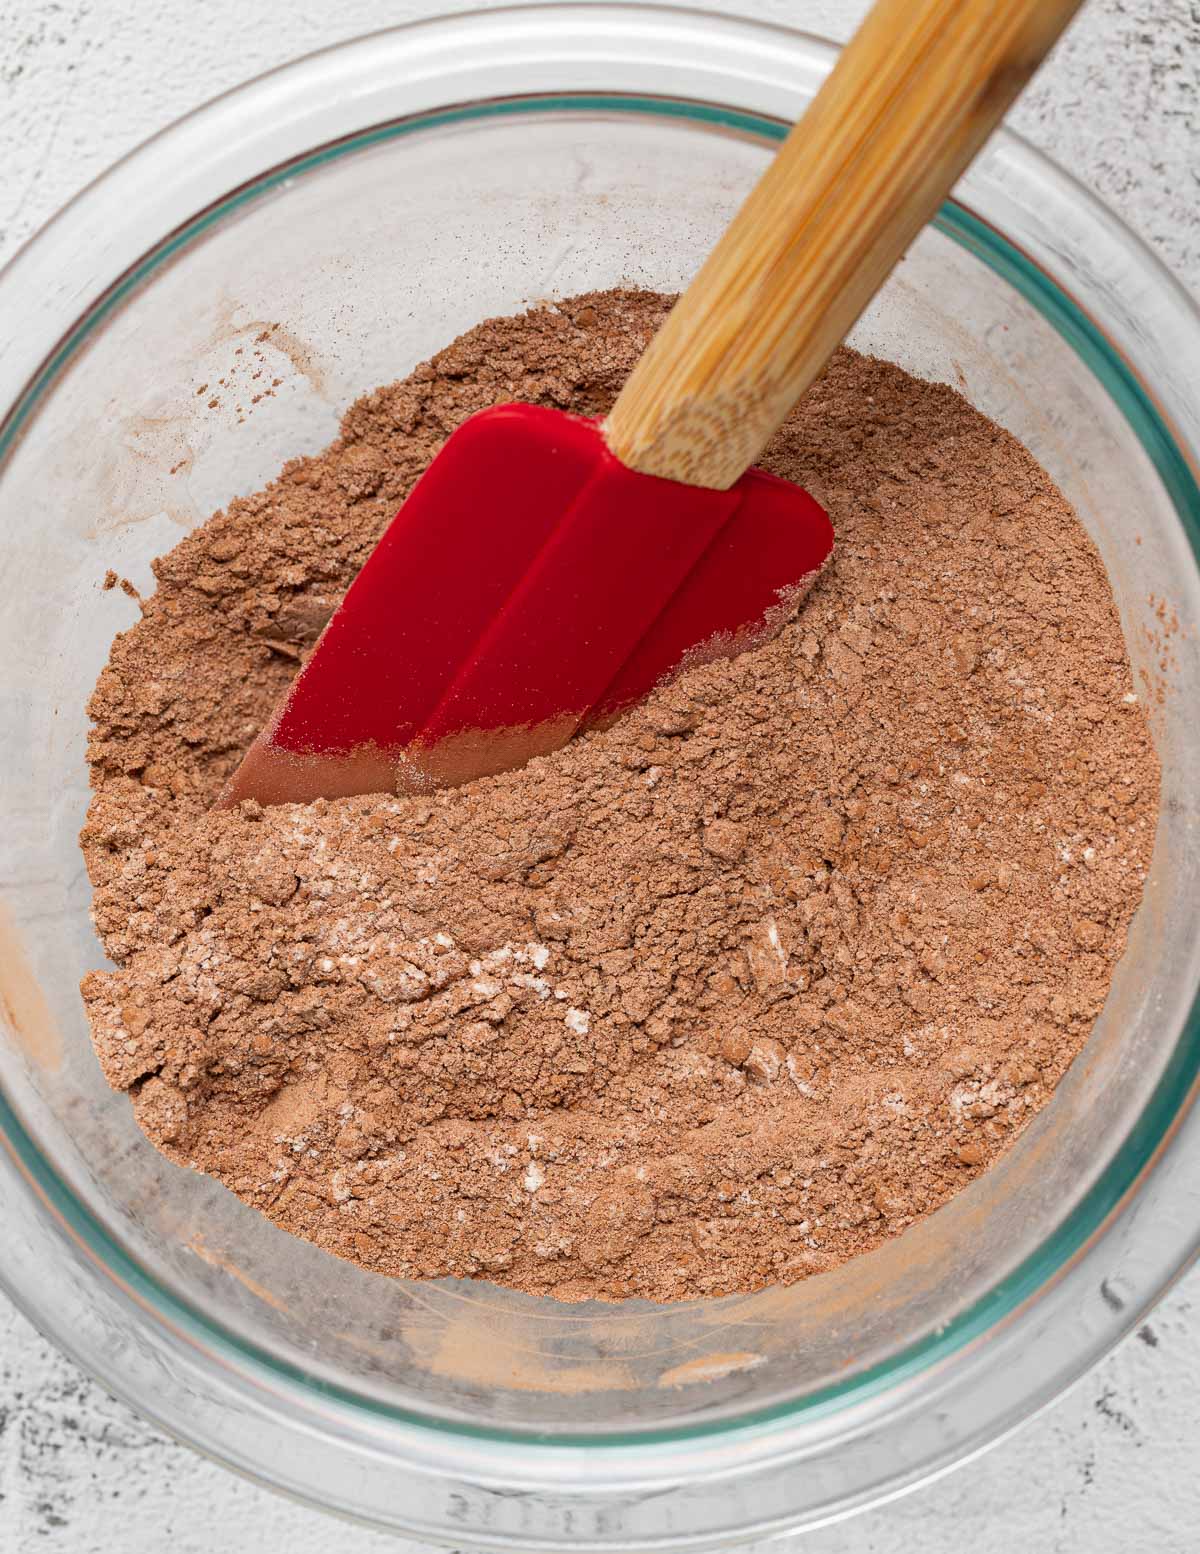
Step 2 - Mix all of the dry cake ingredients in a bowl.
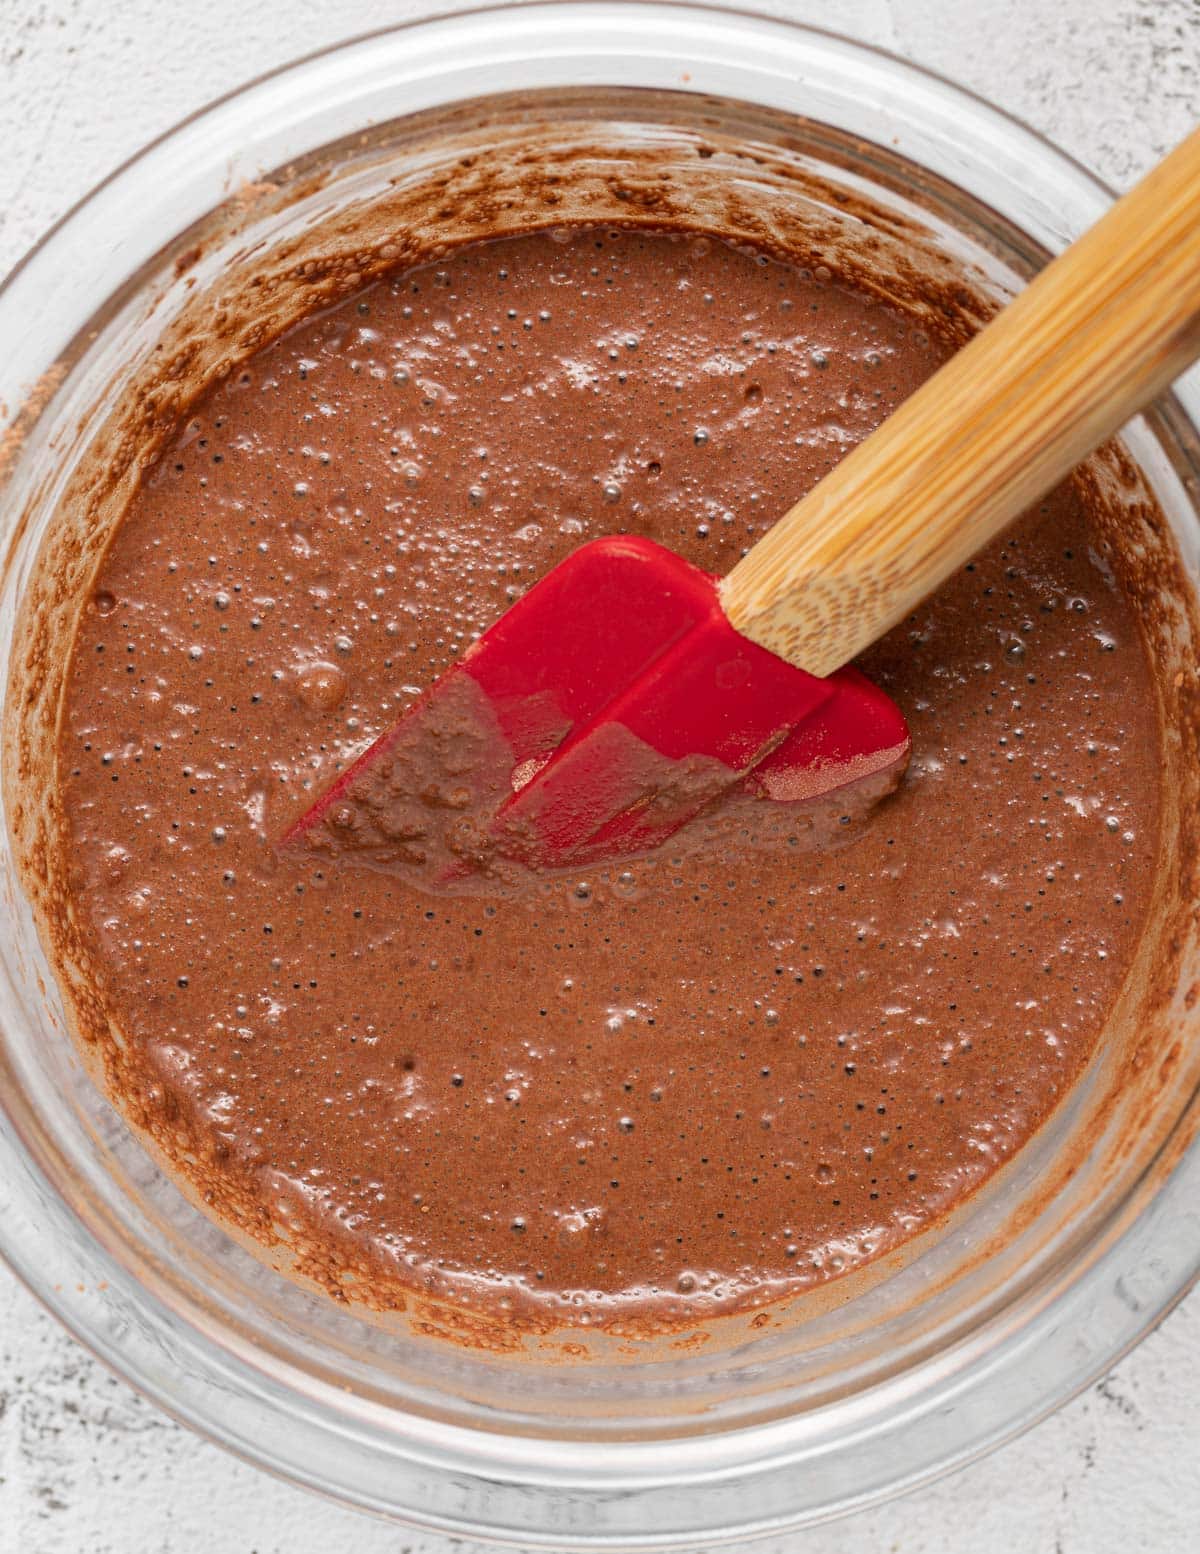
Step 3 - Pour the milk into the dry ingredients and whisk it up. The batter is really thin and runny. That's how it should be so don't worry.
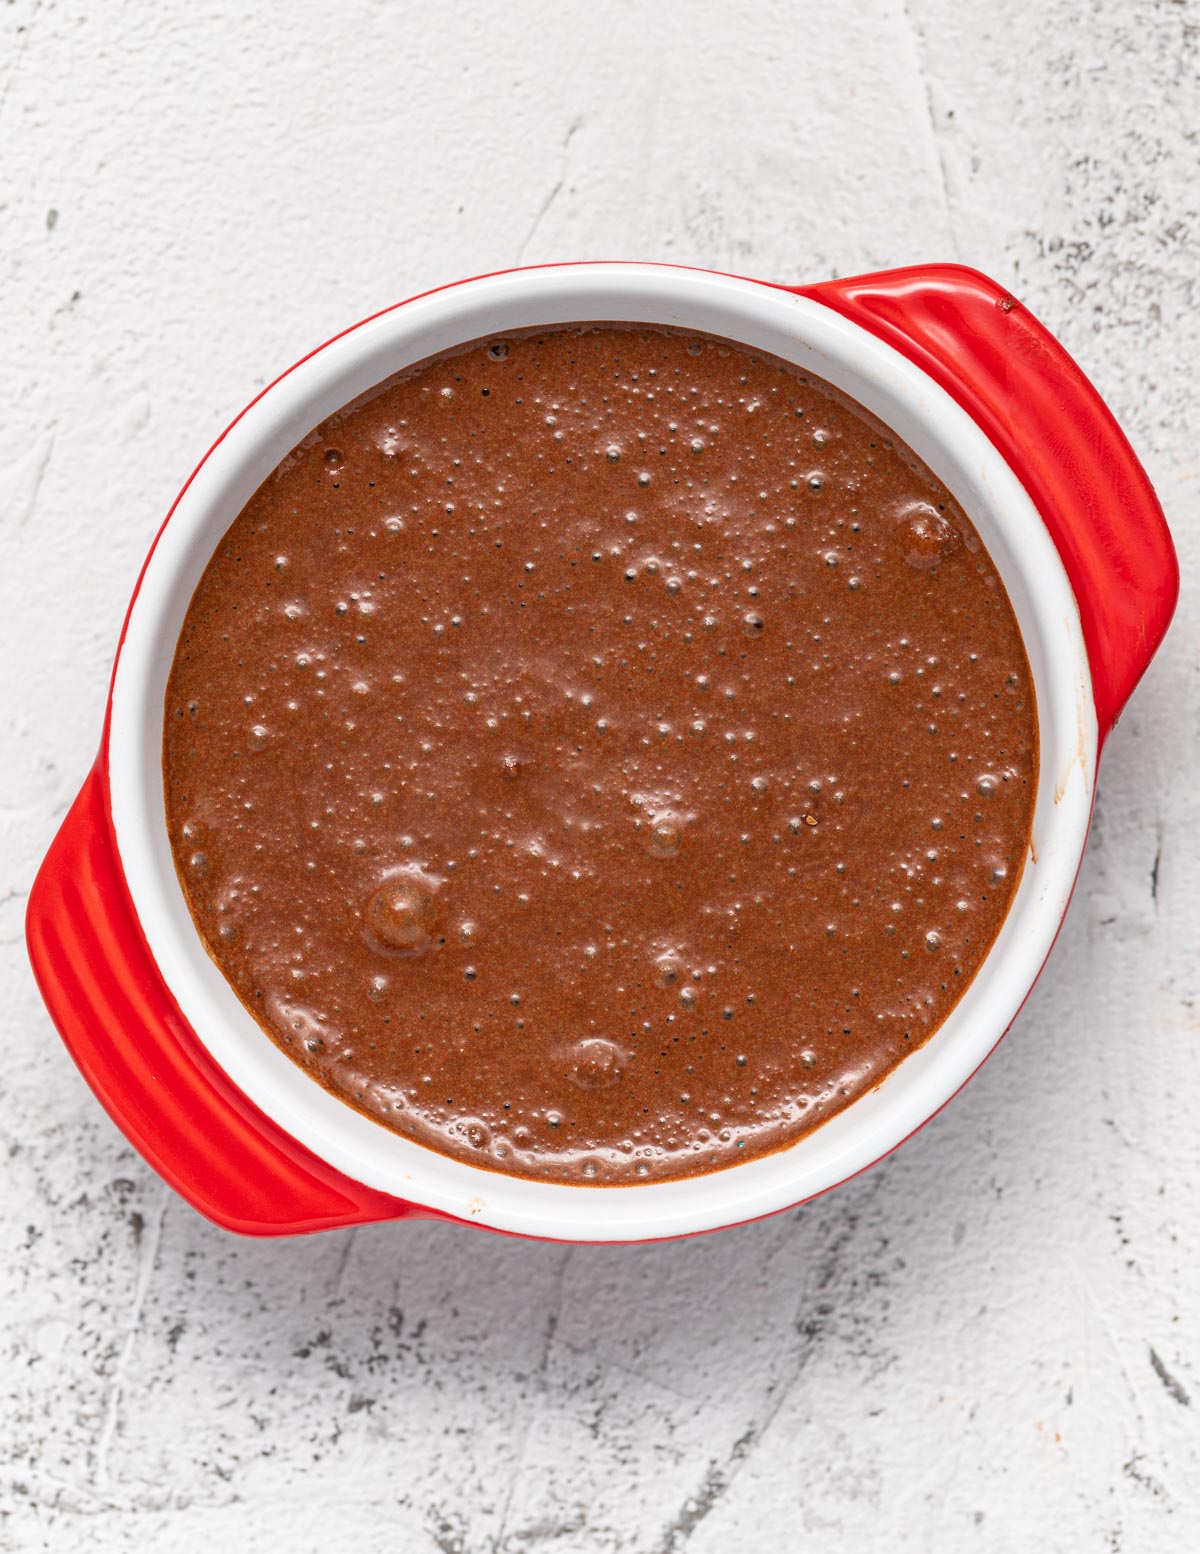
Step 4 - Divide the batter between your baking dishes (overtop of the peanut butter/chocolate).
Step 5 - Bake the cakes (they only take about 13 minutes!) then serve immediately.

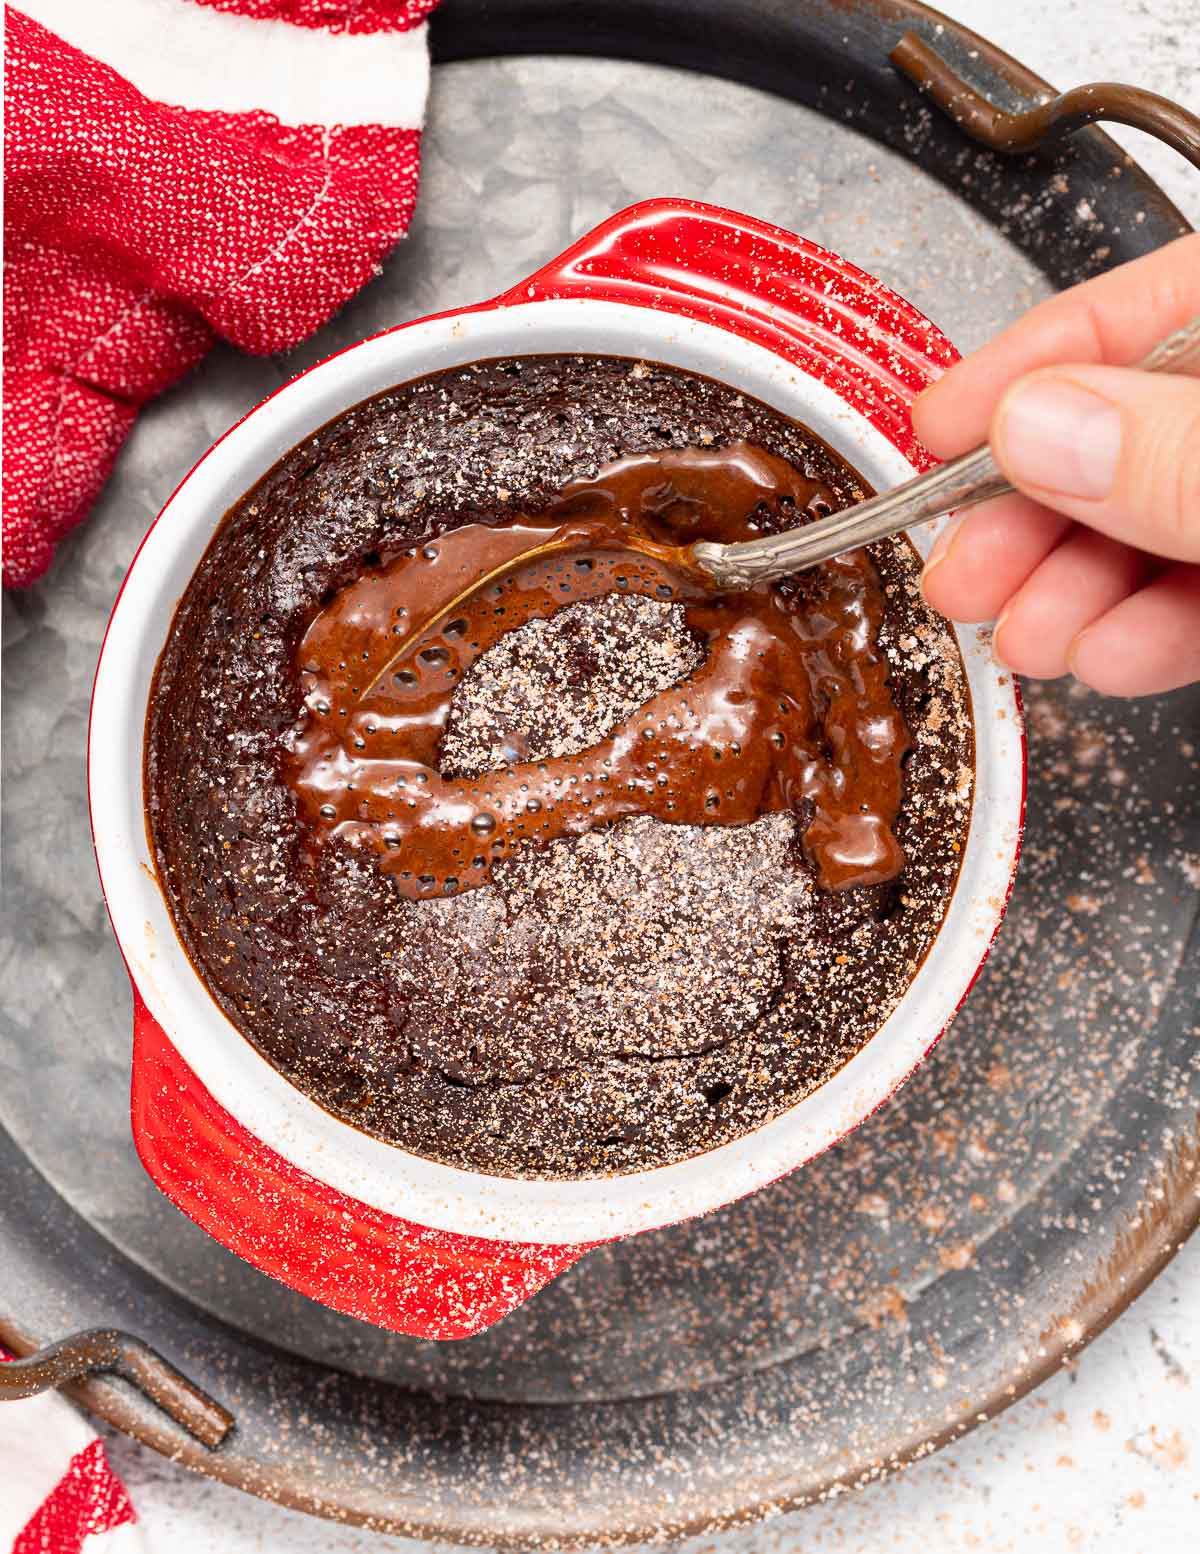
Just wait until you break into it!
Cooking in a microwave
To make the vegan lava cakes in a microwave the process is much the same but I advise going up a size in container because they have a tendency to swell up more than when you bake them in an oven. The time they take will vary greatly depending on your microwave too so the first time will be a little trial and error.
I recommend starting with 40 seconds on high power then cooking in 5-second increments after that until it's cooked well around the edges but still molten in the middle. Remember that microwaved food continues to cook a lot once you remove it, so be very careful not to go too far.
Success tips
- Don't overcook the cakes or the centres won't be lava-filled.
- Do not open the oven door while these are cooking or they could collapse. It won't be necessary to check on them before the 12 minutes mark.
- When you're checking if the cakes are done, keep in mind that they will continue to cook after they're removed from the oven so err on the side of caution. It's better to slightly under-cook them than it is to over-cook them.
- You can bake the cakes in a microwave but I find the results are much better when you use an oven.
- The cakes are designed to be eaten straight from the baking dish and don't need to be turned out onto a plate.
Variations
The main ingredients of this recipe need to be kept exactly as they are for the cakes to turn out well, but there are a few ways you can make them your own:
- Add a dash of espresso powder to the batter for a stronger chocolatey flavour (without it tasting like coffee).
- Add a few drops of mint, coconut or orange extract to the batter.
- Add some chopped nuts or shredded coconut to the batter.
- Use almond butter or coconut butter instead of peanut butter.
- Swap the dark chocolate in the middle for vegan white chocolate.
- Use vegan chocolate spread in the middle.
- Pop a vegan peanut butter cup in the middle
- Put some vegan caramel or date caramel in the middle
Serving Suggestions
Serve the vegan lava cakes immediately with your topping of choice. I personally don't think you can beat some dairy-free vanilla ice-cream, or as I used in the photos, a vanilla peanut butter swirl one, but you could also top them with:
- a dusting of powdered sugar or cocoa
- vegan cream or vegan yogurt
- caramel sauce or date caramel
- roasted strawberries
- berry compote or fresh raspberries or strawberries
- vegan custard
Recipe FAQs
Yes, it's so easy to make gluten-free vegan lava cakes. Swap the same amount of all-purpose flour with a gluten-free blend (I tested with Bob's Red Mill 1 for 1 Baking Flour) or you can use 6 tablespoons of oat flour or 6 tablespoons of rolled or old-fashioned oats in place of the all-purpose flour. If you use oats instead of flour though you will need to blend the batter rather than mix by hand.
Unfortunately, this vegan lava cake recipe isn't one you can prepare in advance. Once mixed the batter needs to be cooked right away, and if not served immediately the molten centre will solidify. If reheated, whilst still ok, the middle will not be gooey or molten. It will be more like eating chocolate cake than lava cake.
Recipe

Vegan Lava Cakes
Author:WATCH HOW TO MAKE IT
Ingredients
- 5 tablespoons (39 grams) all purpose flour or gluten-free all purpose flour (see recipe notes for oat/oat flour option)
- 6 tablespoons (32 grams) cocoa powder
- 3 tablespoons (37 grams) white or cane sugar
- 1 teaspoon baking powder
- 1 pinch fine salt
- ½ cup + 2 tablespoons (150 mls or 5 fl oz) plant-based milk
Optional
- 2 small dollops peanut butter , or seed butter
- 4 squares chocolate , or a small handful of chocolate chips
RECOMMENDED EQUIPMENT
INSTRUCTIONS
- Preheat oven to 390 °F (198 °C) and have 2 small ovenproof dishes such as ramekins or mini cocottes that will hold about 175mls (6 oz or ¾ cup) ready on a small baking tray.
- If using the optional peanut butter or chocolate (or both!) add them to the middle of both dishes.
- Then to a medium bowl add the flour, cocoa powder, sugar, baking powder and salt. Mix them together well.
- Pour in the milk and whisk really well to combine. It's easier with a whisk than a spoon as there is a lot of milk and the cocoa tends to want to float on the top. It's normal for the batter to be very thin.
- Divide the batter evenly between the 2 ovenproof dishes, over the top of the optional peanut butter/chocolate.
- Bake for about 13 to 14 mins or until they have puffed up and look set but if you wobble them or poke the centre really gently you can feel they are still liquidy. They will continue to cook a little once removed them from the oven. If you leave them in too long the centre will set.
- Serve immediately.
To cook in a microwave
- Important - It's very easy to overcook these cakes in the microwave. Cooking them in the oven is much easier. Remember that all microwaves cook at different strengths so the first time you make these it will be a case of trial and error. If you want to try, here's how:
- Follow all of the above instructions but use microwave-safe containers. I recommend going up in size a little as the cake swells up more in the microwave than in the oven. Keep an eye on them through the door while they cook in case they start to overflow.
- Cook on full power for about 40 seconds. Check after 40 seconds. You need them to be puffed up and set around the edges with a wobbly/liquidy middle. If you poke the centre gently with your finger it should have a bit of a crust on the top but feel liquidy underneath.
- If they aren't at that stage, cook again in 5 second increments checking each time until done. Keep in mind that they will continue to cook once you remove them from the microwave so it's better to undercook rather than go too far.
NOTES
To make gluten-Free
You can either:- Use gluten-free all-purpose flour. This is a direct swap. Use exactly the same amount of flour as the recipe states. I used Bob's Red Mill 1 for 1 Baking Flour when testing.
- Use 6 tablespoons of oat flour and keep everything else in the recipe the same.
- Or use 6 tablespoons of rolled or old-fashioned oats in place of the all-purpose flour, keeping everything else the same, and blend the batter together until smooth. Keep in mind that the amount of batter here is small so it might not work well in a great big blender jar. I used my Blendtec Twister Jar when I tested this.
💌 SAVE THIS RECIPE!
Watch out for more tasty treats coming your way! Unsubscribe at any time.
Michelle says
Wow! What a quick and easy and delicious dessert! Thanks Mel!