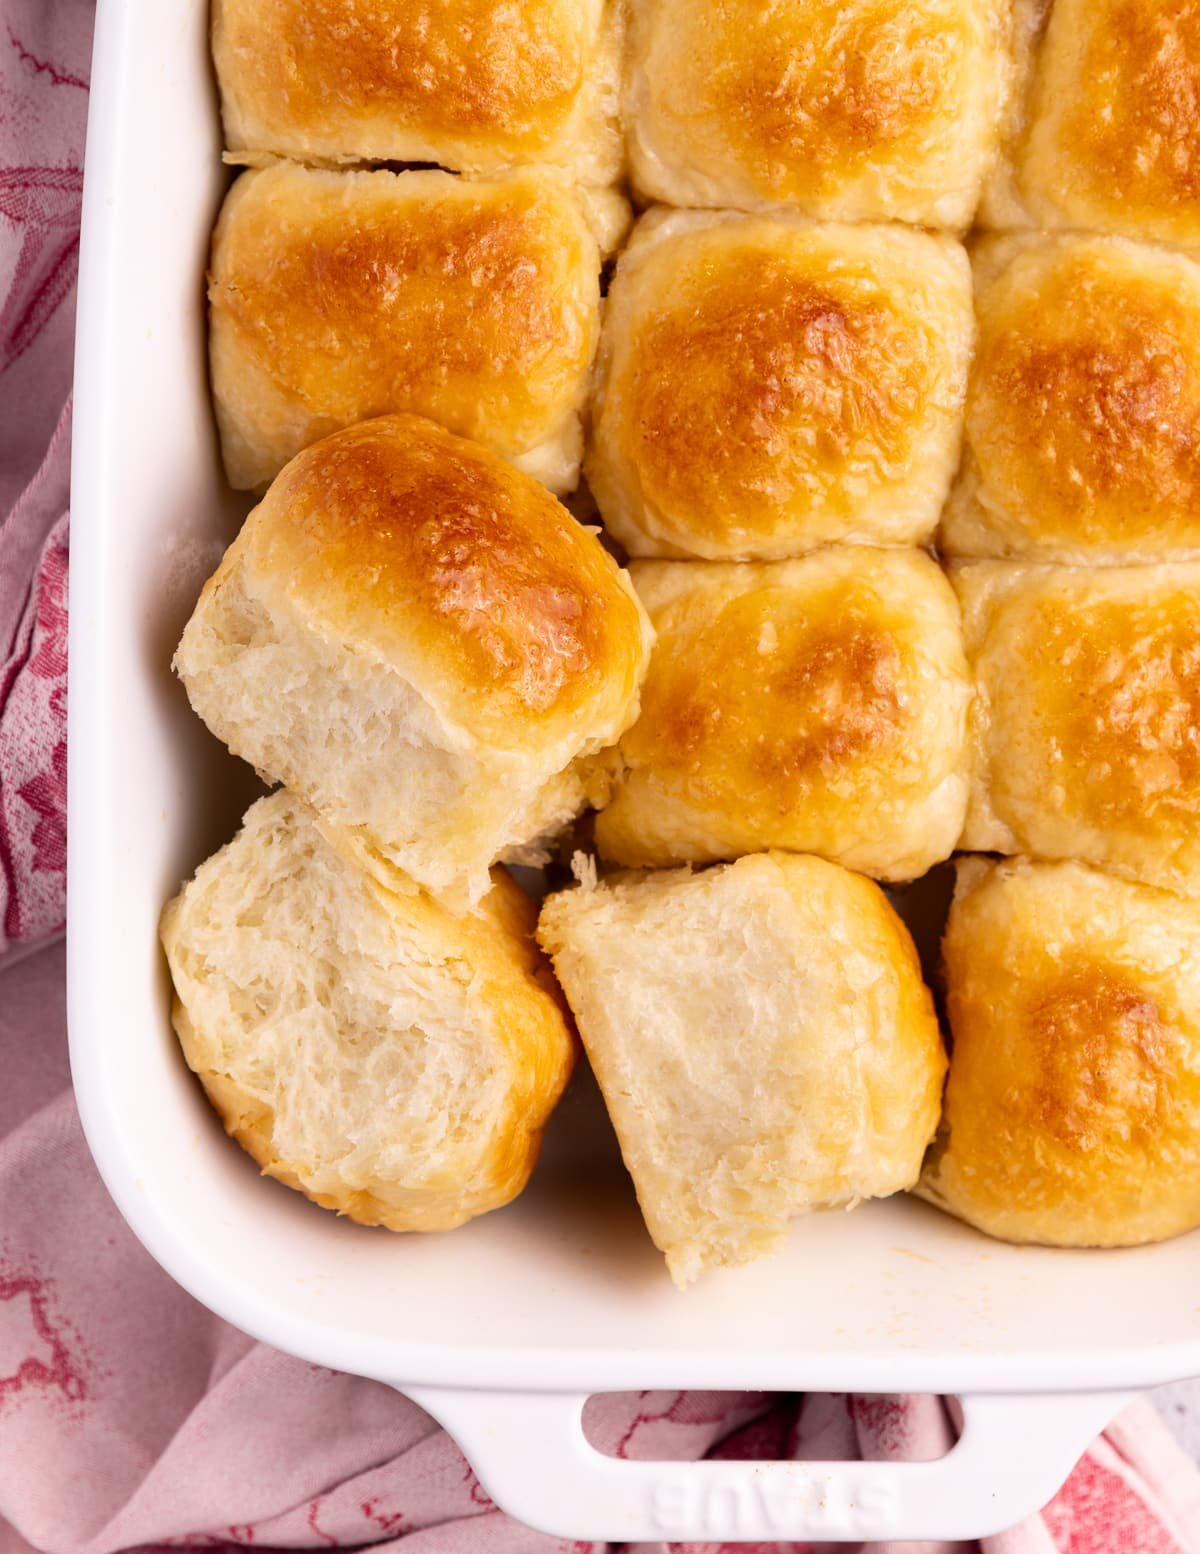
The easiest pillowy soft Vegan Dinner Rolls! This simple no-knead recipe is ridiculously easy and the rolls are buttery, fluffy, golden, and unbelievably delicious. You don't need a mixer and you can even prep them and store in the fridge for up to 24 hours before baking!
💌 SAVE THIS RECIPE!
Watch out for more tasty treats coming your way too! Unsubscribe at any time.
FEATURED COMMENT
"Absolutely fantastic. Light, fluffy, slightly sweet perfection! (Also SO easy and quick to throw together!)" - Abigail ⭐️⭐️⭐️⭐️⭐️ More reviews →
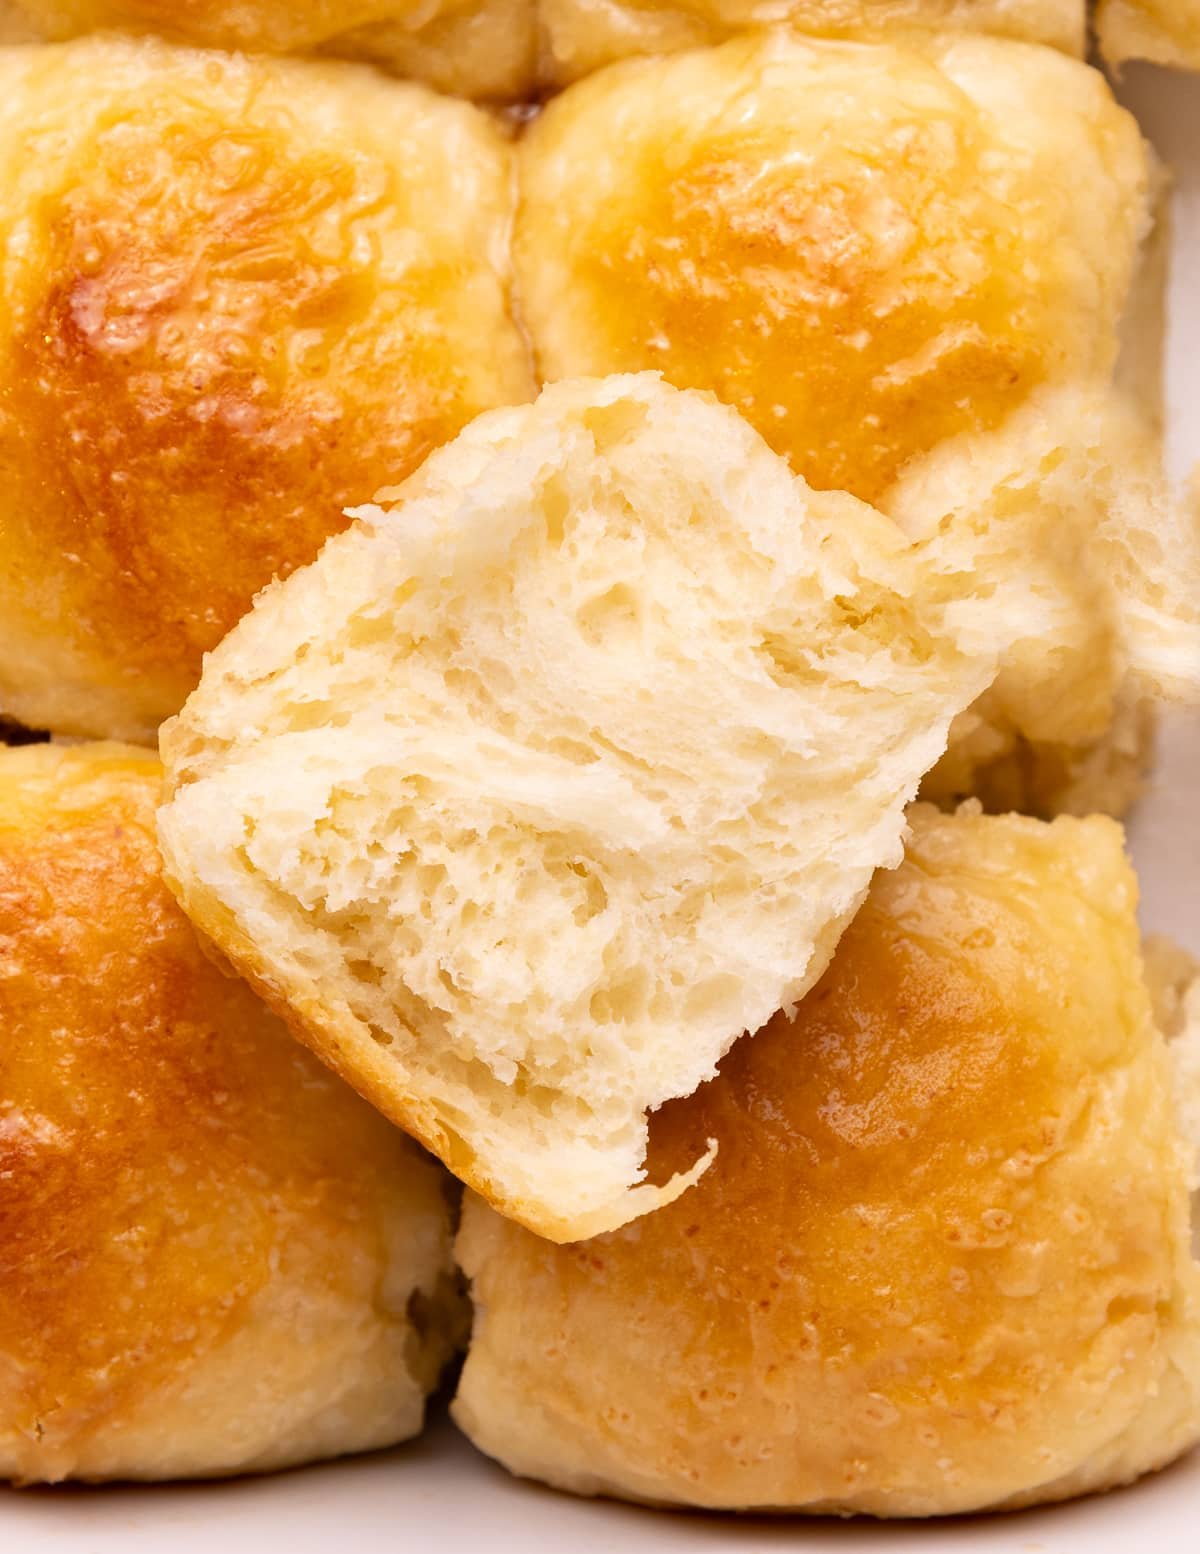
No family dinner is complete without a pan of steaming hot, pillowy soft, golden, and buttery dinner rolls on the table, and this No Knead Vegan Dinner Rolls recipe is a keeper for sure.
I loosely based this recipe on my very popular No Knead Focaccia and No Knead Pull Apart Cinnamon Bread. Just like those it will not let you down and I can guarantee that there will be a frenzy when everyone dives in to tear apart that pan of glistening carby delight as soon as it hits the table. They are so unbelievably good!
Now, these might be called dinner rolls but please don't limit them just to dinner time. They're perfect with any meal, at any time of day. You can use them to make sliders and breakfast sandwiches, serve them alongside a salad for lunch, fill them with your favourite sandwich filling (hello spicy chickpea smash), or use them to soak up your favourite soups and stews or just to enjoy for a snack with a swipe of vegan butter!
And don't worry if you've never made bread or rolls before because you're going to be a dinner roll-making pro in no time! This recipe couldn't be easier and I've included detailed step-by-step pictures and a video to guide you through every step.
Mel x
Ingredients
Here is what you need at a glance, along with some important ingredient notes & substitution ideas:
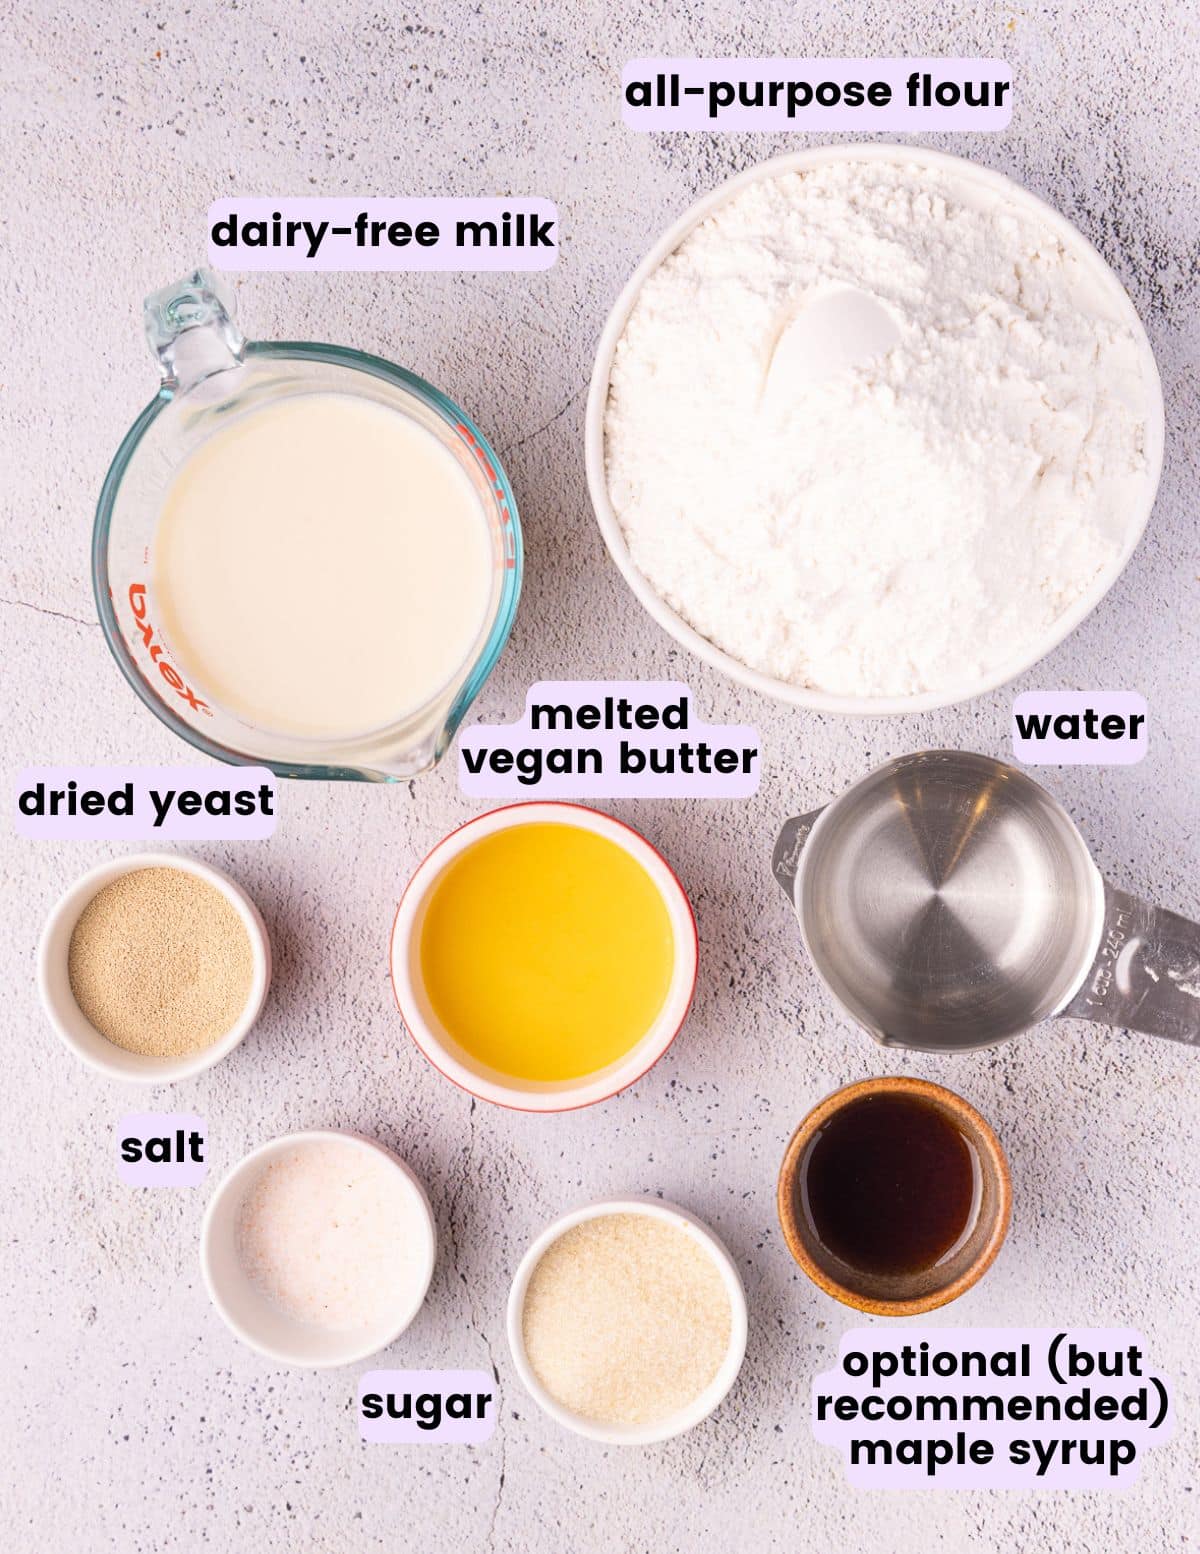
- Flour - You can use all-purpose flour or bread flour in this recipe. If you are in the UK you need to use strong flour. I have only tested this recipe with white flour. It might not work the same with wholewheat or spelt flour.
- Yeast - You can use quick/fast action yeast or active dry yeast.
- Dairy-free milk - I recommend using soy milk if you can. It's higher protein content makes for softer rolls/bread than other dairy-free milk varieties. If you don't have or don't want to use soy though any other unsweetened or unflavoured dairy-free milk will be ok.
- Water - Straight from the tap/faucet. There is no need to warm it like you usually do when making bread.
- Dairy-free butter - This makes the rolls fluffy, soft, and buttery.
- Sugar - Important in this no-knead dinner roll recipe because it absorbs water, and makes the dough looser. This in turn makes the rolls expand more when baking so you get a softer, lighter crumb. It also adds flavour and helps the rolls achieve good colour. If you'd rather use less you can safely reduce it to 2 tablespoons without noticing too much of a difference but your rolls will be very slightly less soft and may colour less.
- Salt - I use fine sea salt in my recipes. If you use a salt that is not fine you will need to weigh it rather than use teaspoon measures as the volume is different. It's important to use the correct amount of salt in bread recipes because it can affect how the yeast works.
For finishing once baked:
- Vegan butter and optional maple syrup - This is to brush the finished rolls. I like to mix some maple syrup into my melted butter as it gives the rolls a nice sheen and adds a really lovely flavour/sweetness when eating. You can just use melted butter if you prefer.
Let's Make No Knead Vegan Dinner Rolls!
Can't wait to make it? Here's a quick visual walkthrough. I recommend watching my recipe video and reading the full recipe from start to finish before you begin.
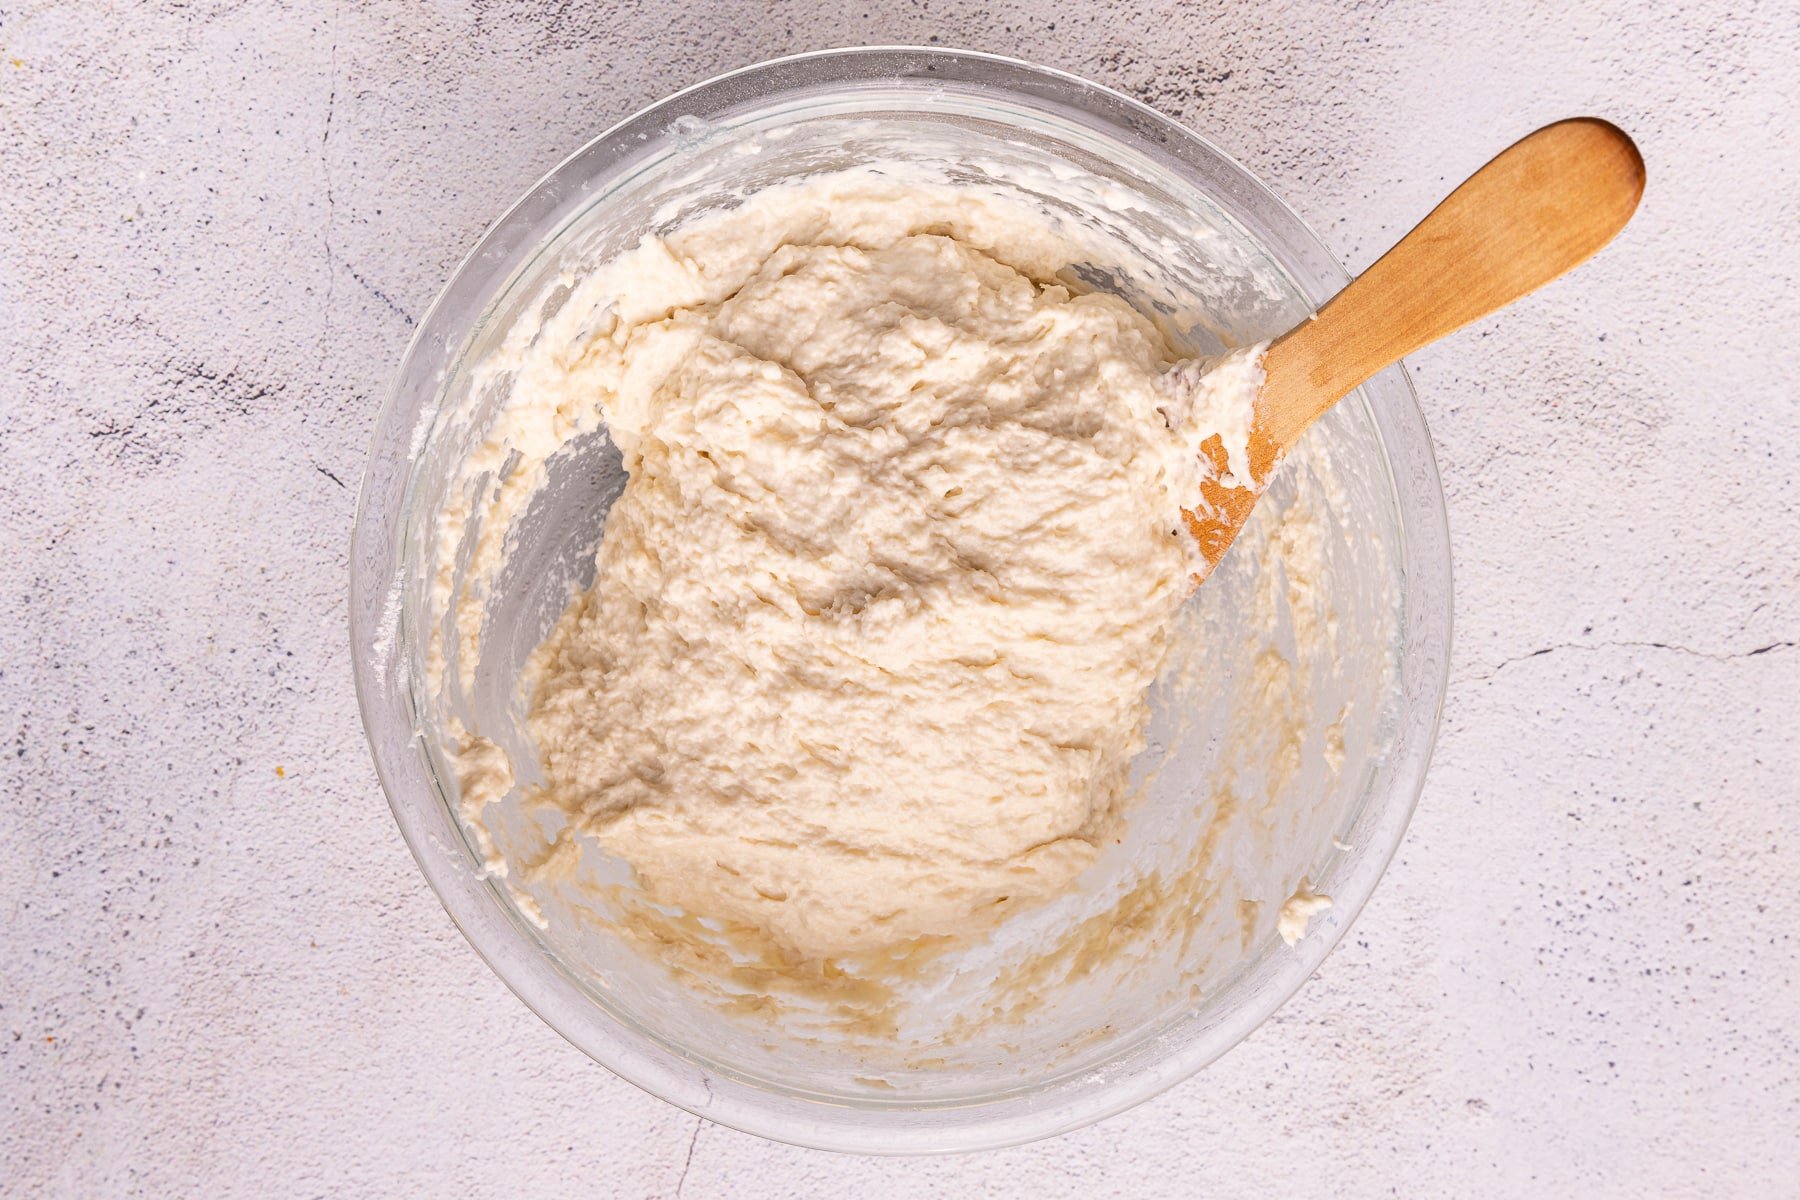
1 - Mix the dry ingredients (flour, yeast, sugar, and salt) together in a bowl. Pour in the melted butter, milk, and water. Stir together to form a sticky, shaggy dough then cover with a damp cloth and leave to rest. See the recipe card for exact times and options.
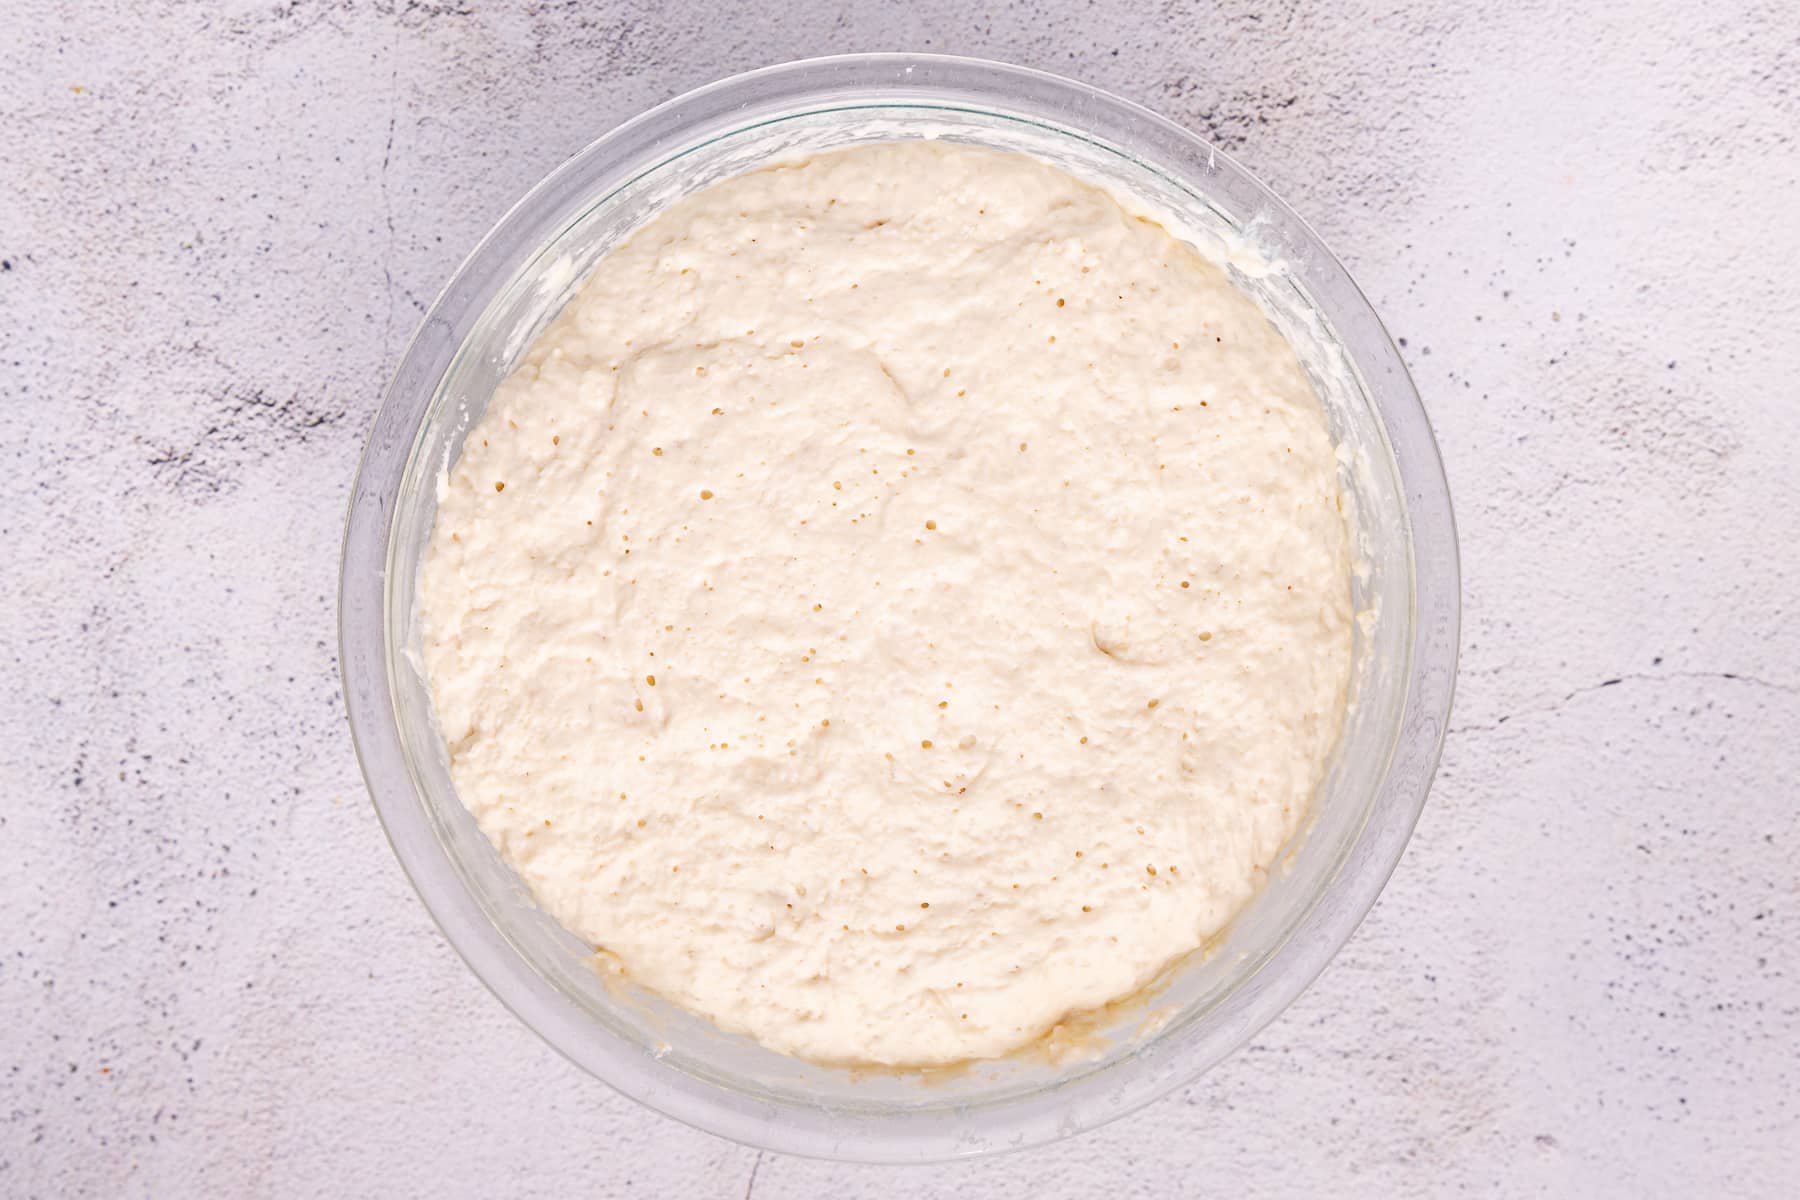
When you return to it it will have risen a lot and look like this.
2 - Scrape out onto a floured surface and bring it together into a rough ball. I do this by pulling a piece from the side into the middle and continuing all the way around. Then turn it upside down so the seams are on the bottom. I show this in detail in my video.
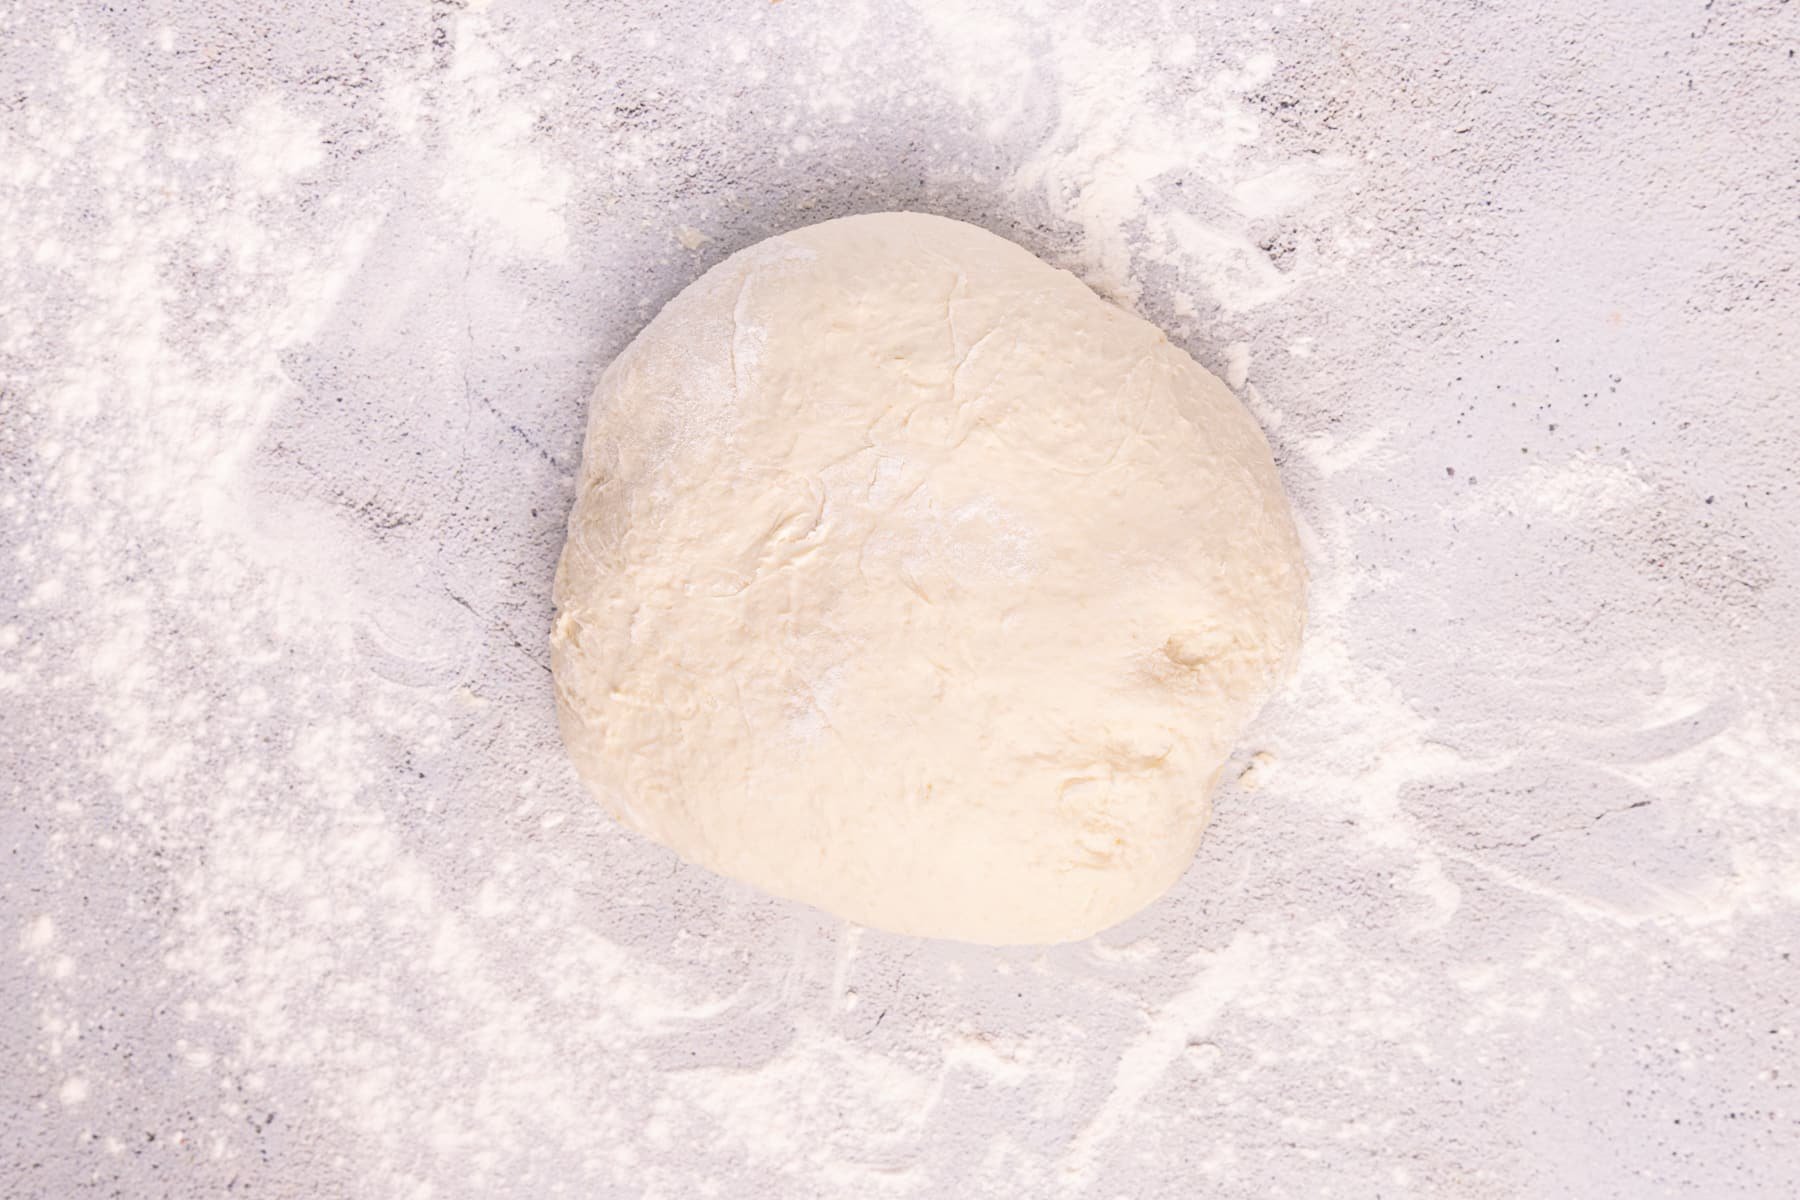
3 - Cut the dough ball into 15 pieces using a dough scraper or sharp knife.
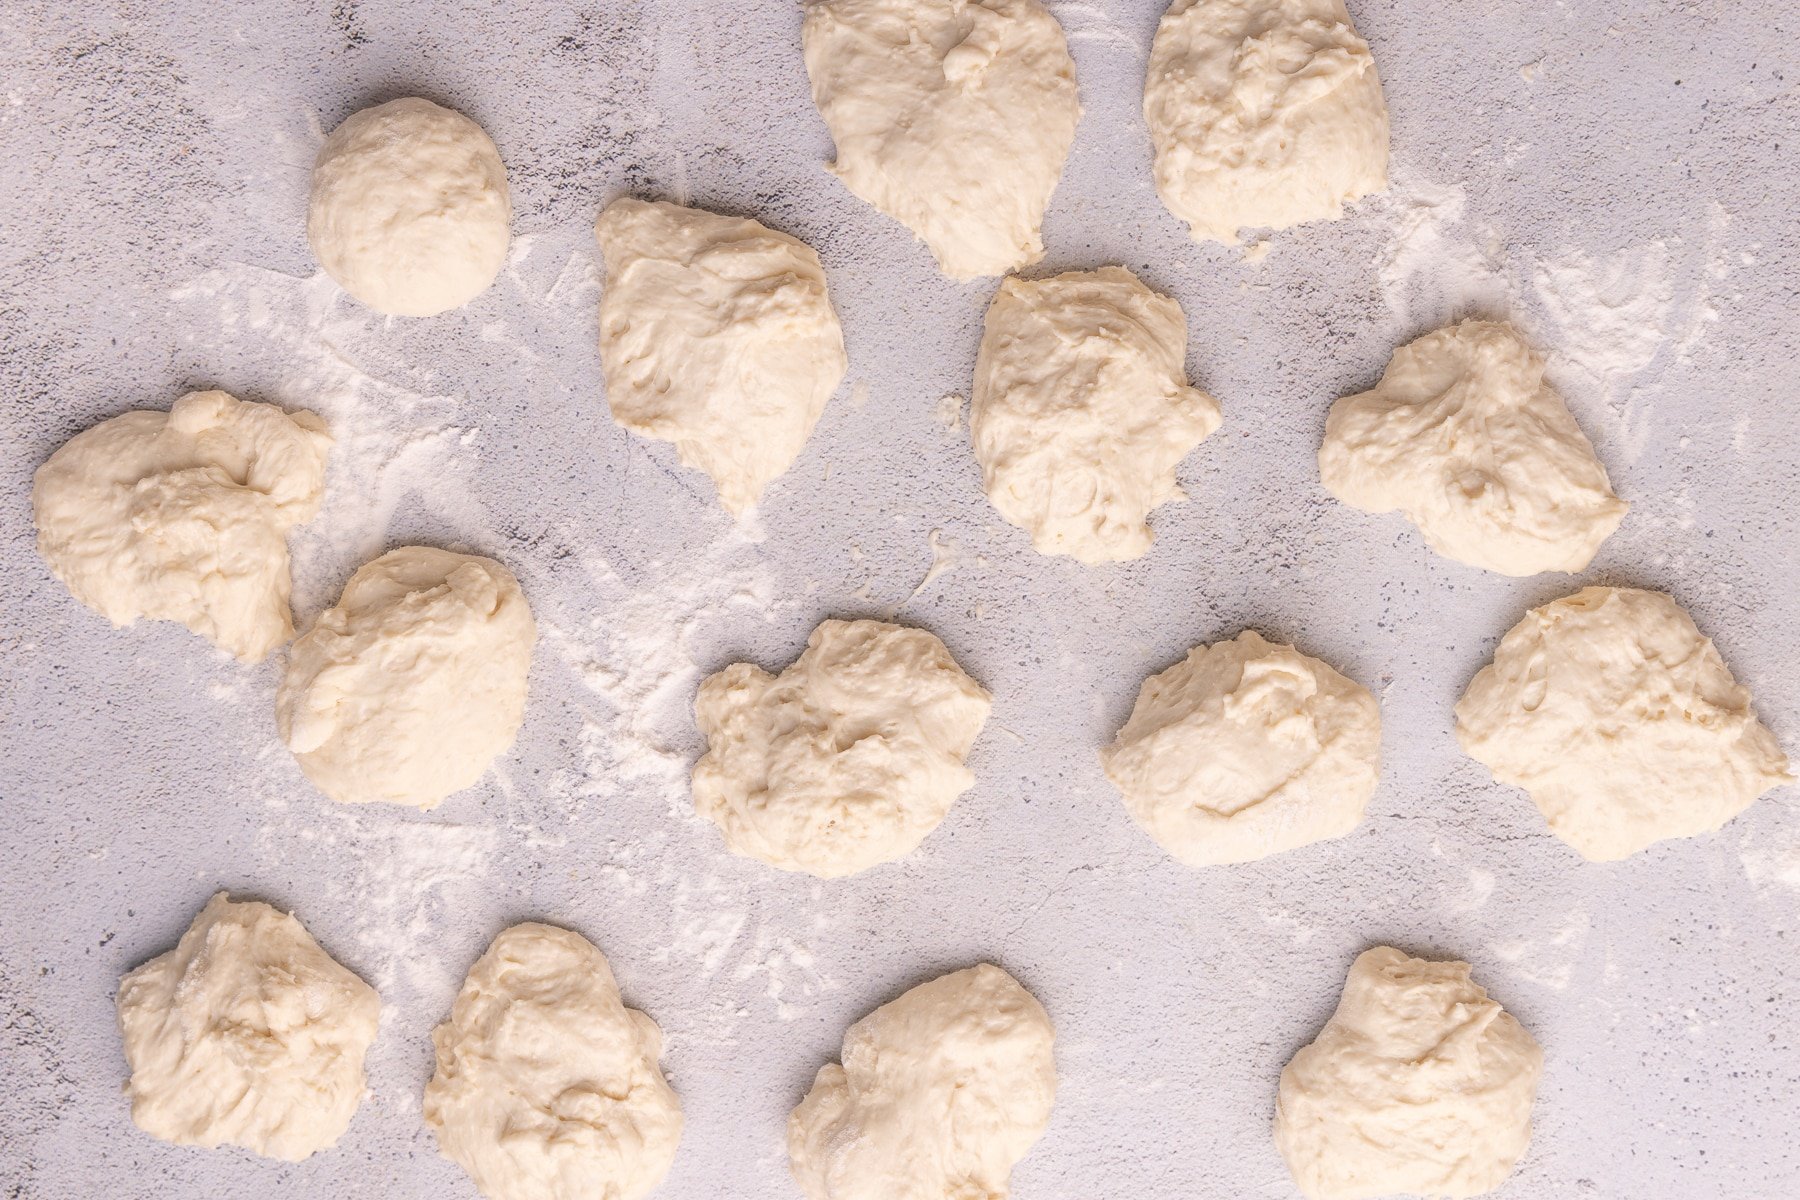
4 - Shape each piece into a neat ball (again I show how to do this in my video) and place in a buttered 9 x 13-inch dish in a 5 x 3 pattern. Cover with the damp dish towel again and place on or near the stovetop for 30 to 40 minutes while the oven preheats. Or refrigerate for up to 24 hours. Full details are in the recipe card.
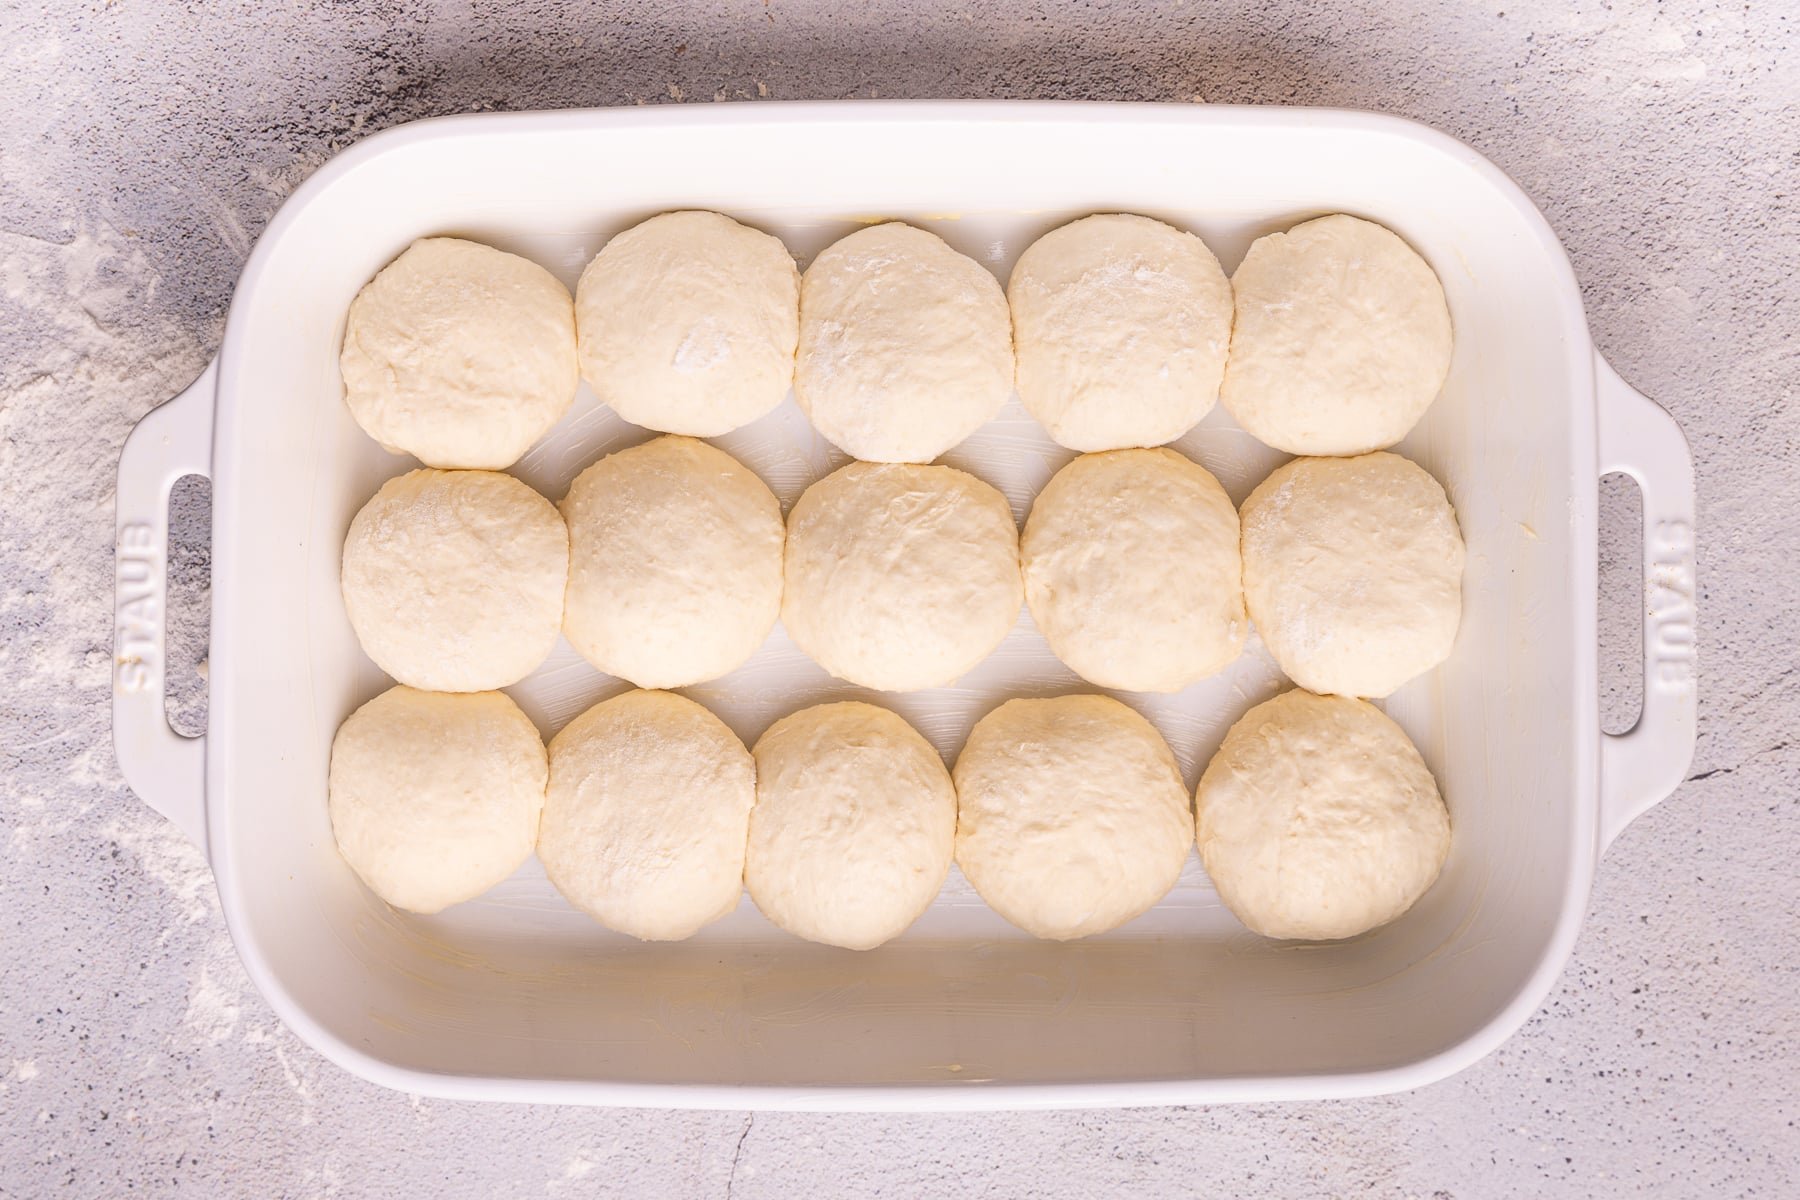
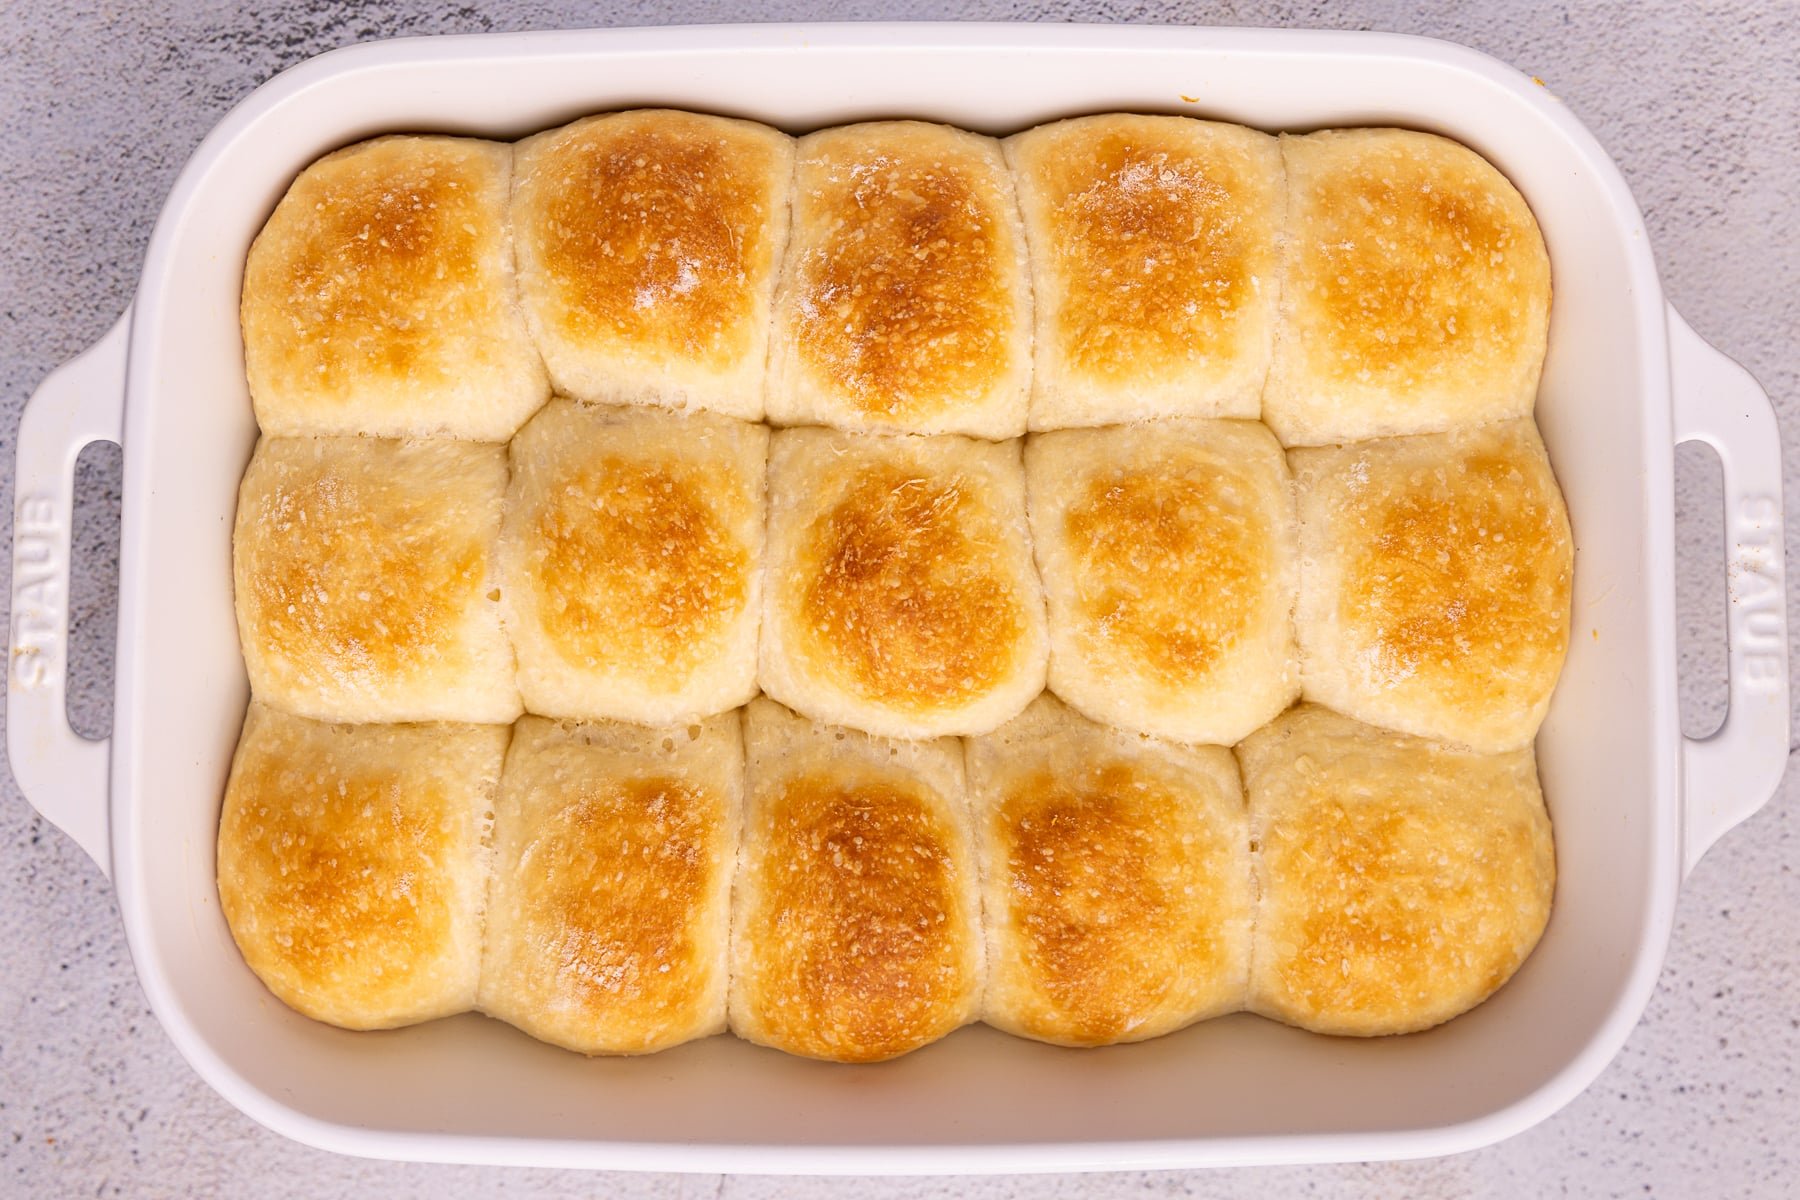
5 - The rolls will have expanded a little when you uncover them. Bake for 20 to 25 minutes until puffy and golden.
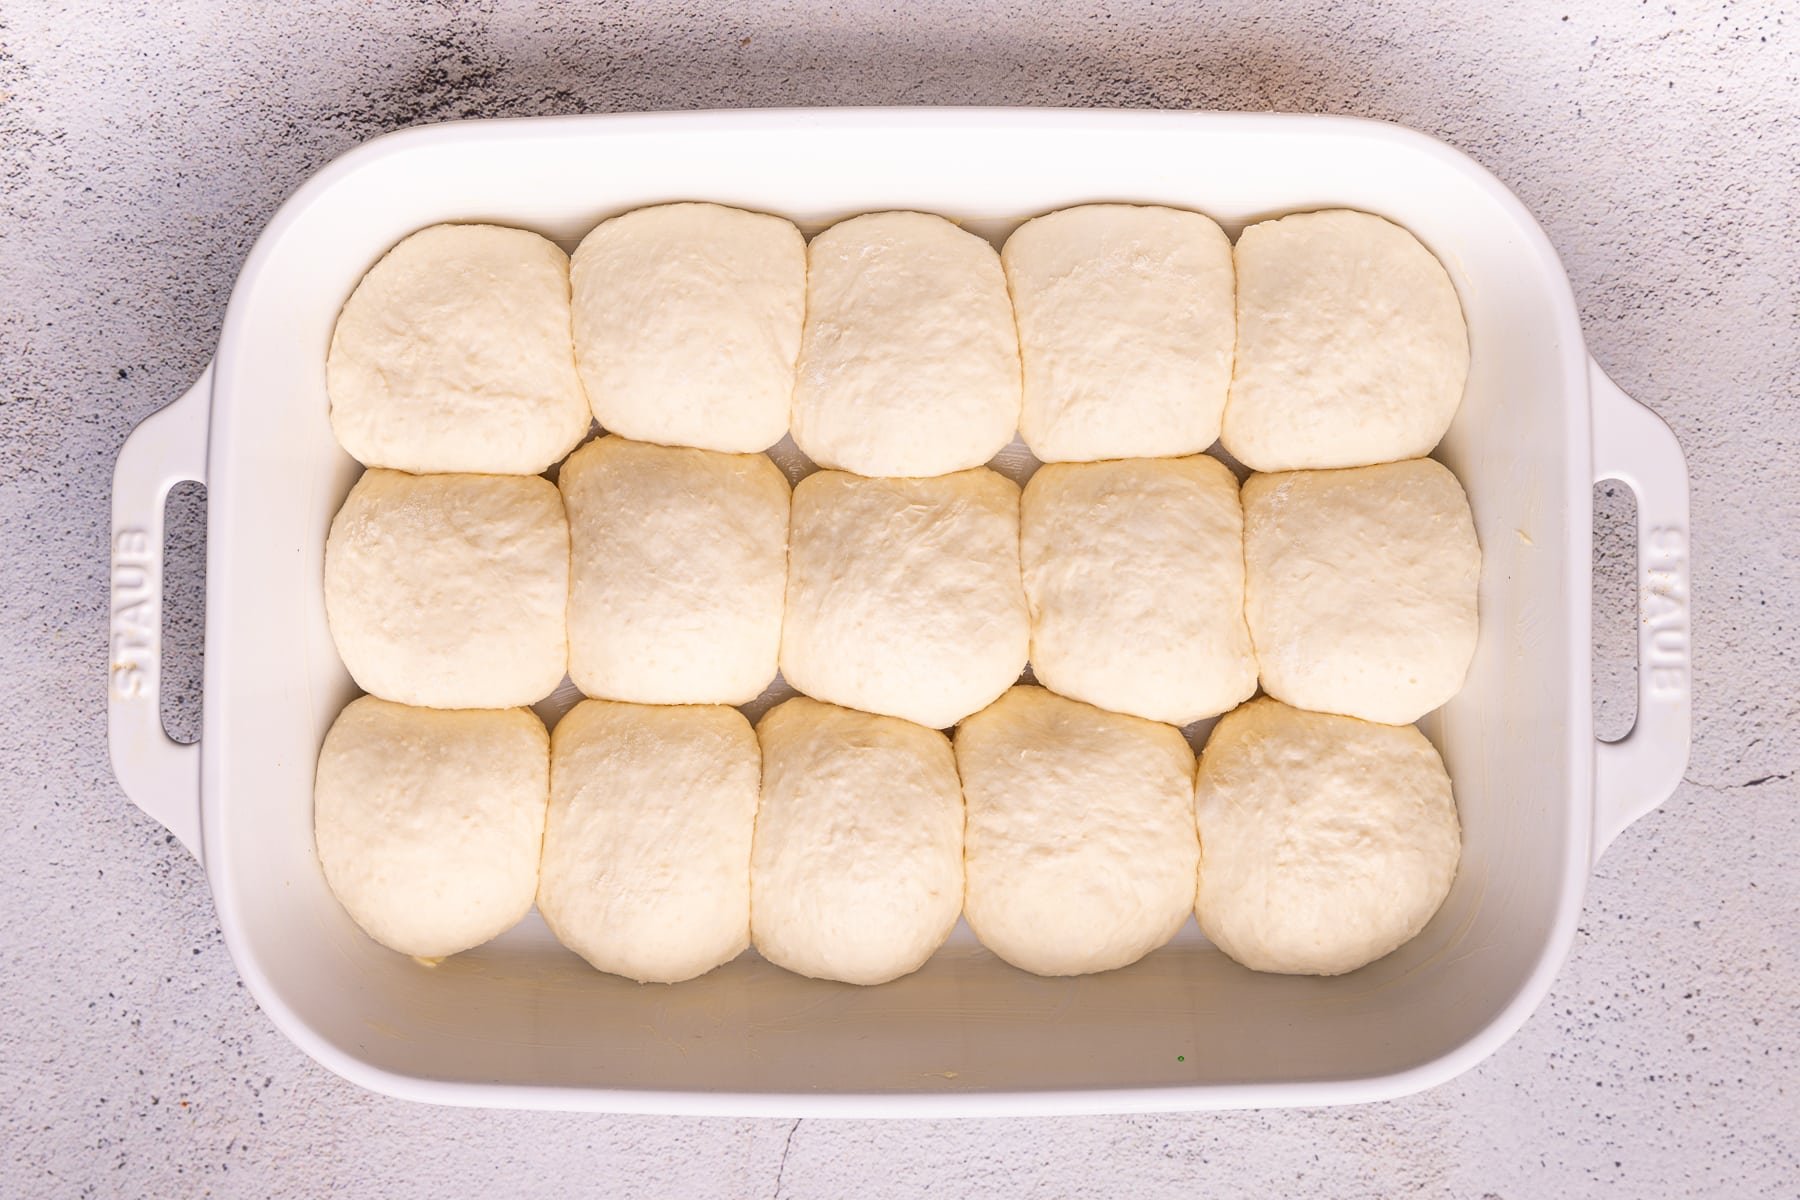
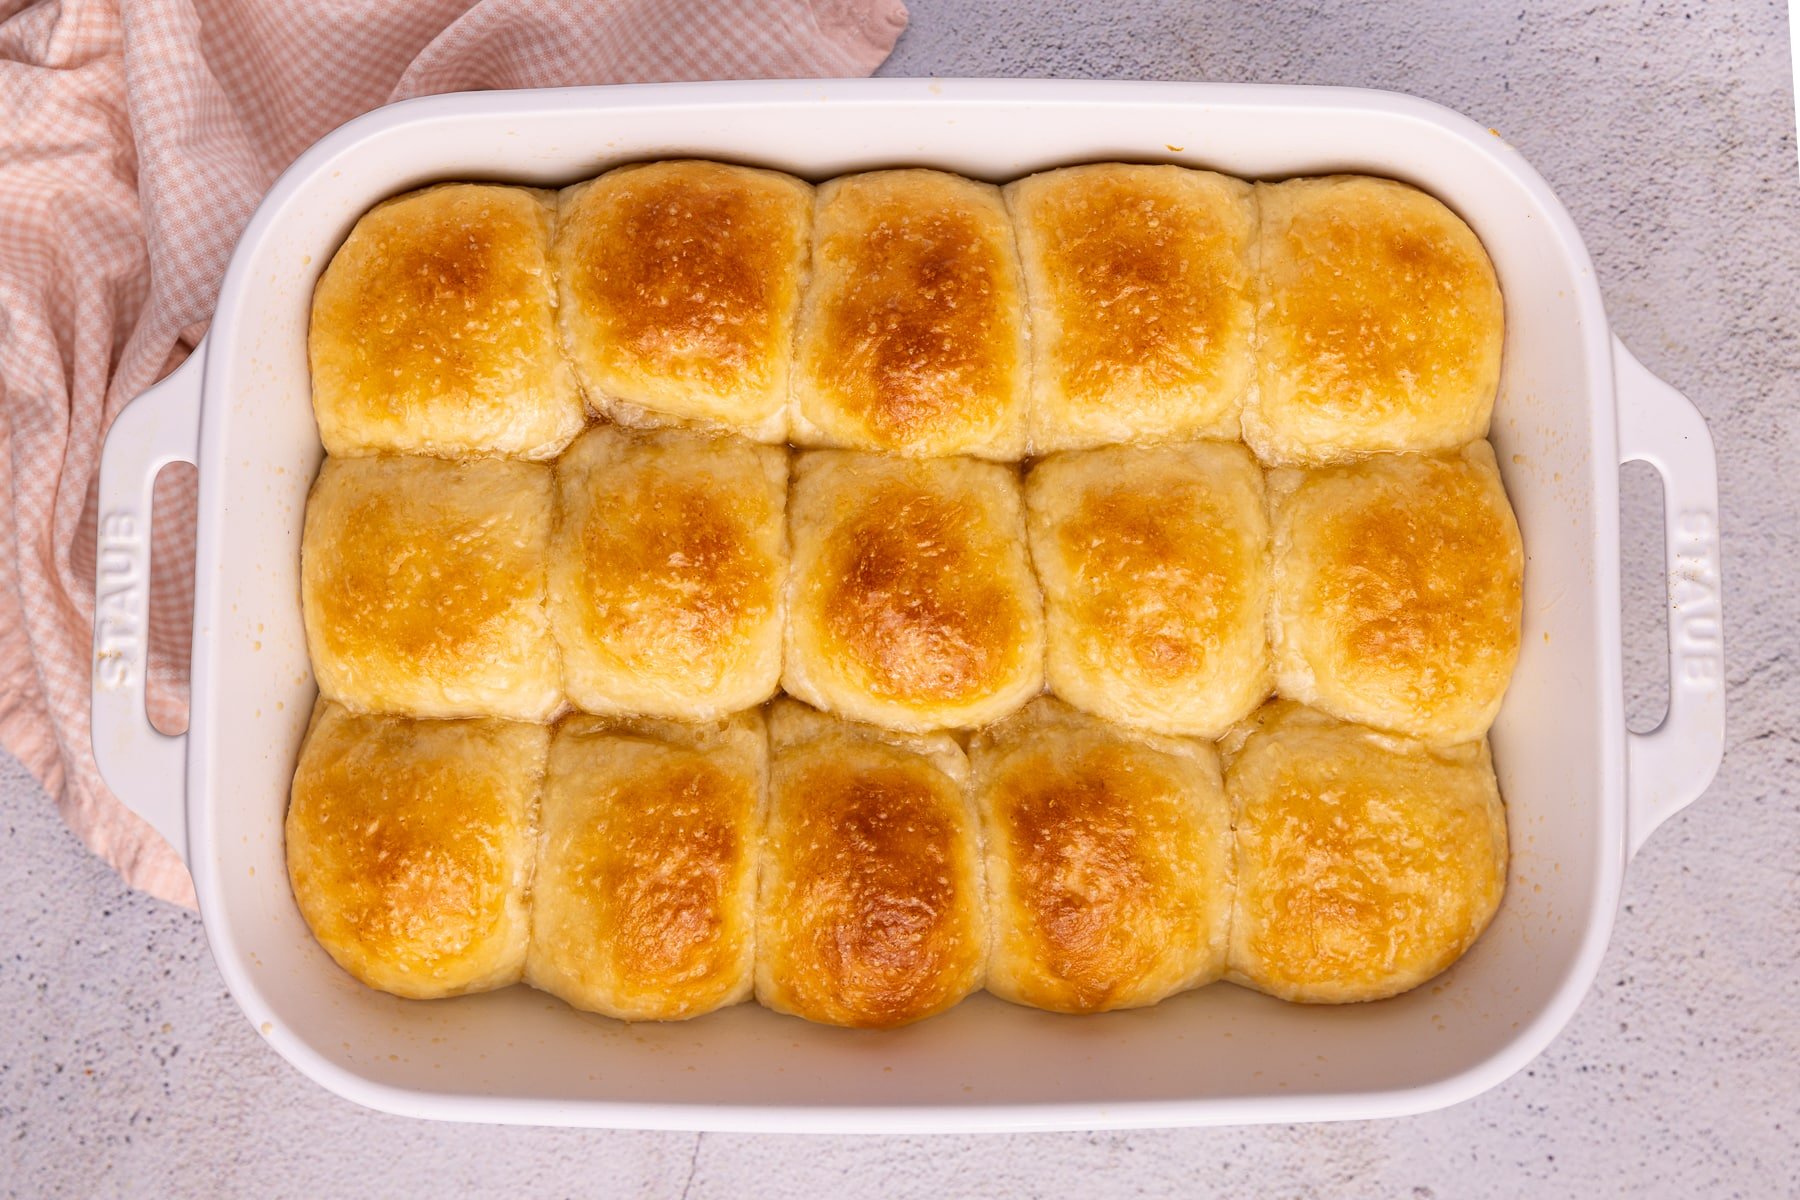
6 - Remove the rolls from the oven and mix up the melted butter and maple syrup glaze.
6 - Brush them generously for a lovely shiny appearance and lots of extra flavour.
Important Tip!
Measuring flour correctly is key to avoiding a dense dough, which leads to heavy dense rolls. Ideally, weigh your flour, but if you don't have a scale gently spoon and level your flour into the measuring cup. Do not scoop it up or you will use way more than intended and won't get the intended results.
Flavour Variations
- Rosemary Dinner Rolls - Add 2 tablespoons of chopped fresh or dried rosemary to the dough (fresh will give the best flavour).
- Cheesy Dinner Rolls - Add 1 cup shredded vegan cheese to the dough when mixing. You can also sprinkle some more on top of the shaped rolls before baking.
- Garlic & Herb Dinner Rolls - Add 2 teaspoons each of dried rosemary, dried basil, & dried parsley, and 1 teaspoon of garlic powder to the dough. You could also brush the tops of the warm baked rolls with some vegan garlic butter instead of the maple/butter mixture!
Recipe FAQs
Yes, you can freeze the baked dinner rolls but don't brush the tops with the melted butter/maple glaze. Remove from the oven, allow them to cool completely, then wrap well and freeze for up to 3 months. Thaw then lightly cover with foil and reheat in a 325°F (160°C) oven for 10 to 15 minutes. Brush with the melted vegan butter and maple syrup glaze as soon as you remove from the oven then serve.
Recipe
Easy No Knead Vegan Dinner Rolls
Author:WATCH HOW TO MAKE IT
Ingredients
- 4½ cups (562 grams) all purpose or bread flour , plus a little extra for dusting (in the UK you need to use strong flour)
- 4 teaspoons (12 grams) instant/fast yeast , for active yeast see recipe notes
- 2 teaspoons (10 grams) fine sea salt
- 1¼ cup (300 mls) unsweetened & unflavored dairy-free milk , soy milk gives the best results
- 1 cup (240 ml) water , no need to warm it
- ⅓ cup (80 ml) melted dairy-free butter , make sure it's not hot when you add it
- 4 tablespoons cane or white sugar
For brushing after baking
- 1 tablespoon (15 ml) melted vegan butter , or omit the maple syrup & use 2 tablespoons melted butter.
- 1 tablespoon (15 ml) maple syrup , real not pancake syrup! (or omit and use an extra tablespoon of melted butter)
INSTRUCTIONS
- Add the flour, yeast, sugar, and salt to a large mixing bowl. Whisk or stir to combine.
- Make a well in the center. Add the melted butter, dairy-free milk, and water. Mix well with a wooden spoon or spatula until you can't see any dry flour and a shaggy looking, thick and sticky dough is formed.
- Wet a clean dish towel, wring it out, and cover the bowl with it.
- Now you have choices. You can leave it on the counter at room temperature (about 20 ℃ or 68 ℉) for anything between 4 to 5 hours, or you can place it somewhere warm for 90 minutes to 2 hours. If you go the warm and quicker route I recommend turning your oven on high for 2 minutes (no longer), turn it off, then turn the oven light on. Then put the covered bowl of dough inside and don't open the door again until it's time to remove it. You can do the same with your tumble dryer. Run it on high for 2 minutes, then rest the bowl in the bottom on a folded towel and close the door.
- While you're waiting generously grease a 9 x 13-inch pan with vegan butter. (Glass/ceramic for softer rolls (my preference), or metal for slightly crustier rolls. (If you don't have one two 8-inch cake pans or cast iron skillets work ok too).
- Flour your hands and scrape the dough out onto a clean lightly floured surface. Shape into a rough ball. I do this by pulling the edges inward to the middle all around then turn it over so it's seam side down. I show this in detail in my video.
- Use a sharp knife or a dough scraper to cut the dough into 15 pieces (about 78 grams each if you want to be exact) then roll it into balls. For the best dinner rolls it's important to get a nice taut surface so they rise well. Take them one at a time and place them on your floured surface. Pinch a piece from the edge and pull it into the middle. Keep doing this all the way around until it's all gathered up and feeling taut and round. Then flip it over and roll it briefly to form a nice ball with your hands. Use flour as necessary to stop any sticking. Again I show this in detail in my video.
- Place the rolls into your lined dish seam side down. Space them out 5 down the long side and 3 across. Cover again with the damp dish towel (re-wet it if necessary).
- At this point, you can cover the dish with cling wrap or a tight lid and refrigerate for anything from 4 hours to 24 hours. When ready take it out to warm slightly for 30 minutes then proceed with the next steps.
- Or if you want to bake them now move an oven shelf to the lower part of the oven and preheat to 350°F (175℃). Place the covered rolls on your stovetop (or very near) and leave them there for 35 to 40 minutes.
- Place the rolls in the oven and bake for 22 to 25 minutes rotating the pan halfway through. When done they will be nicely golden on top. The time will vary slightly depending on whether you bake in glass, ceramic, light, or dark metal, so keep an eye on them towards the end.
- While they are baking mix the melted butter and maple syrup together to make a glaze. If you are not using maple syrup you might need a little extra melted butter. I highly recommend using the maple/butter mixture if possible for the best flavor and appearance.
- Remove the rolls from the oven, and immediately brush generously with the glaze. Allow the rolls to cool for a few minutes before serving or if you need to keep them warm while finishing off other things cover with a clean dish towel and they will stay warm for about 20 minutes.
NOTES
💌 SAVE THIS RECIPE!
Watch out for more tasty treats coming your way too! Unsubscribe at any time.

Steph says
Amazing recipe! Came out perfect
Bob says
Will this recipe work with Spelt flour?
Melanie McDonald says
I recommend following the recipe as written for the best results. This recipe has only been tested with all purpose flour. Spelt flour isn't as absorbent and has a lower gluten content so I don't think it would work as well. Hope that helps.
Vida Bombek says
Hello! Can I use margarine instead of butter? Thanks.
Melanie McDonald says
I recommend using a good quality vegan butter for the best flavour.
Danielle Devine says
Yessss this is THE recipe! I hope this recipe gets more traction it really is the perfect bread recipe! Absolutely delicious! Check out my Facebook page "Danielle Devine" I made carrot dogs and used this recipe for the buns 12/10! Soft and decadent!
Melanie McDonald says
I'm so pleased you're enjoying the recipe, Danielle and thank you for your review. It's much appreciated! I tried to find the Facebook post but couldn't. There are way too many Danielle Devine's. Tag A Virtual Vegan and I'll take a look!
Stacey Shelby says
Can this be made without white sugar?
Melanie McDonald says
The recipe calls for white or cane sugar. Either is fine.
Anna May Mench says
can I make these without the butter for fat free rolls?
Melanie McDonald says
You can but the rolls won't be as soft and fluffy or as flavourful and leftovers will stale much more quickly. You will need to add more liquid to make up for it. I think probably 1/4 cup (60ml) of extra water or milk should be enough to compensate. Hope that helps!
Abigail says
Absolutely fantastic. Light, fluffy, slightly sweet perfection! (Also SO easy and quick to throw together!)
Marie says
I would like to make this with healthier flour, such as spelt, whole wheat, buckwheat, or oat (the lest two being non-gluten, I think). How would these heavier or non gluten flours change the recipe, if at all? Thank you. You’re my go-to recipe finder!
Melanie McDonald says
Using a different flour will change how the recipe works considerably and it definitely won't work with gluten-free flours. It needs gluten to be successful. It might be possible to get ok results with spelt or wholewheat but you will definitely need to adjust the water and milk quantities for it to work successfully. It's not like a regular bread recipe where you make a smooth dough. This is a very wet dough and you won't be able to tell if the amount of liquid is right just by looking and feeling. It will take a lot of trial and error.
This recipe took me so long to get right (probably more than 30 tries by the time it was perfect and weeks of work). If you change it you won't get those perfect results and will risk failure. I highly recommend following it as written for the best possible results.
Marie Altman says
Thank you for your expertise.