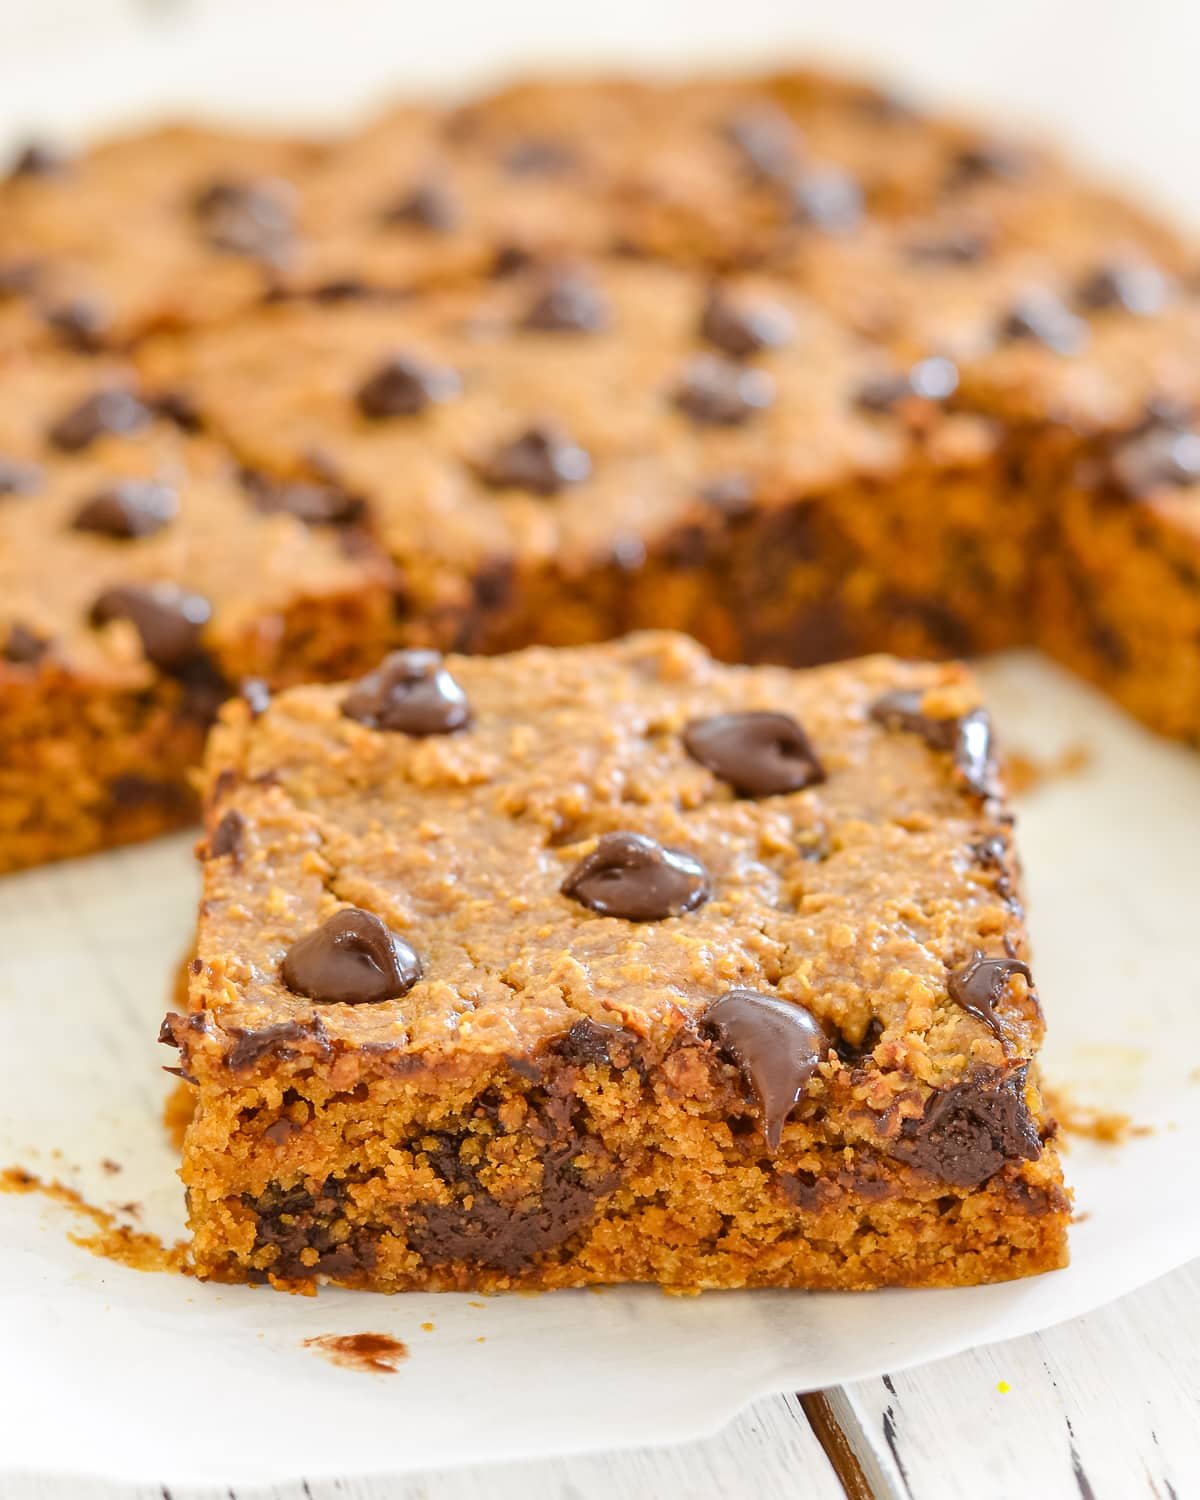
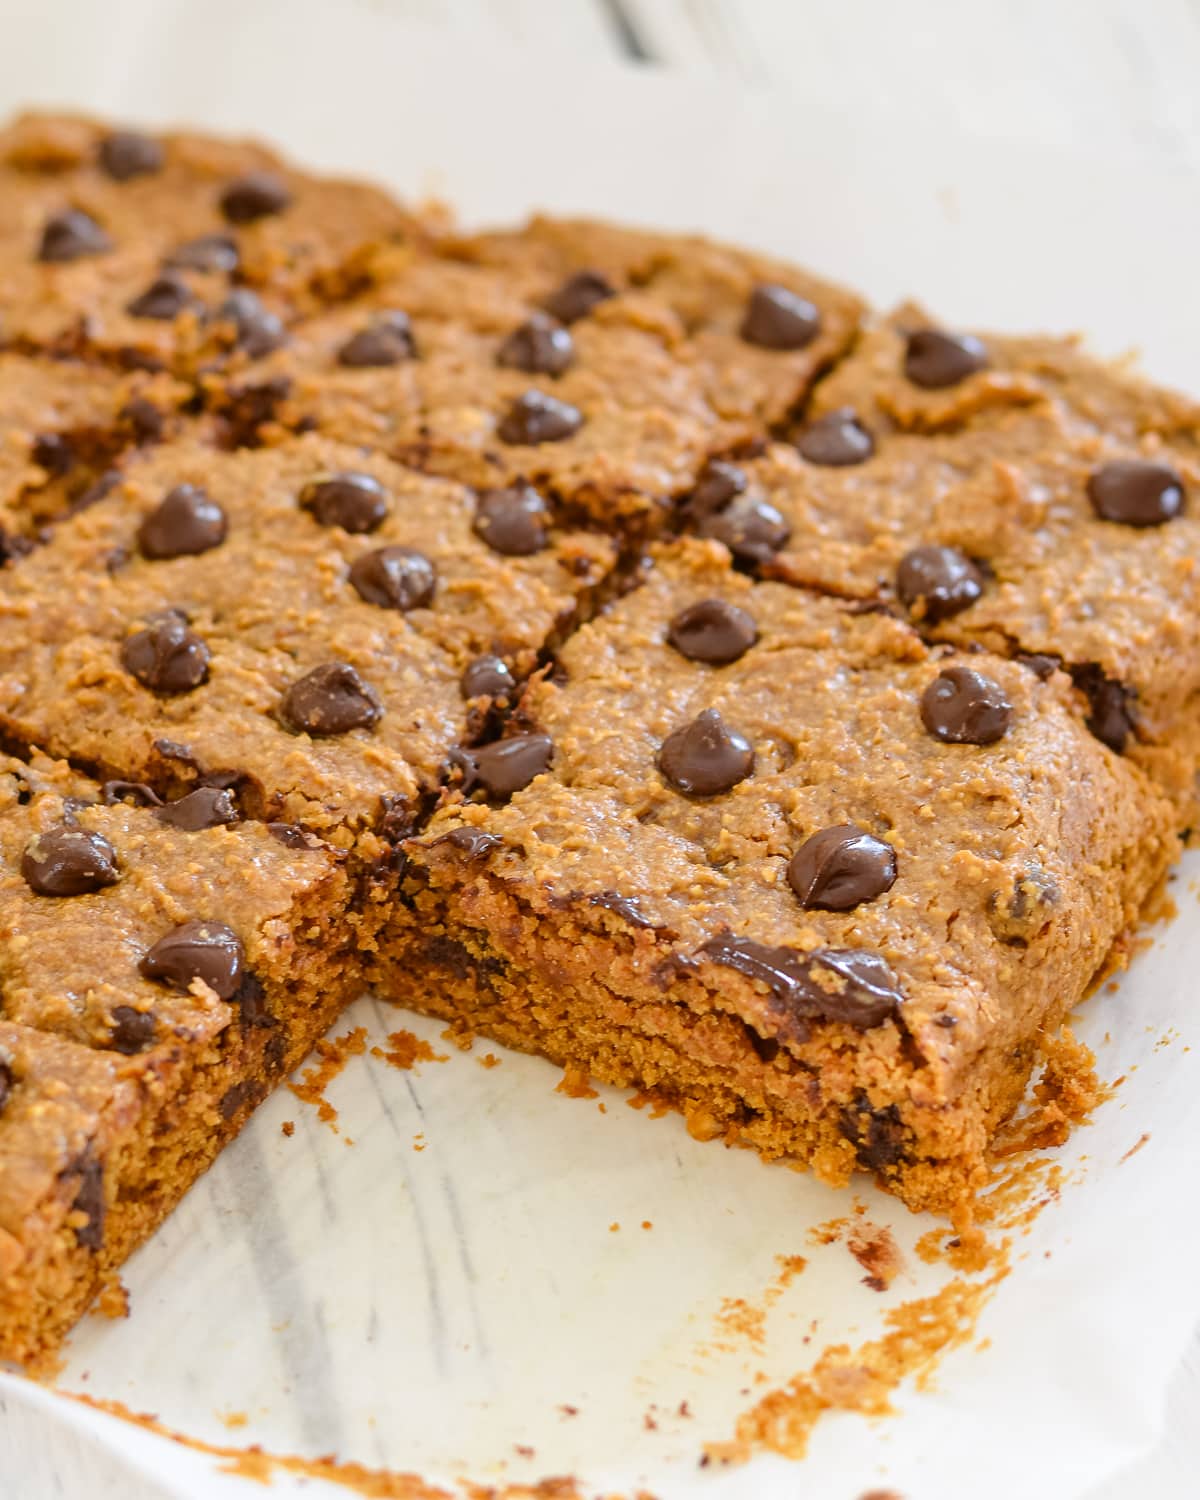
Perfectly soft & chewy Oatmeal Chocolate Chip Cookie Bars. Easy to make in about 30 minutes and so delicious!
💌 SAVE THIS RECIPE!
Watch out for more tasty treats coming your way too! Unsubscribe at any time.
My favourite thing about these Oatmeal Chocolate Chip Cookie Bars is that they combine the best of the cookie world with the satisfying, thick enough to really sink your teeth into, bar world!
My second favourite thing about these cookie bars is that they are full of rich, deep, caramelly, nutty flavour thanks to a whole lot of nut or seed butter, brown sugar, and of course lots of chocolate chips too.
I love these Oatmeal Chocolate Chip Cookie Bars just as they are but highly recommend serving one warm with a huge dollop of vanilla ice cream. It's so good and makes the best dessert!
Mel x
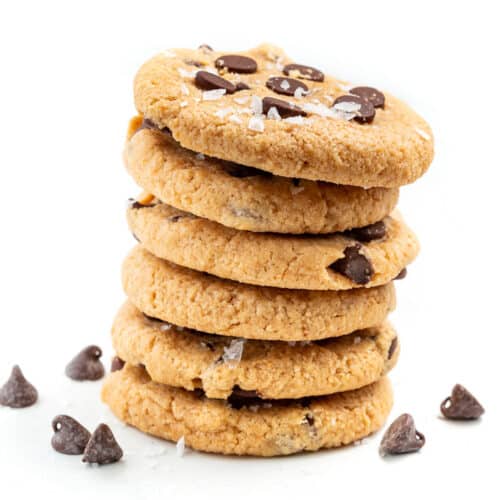
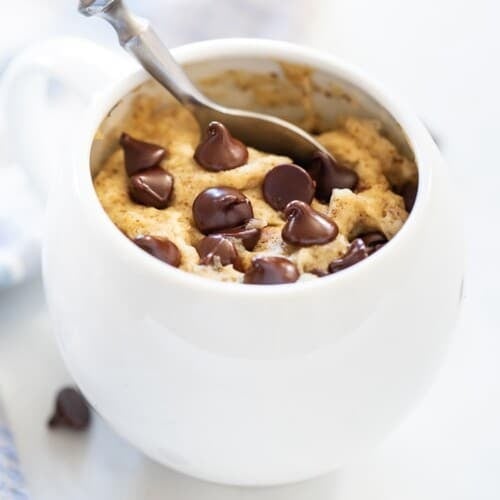
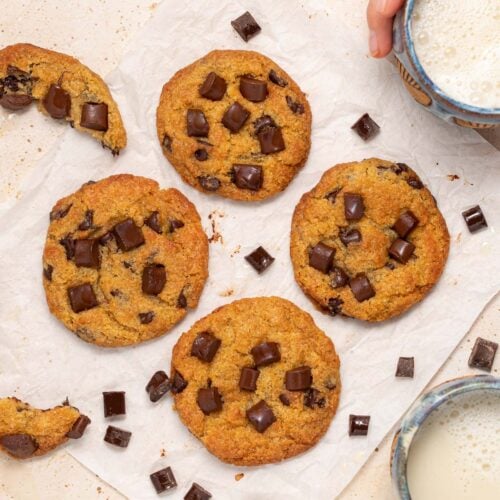
Love chocolate chip cookies? Give these recipes a try too:
Recipe
Oatmeal Chocolate Chip Cookie Bars
Author:Ingredients
- 1¾ cups (175 grams) rolled or old fashioned oats , or quick oats, (use certified gluten-free oats if necessary)
- ½ cup (125 grams) nut or seed butter , (I like cashew or almond butter but use your fave).
- ¾ cup (150 grams) brown or coconut sugar
- 1 teaspoon vanilla extract
- 1½ teaspoon baking powder
- ¼ teaspoon fine sea salt
- 3 tablespoons aquafaba , or 1 tablespoon ground flax mixed with 3 tablespoon warm water.
- ¼ cup (60 ml) dairy-free milk
- 1 cup (168 grams) dairy-free chocolate chips
RECOMMENDED EQUIPMENT
INSTRUCTIONS
- Preheat oven to 350°F (175°C) and line an 8 x 8-inch pan with parchment paper leaving enough paper around the edge to act as a handle to lift them out when done. I like to rub a little oil on the pan before lining because it helps stop the paper from sliding around when spreading the thick batter out.
- Add the oats to a food processor and blend until they are a flour-like consistency.
- Add all of the other ingredients except the chocolate chips and process until smooth, scraping down the sides once about halfway through.
- Stir through about ¾ of the chocolate chips then spoon the batter into the prepared tin. Level it out and decorate the top with the remaining chocolate chips.
- Bake for 25 minutes. Leave to cool in the tin for 15 minutes then lift out using the paper as handles and place on a wire rack to cool completely.
- Wait until completely cool before cutting into 9 squares (or more smaller pieces). A pizza cutter or a long sharp knife does a great job of this.
NOTES
💌 SAVE THIS RECIPE!
Watch out for more tasty treats coming your way too! Unsubscribe at any time.


Nicola says
This was a lovely recipe! My son made it for me for my birthday and we all enjoyed it. I told him to use one of your recipes because they are always so clearly written and 'idiot-proof'! He's not an experienced baker. We used tahini for the nut/seed butter option to make it school friendly and replaced the chocolate chips with raisins, so it was like an oatmeal raisin cookie, which I love.
I suggested making it in our 9 inch cast iron skillet and it worked out really well. It had a nice crust, perhaps due to the cast iron.
Nice to have easy and frugal recipes like this. So many vegan sites rely on specialty ingredients that are hard to find and/or expensive in my province. Thanks for making tasty recipes so accessible.
Melanie McDonald says
I love that Nicola. Thank you. I'm glad they were a hit. Hope you had a lovely birthday!
Barb says
Delicious! Used oat flour and mixed it all with a hand mixer- easy peasy! Also used egg replacer instead of aquafaba and peanut butter. They were a hit with vegan and non-vegan alike! Will definitely make again. To spread in the pan, I dropped spoonfuls of batter all over the pan then evened it out with an offset spatula sprayed with a bit of oil. I used a 9x9 pyrex pan and baked at 350 for 25 min. Perfection!
Lois Pumfrey says
So easy for such a delicious outcome. Grand kids loved it, and I used almond butter.
Vegan Mike says
Hi, Melanie.
The recipe was an adventure for one who does not do much baking.
More photos and/or more detailed descriptions of the assembly process would be most helpful.
Examples:
• What does the finished parchment lined pan look like?
• What is the consistency of the mixed ingredients in the food processor?
Is it batter or dough? The description does not state. My assumption was cookie dough.
• Assembling the ingredients in the quantities specified, resulted in a crumbly mess during food processing. I ended up adding at least 2 or 3 times more nut milk to the processor. The description, “…and process until smooth, scraping down the sides once about halfway through.” Just doesn’t provide enough information.
• No doubt I’ve been spoiled, but my favorite on-line recipes provide a photo at each step of the preparation and cooking process. They provide instant feedback if my results are different from the photos.
Thank you for the recipe. ;-)
Just my 2 cents worth of suggestions to make it more helpful for guys like me.
Melanie McDonald says
Sorry you had trouble Mike. This is a really old recipe, hence the lack of process photos etc. Almost all of the recipes on my website do have process photos and most even have a video but back in the day when this was published I literally had no clue what I was doing. I developed the recipe, took a few photos and that was it. Things have changed a lot since then but unfortunately I don't have time to go back and rephotograph and video them all while also creating new content. I just wanted you to know that so you're not put off trying out any of my other recipes. This recipe is solid though and should work well if all directions and measurements are followed exactly. If it was crumbly it could be that your nut butter was a little dry. When making recipes it's important to use drippy nut butter for the best results. Hope that helps!
Barb Link says
I already have some oat flour on hand. Can I use that instead of the processed oats? How much should I use for this recipe?
Melanie McDonald says
Yes you can. Use exactly the same weight (175g) or 1 and 1/3 cup of oat flour.
Enjoy!!
Barb Link says
Thank you!
Sarah says
absolutely divine! these are sooo delicious! i loved how easy they were to make and i can see how using aquafaba makes a difference. I made these with peanut butter and don’t think it affects the overall taste.
I’m glad i oiled the pan before the parchment as the batter is quite thick and tougher to spread out. Yet absolutely worth it! and no kidding, try not to eat all of the batter!
another fab recipe!
Melanie McDonald says
Thank you Sarah. I'm so pleased you enjoyed them!
JoAnne says
I've made these probably 3-4 times now, making them again today. Thanks for the recipe!
A Virtual Vegan says
I'm so pleased you are enjoying them. Thanks for taking the time to come back and rate/comment on them!
Doug says
Thanks for sharing this! Just made them and they are excellent!
A Virtual Vegan says
Good to hear. Thanks Doug!