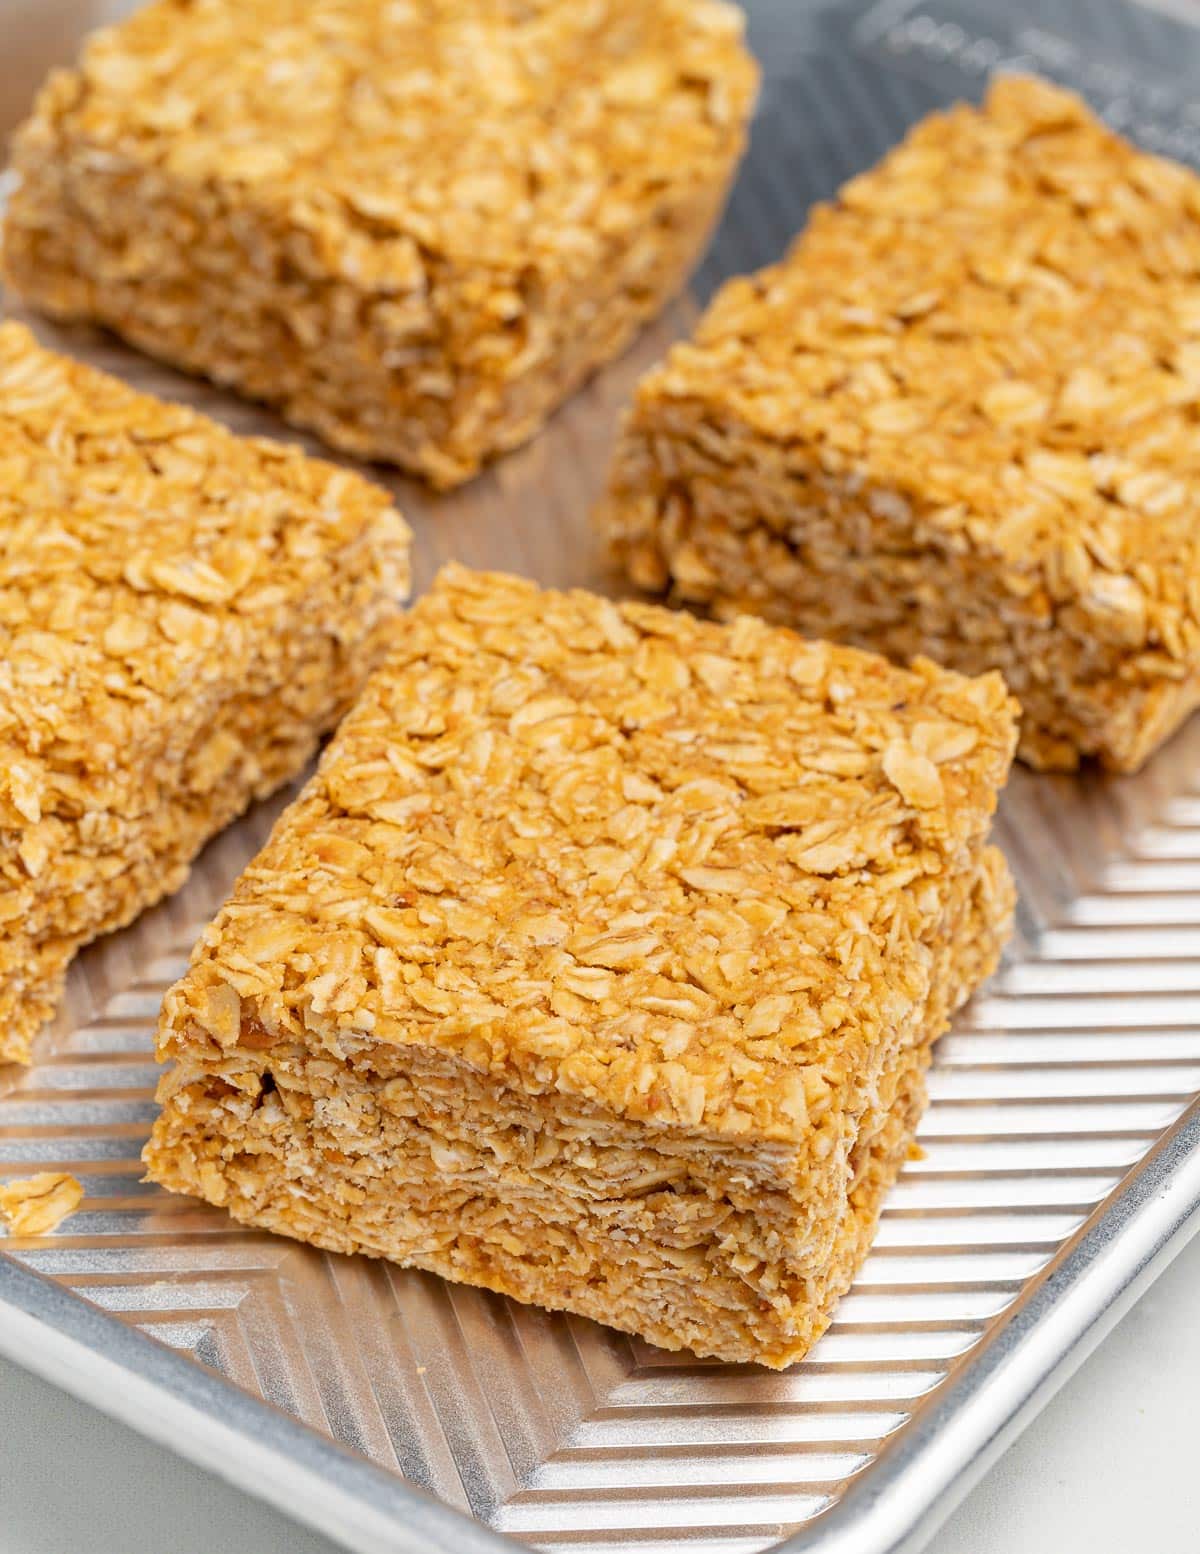
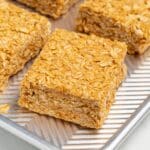
No Bake Oatmeal Peanut Butter Bars are incredibly easy to make and super hearty and filling! Loaded with nuts, oats, and maple syrup, they make the perfect grab-and-go breakfast, after school snack or afternoon pick-me-up.
💌 SAVE THIS RECIPE!
Watch out for more tasty treats coming your way! Unsubscribe at any time.
It can be really hard to find a snack that is both easy to make and doesn't contain a long list of ingredients. That's why I love these No Bake Oatmeal Peanut Butter Bars.
They come together in less than 10 minutes, and just like my very popular Healthy No Bake Bars and Chocolate Peanut Butter Protein Balls, no cooking is involved, and you end up with a healthy snack that will keep you feeling full and satisfied.
They are naturally vegan, gluten-free and refined sugar-free, making them an excellent snack bar for both kids and adults.
Jump to:
What ingredients and equipment do I need?
This easy grab-and-go vegan snack uses a short list of easy ingredients. Here's what you need:
- Natural peanut butter - Both crunchy or smooth varieties work well. If you don't have peanut butter or need to steer clear of peanuts any other nut or seed butter is fine to use instead.
- Maple syrup - This gives the bars a naturally sweet flavour. Feel free to use rice syrup instead.
- Vanilla extract - For flavour. Feel free to omit if you don't have any at home.
- Salt - Omit if your peanut butter is already salted.
- Rolled oats - Old fashioned oats also work. Use certified gluten-free oats to make this recipe gluten-free. Do not use quick oats or steel-cut oats.
The only equipment you need to make this recipe is an 8x8 inch pan. If you don't have one, half the recipe and use a 9x5 inch loaf pan instead.
How to make no bake oatmeal peanut butter bars
No bake snack bars are easier to whip together than a batch of muffins or cookies. Here's how to make them:
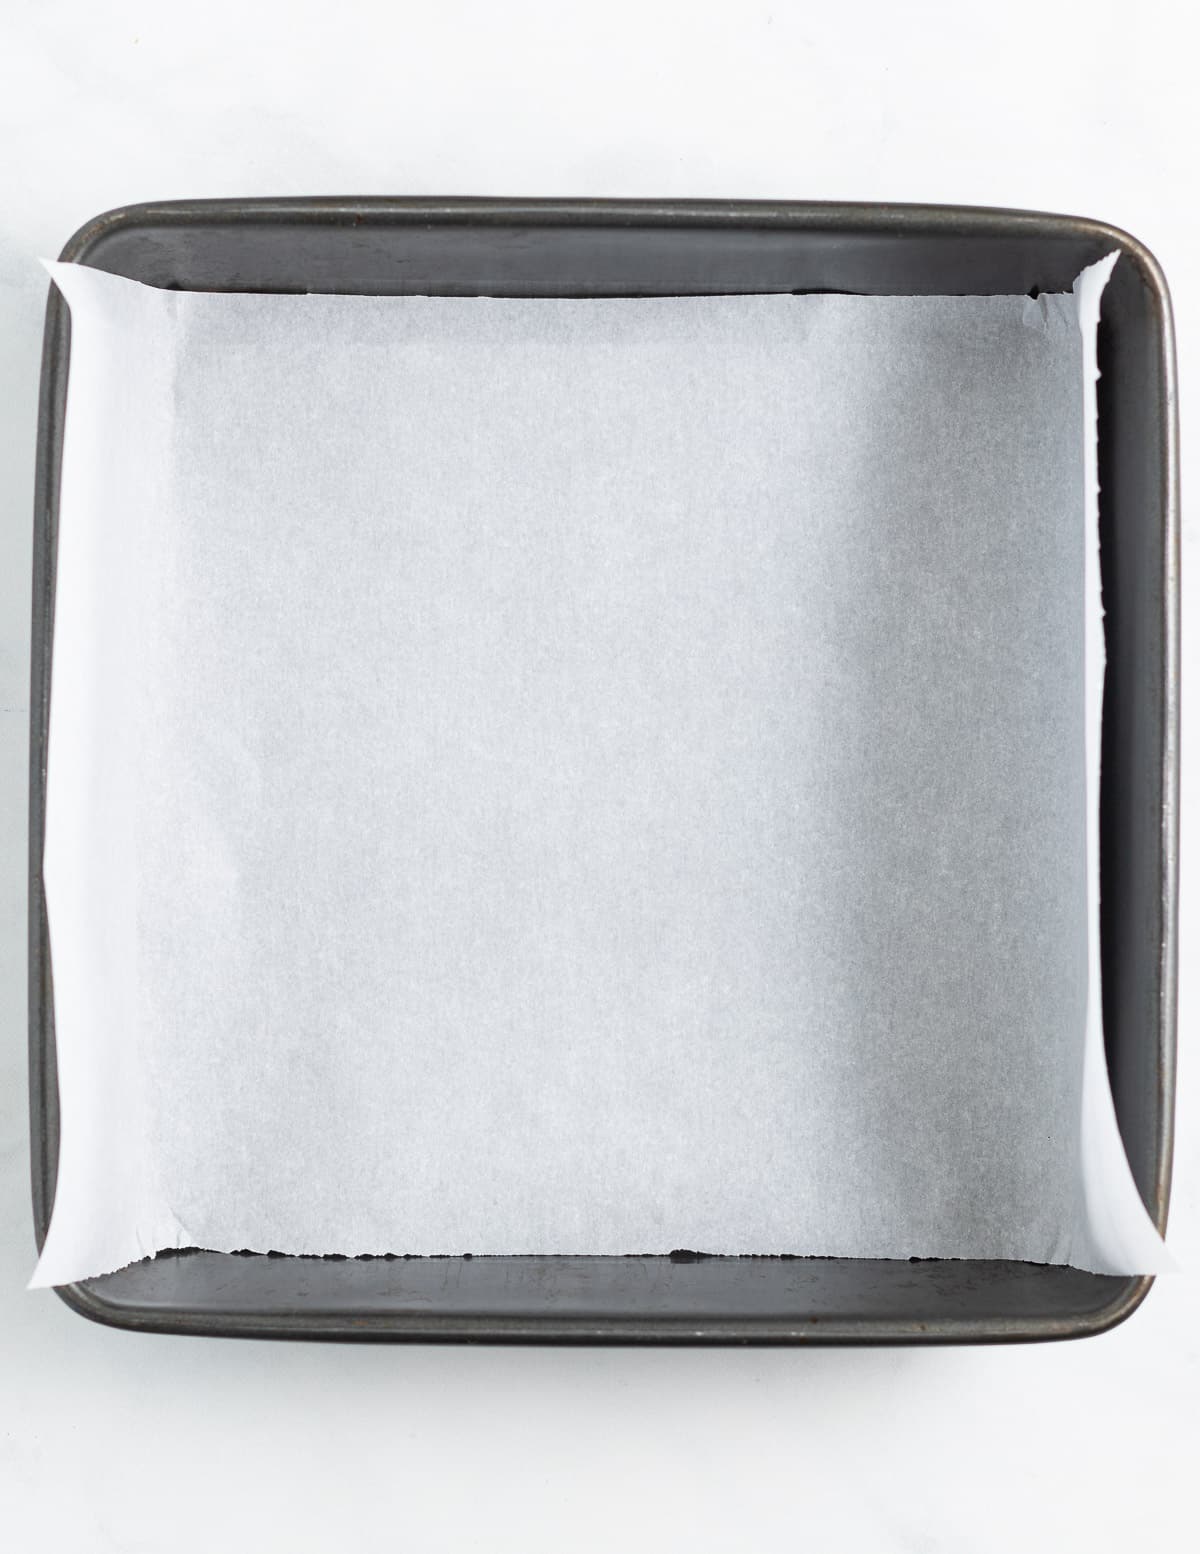
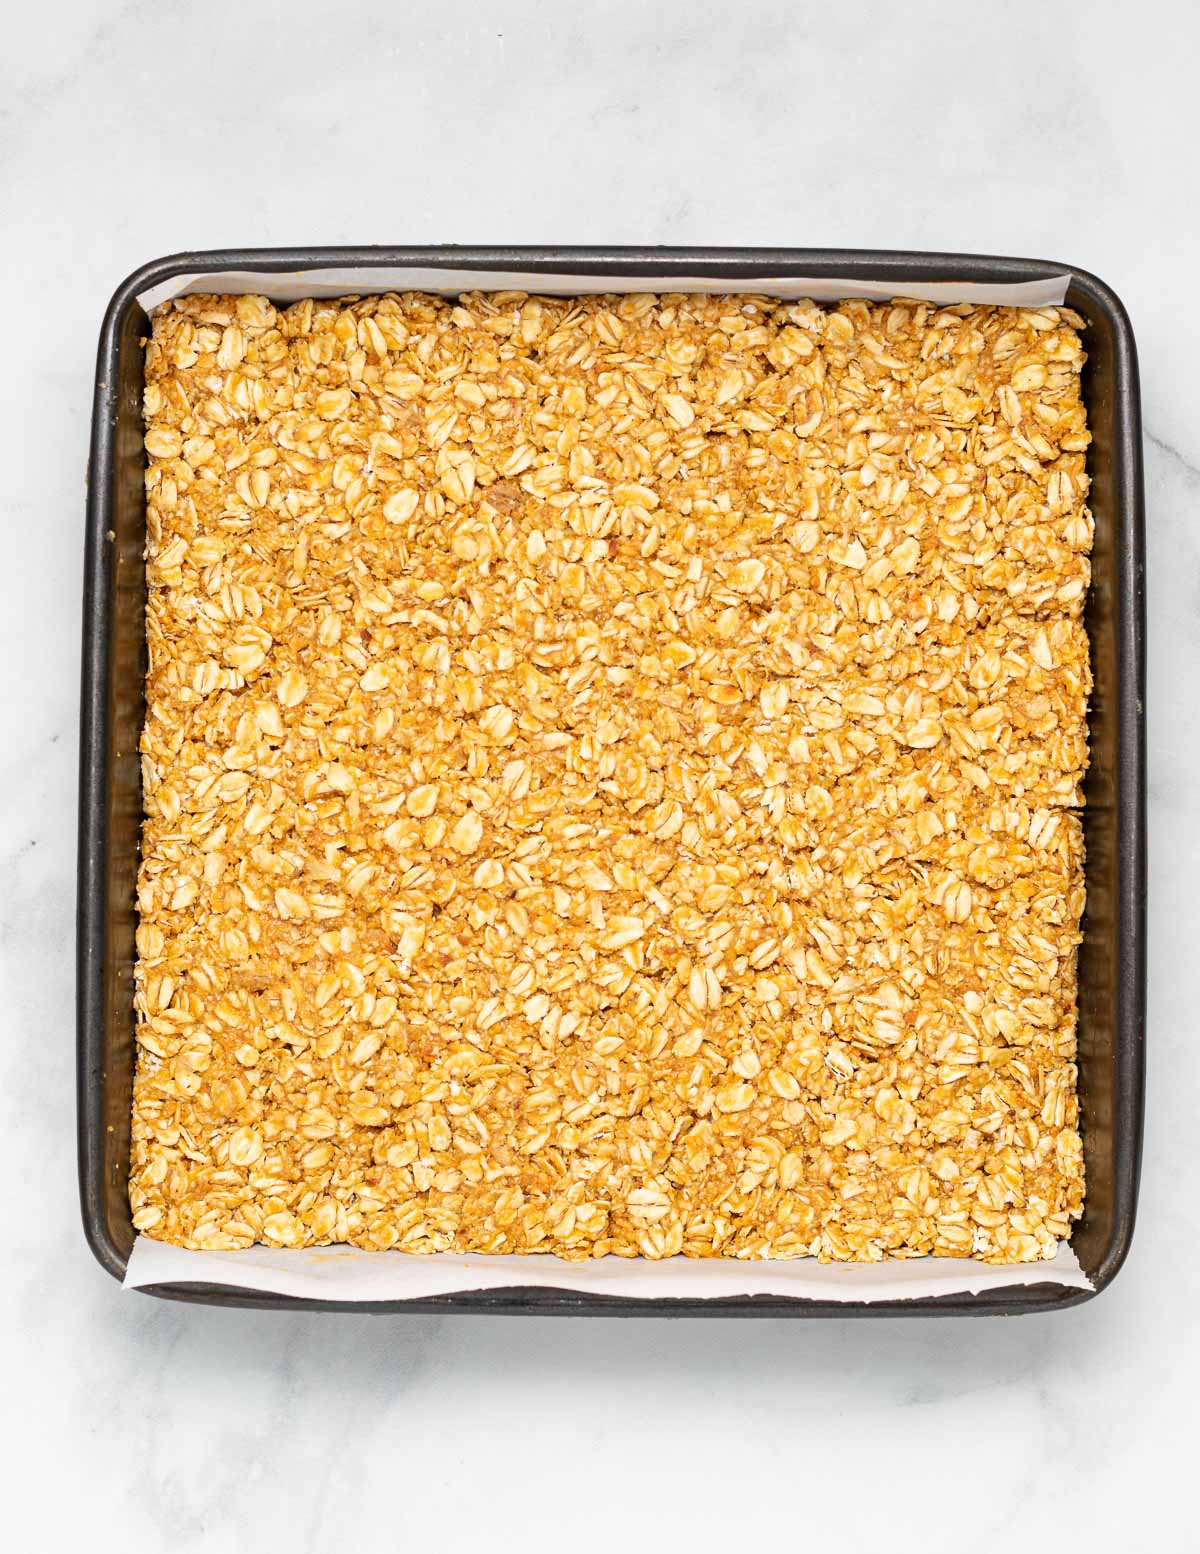
Step 1 - Line an 8x8 inch square pan with parchment paper and set aside. No 8 x 8 pan? Use a loaf pan and half the recipe!
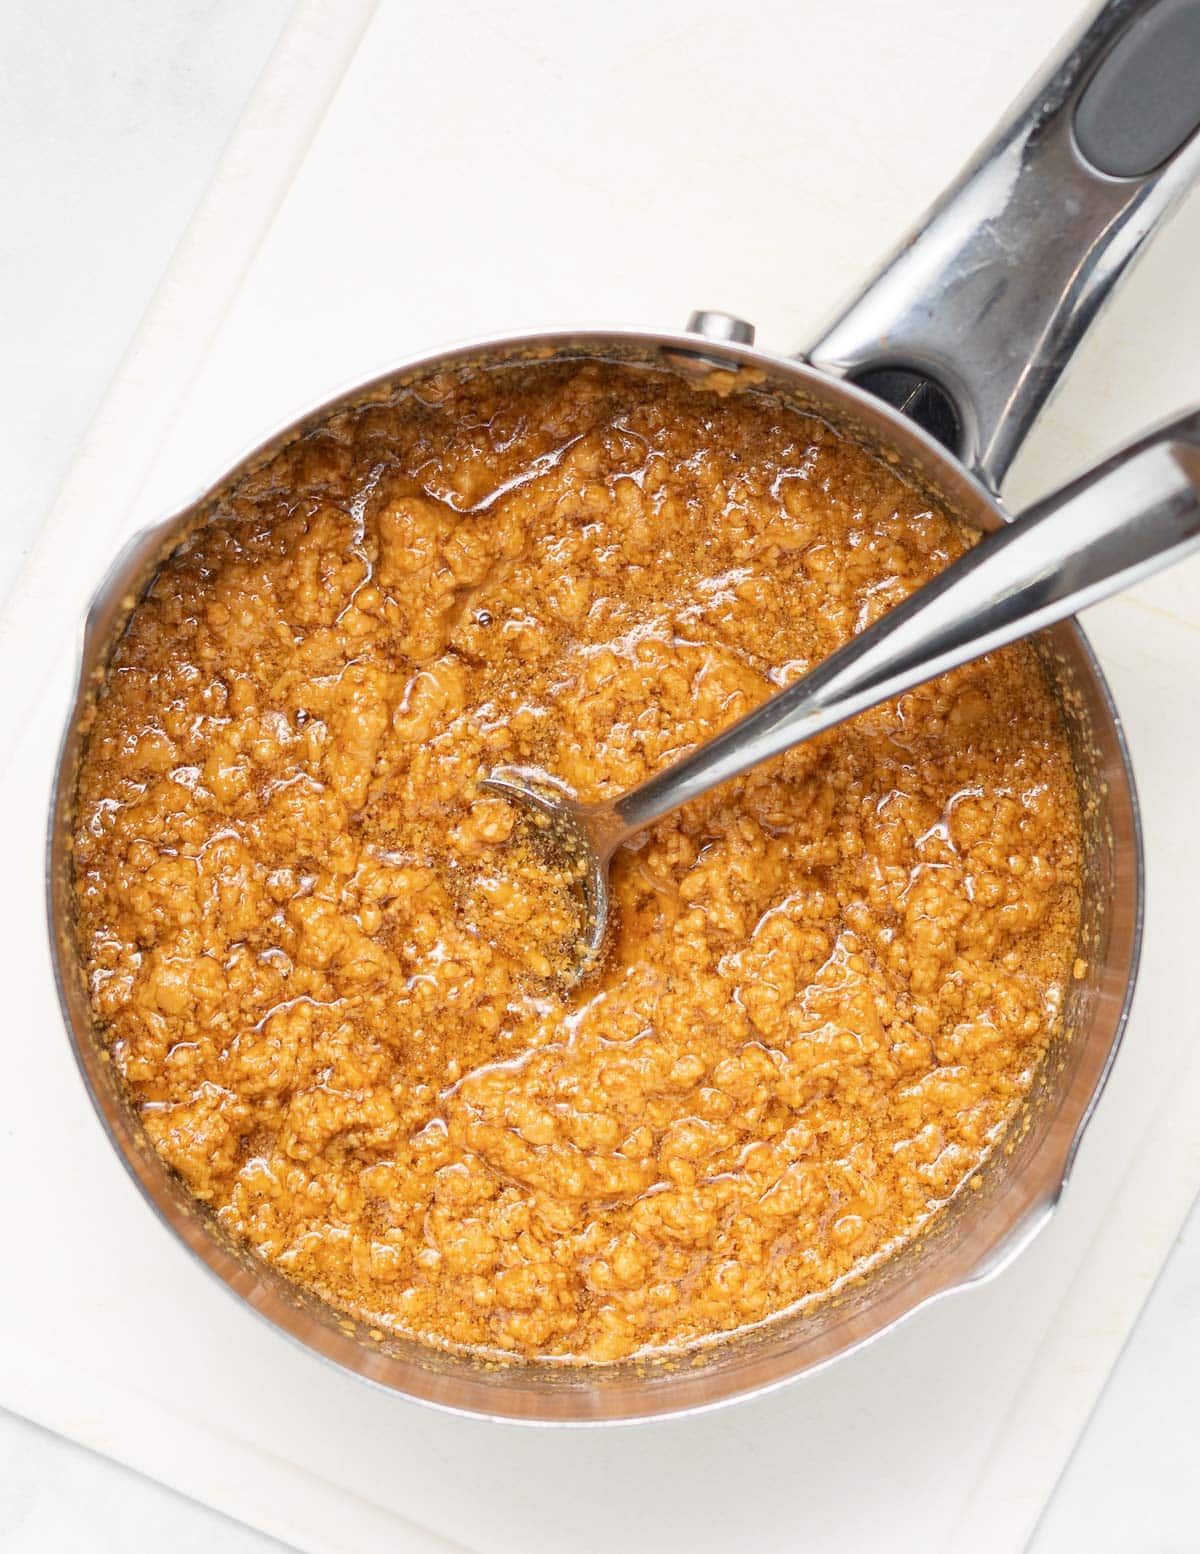
Step 2 - Warm the peanut butter, maple syrup and salt in a pan so they become easier to stir together.
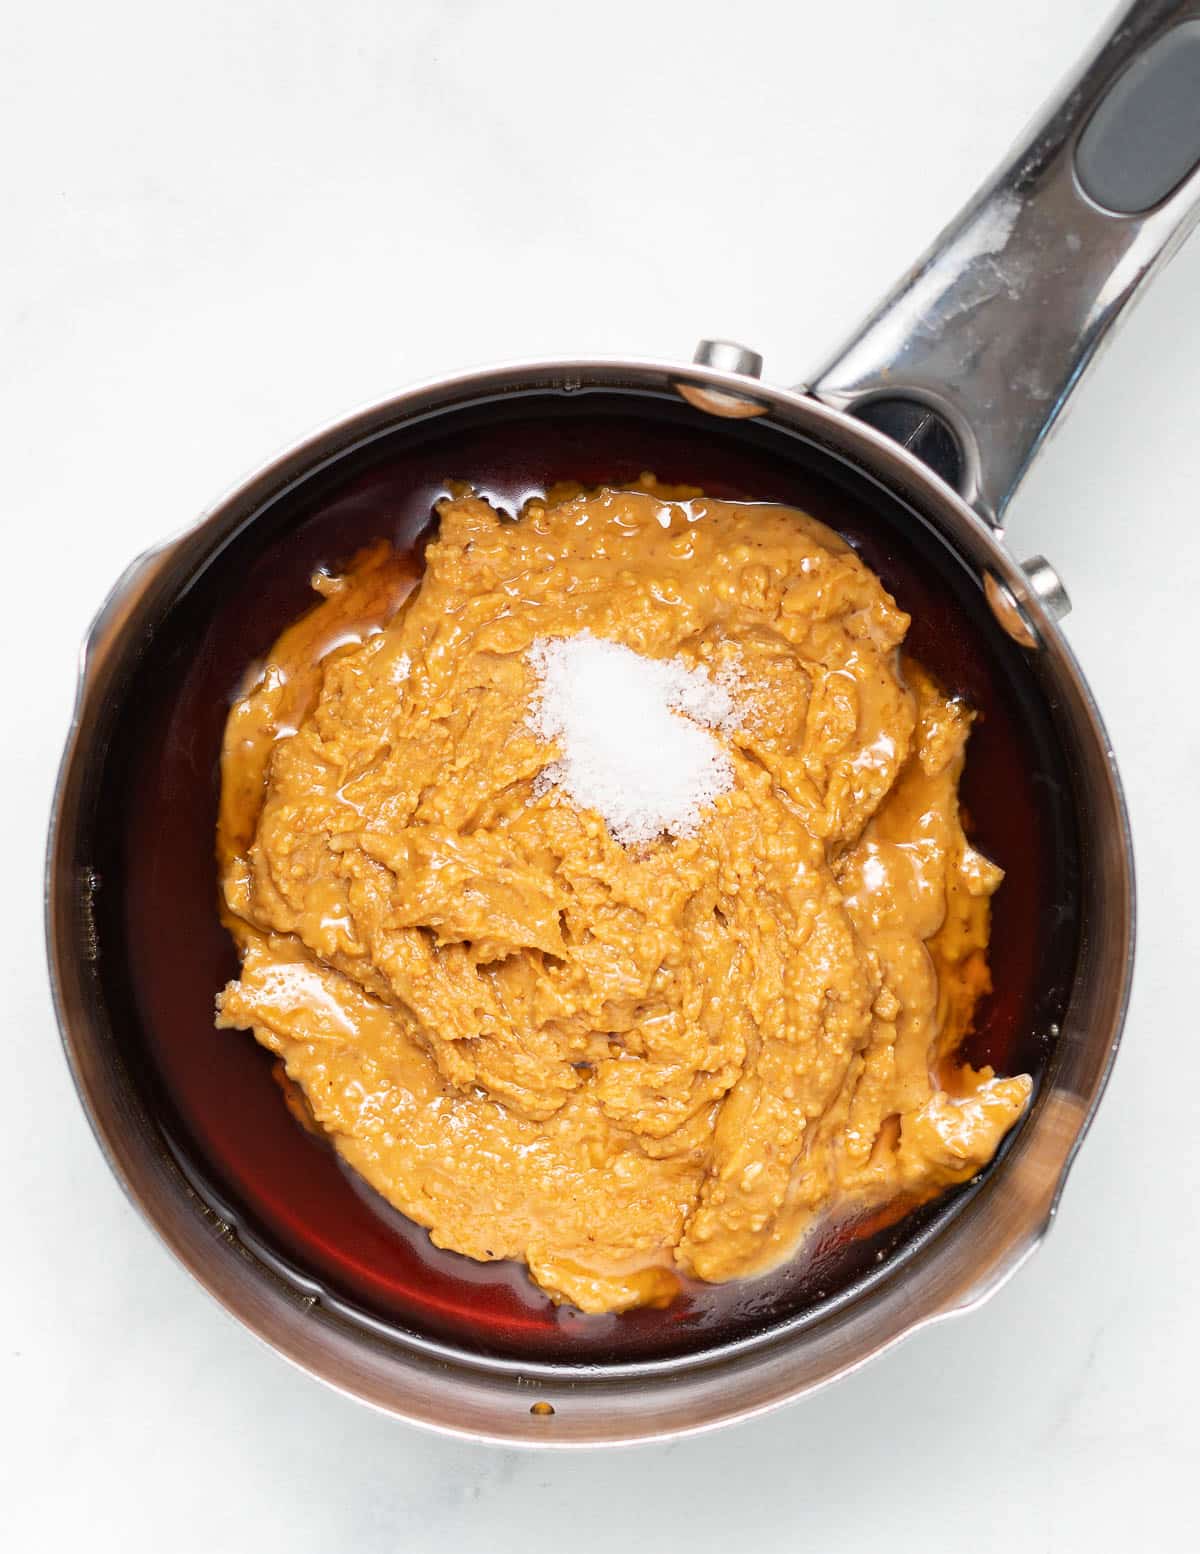
Step 3 - Once melted together, remove the pan from the heat and add the vanilla. Stir again.
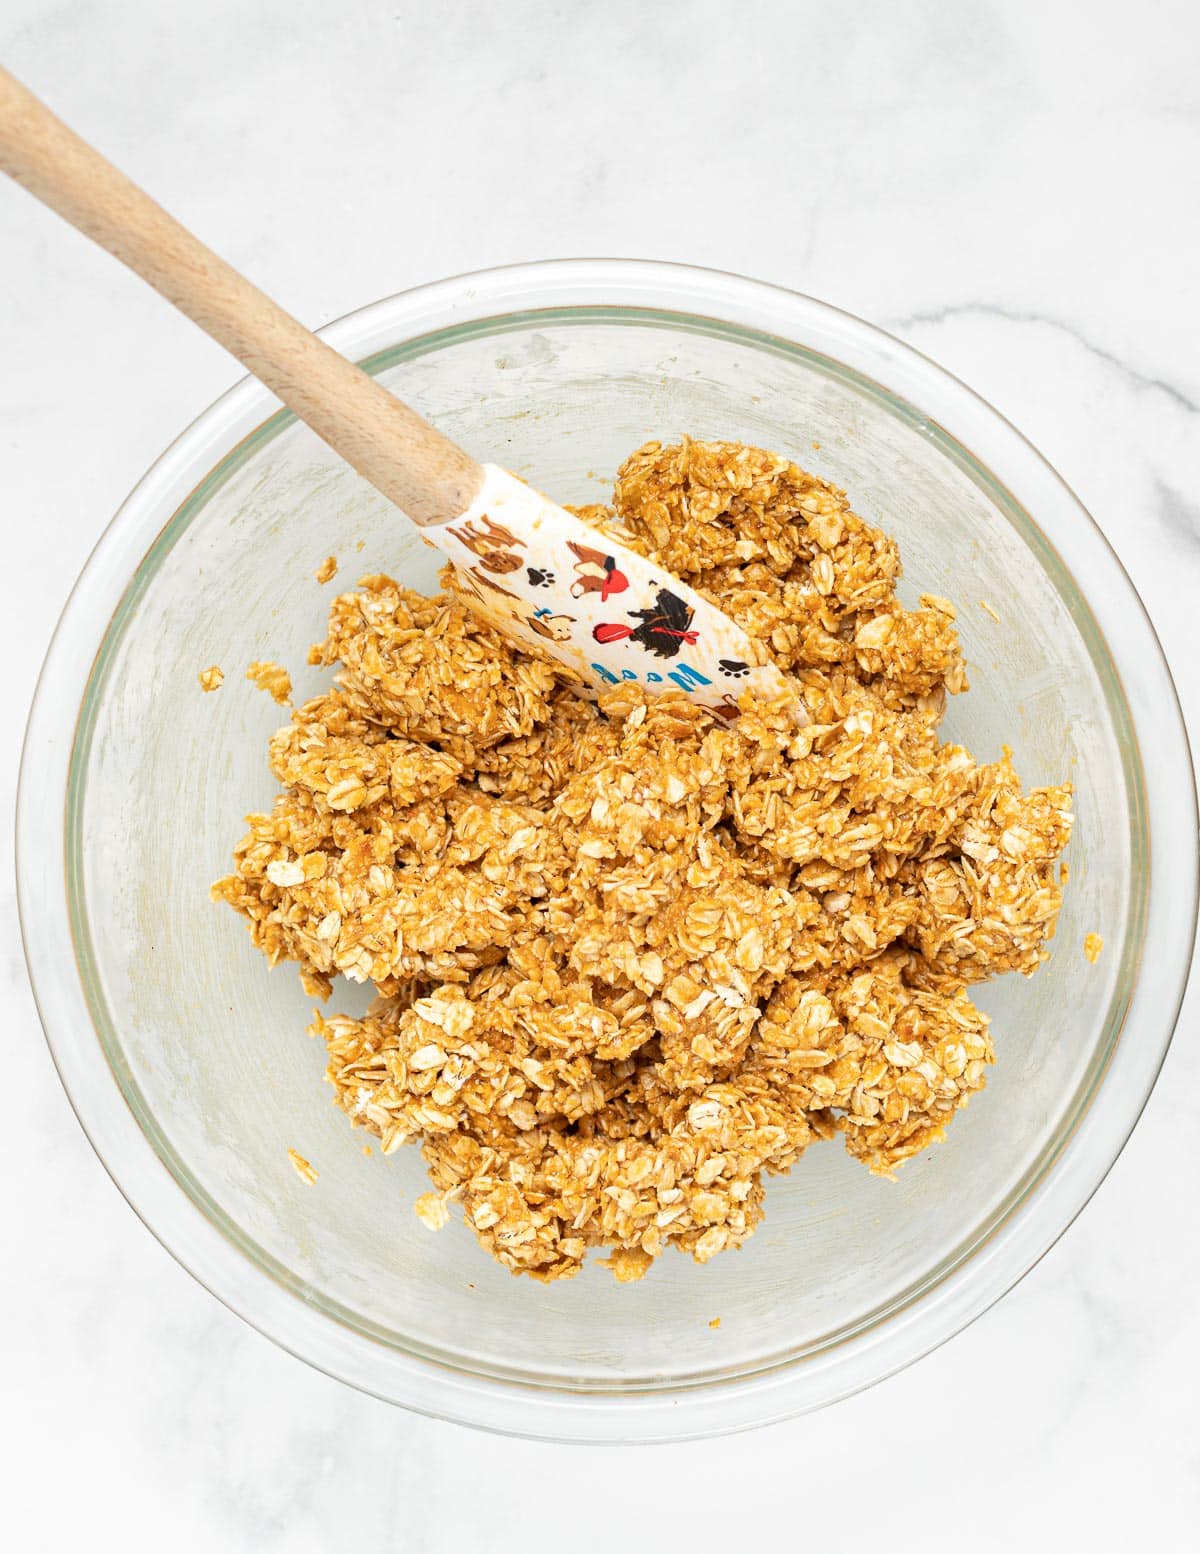
Step 4 - Mix the oats and peanut butter mixture together.
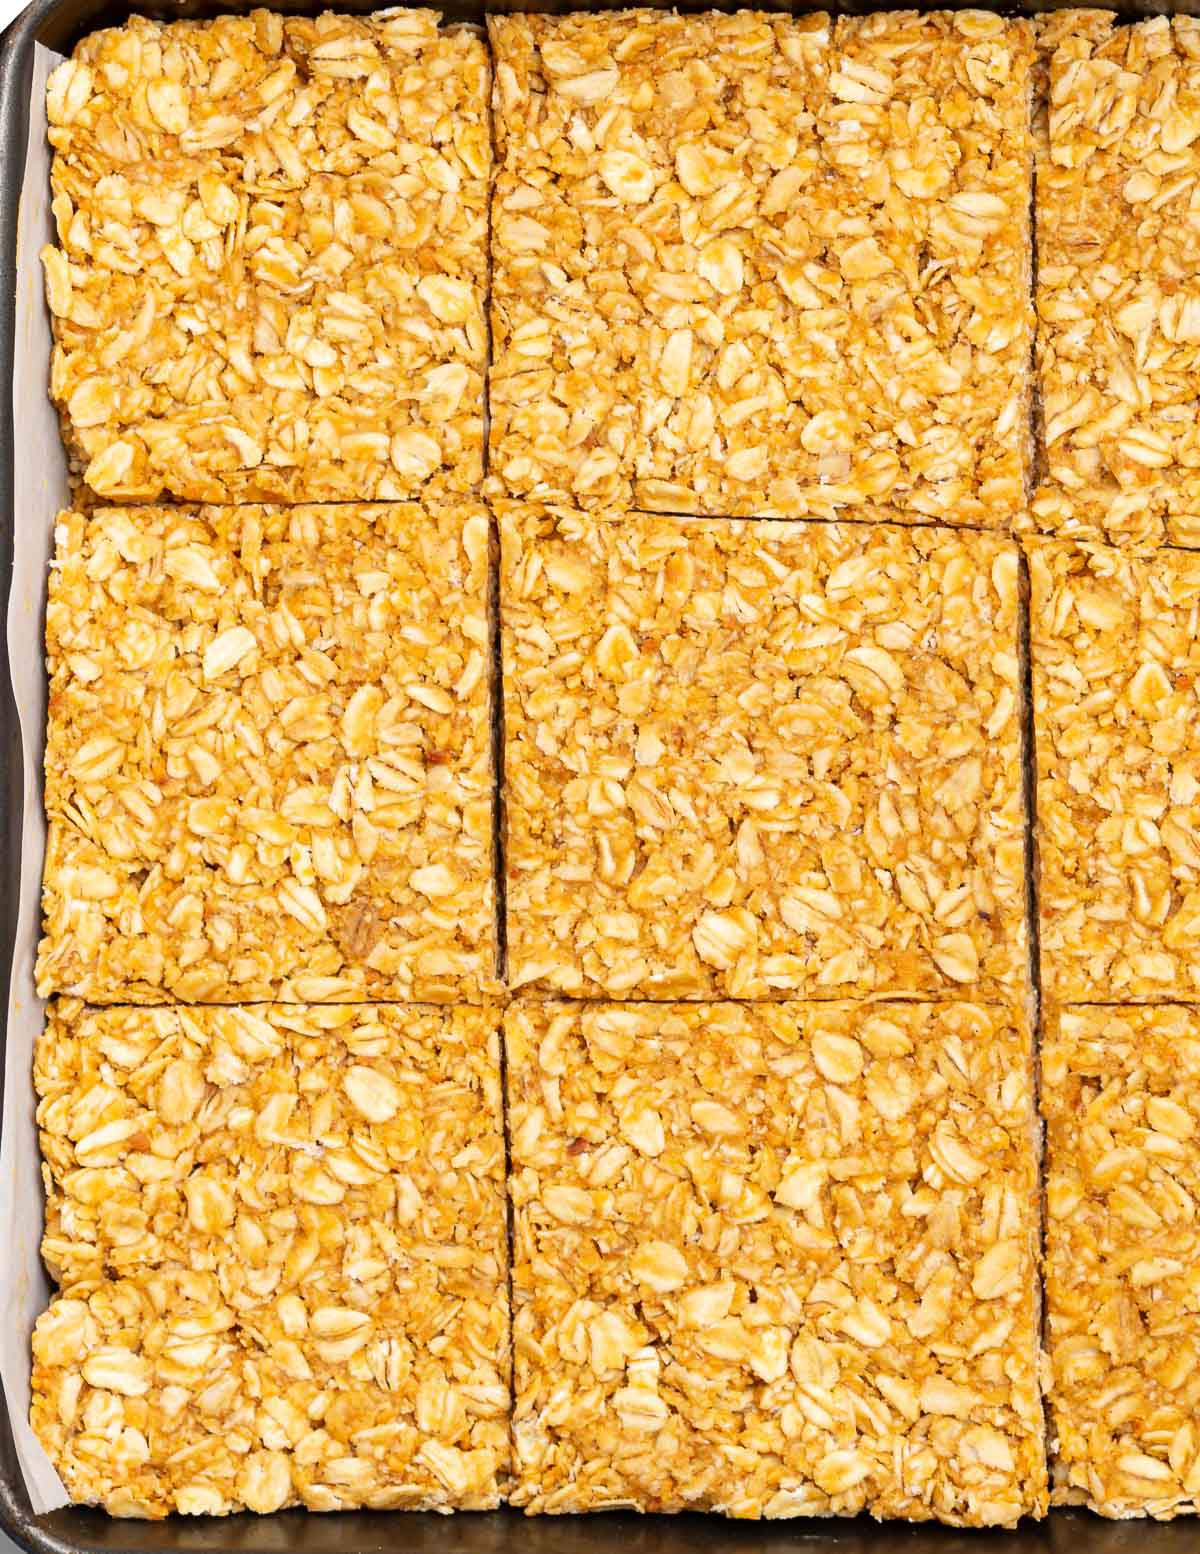
Step 5 - Pack the mixture into the lined pan then refrigerate.
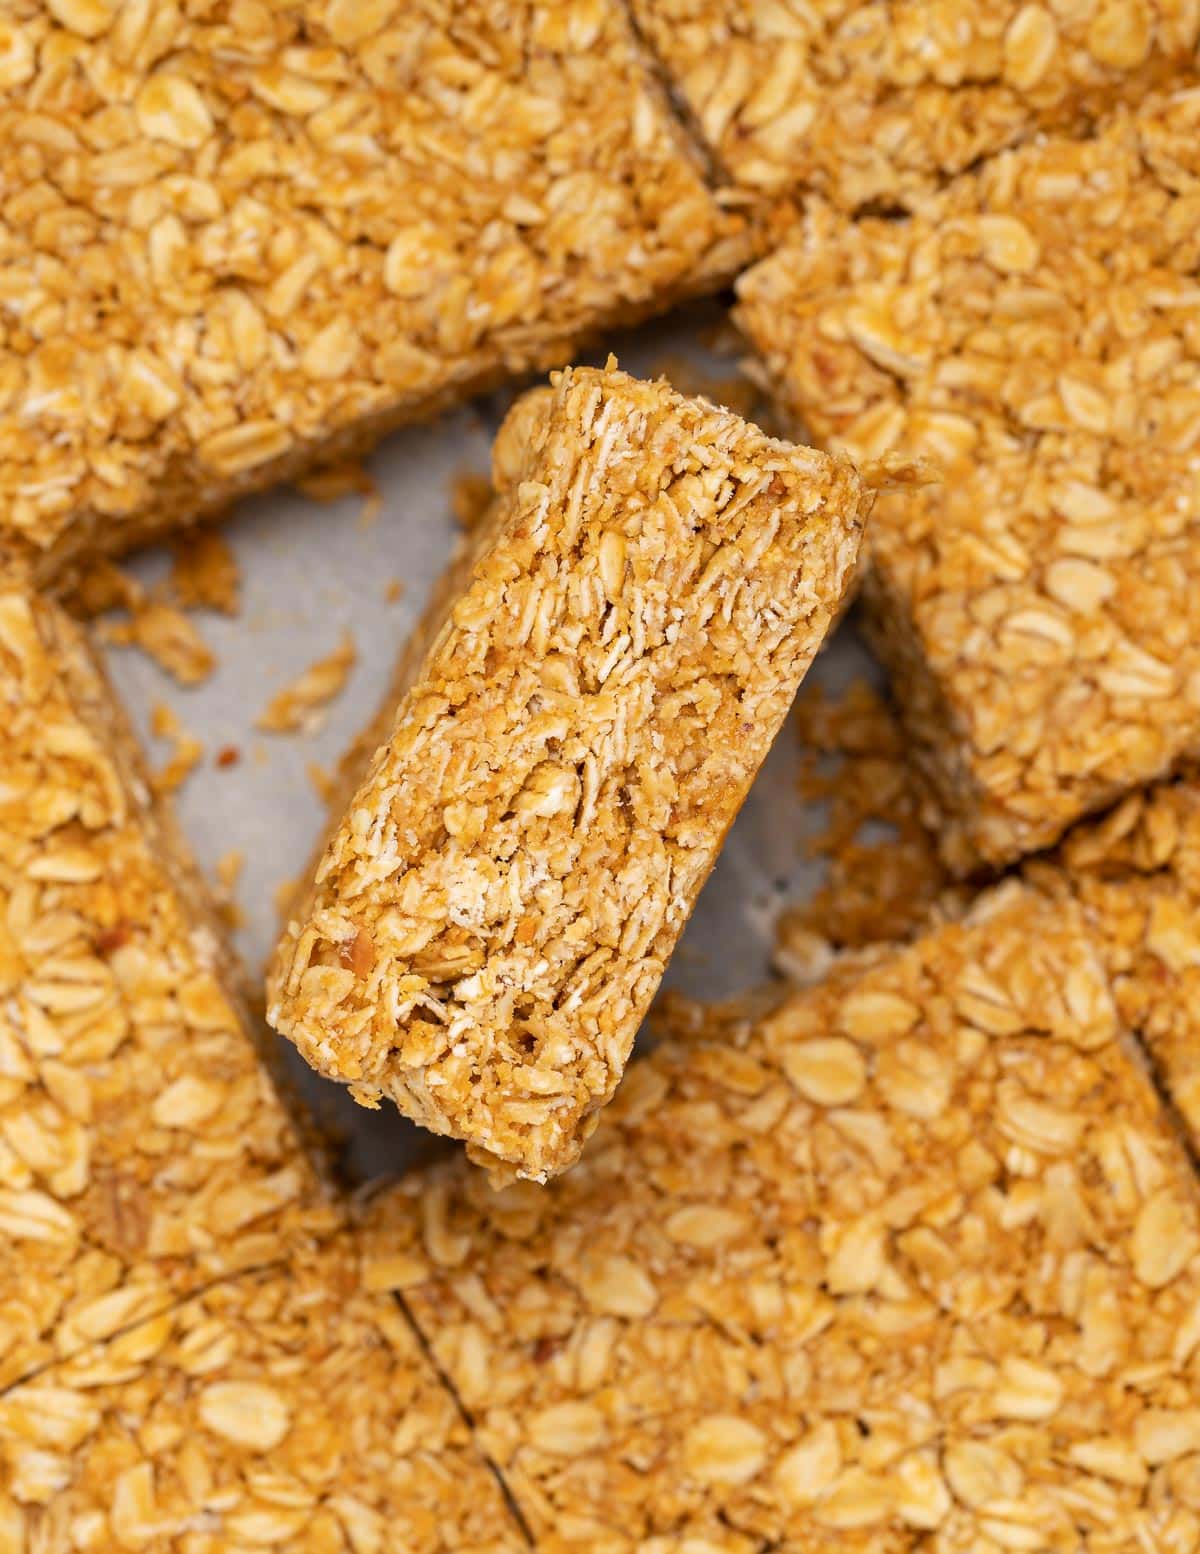
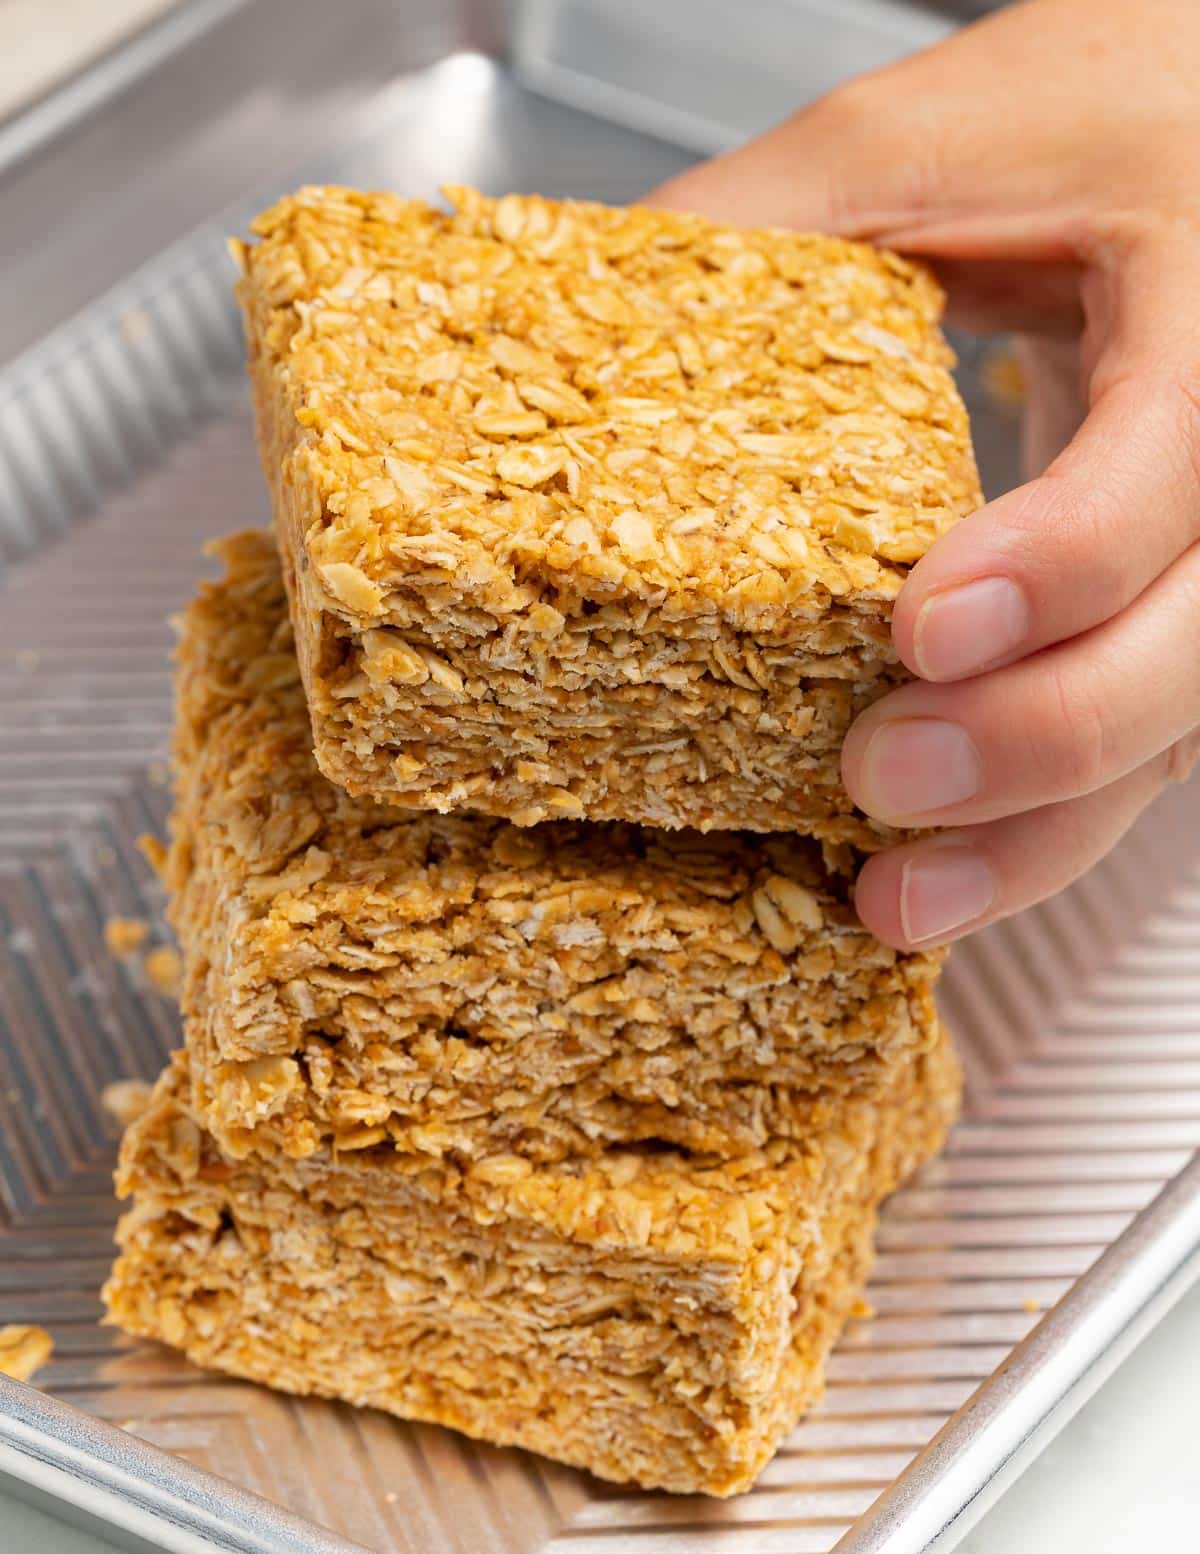
Step 6 - Once chilled cut into bars. Originally I cut out 9 bars but they are very large and filling, so 18 is better.
Step 8 - Store the bars in an airtight container in the fridge.
Success Tips
- Try not to use "dry" nut butter, a.k.a. the bottom of the jar. The nut butter you use should be smooth and creamy to help make the mixing process as easy as possible and to stop the bars from being too crumbly.
- It's really important to pack the mixture into the pan well. Press it down with the bottom of a mug or glass or your hands. The tighter it's packed, the more your bars will hold together.
- Don't attempt to remove or cut the bars from the pan until after 2 or more hours. Any sooner and they may fall apart.
- Don't forget to line the pan with parchment paper or else the oatmeal bars will be hard to remove.
- Since there is no added coconut oil or vegan butter in this recipe the bars are quite fragile. Some crumbling is to be expected.
- Use a sharp knife to safely and easily cut the bars.
- Make a double batch for Sunday meal prep and enjoy them all week long!
Ways you can adapt this recipe
- Customize the bars to your liking by adding in dried fruit, seeds, chopped nuts, or chocolate chips.
- Celebrate the holidays and use my gingerbread peanut butter instead of regular peanut butter.
- Add warming spices like cinnamon, nutmeg, or pumpkin spice.
- Turn them into gluten-free bars by using certified gluten-free rolled oats.
- Use a seed butter like Sunbutter to make them nut-free.
- Add a melted chocolate drizzle on top of the bars before they set in the fridge.
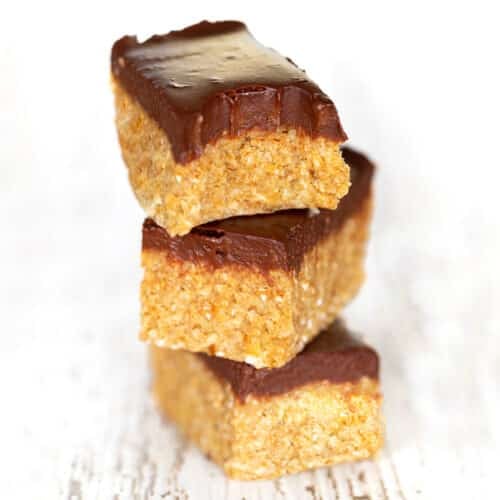
- If you really love chocolate, add a layer of chocolate ganache like I used in this recipe.
Storage Tips
Store the bars in an airtight container in the fridge for up to 2 weeks. They can also be packed up and frozen for up to 1 month. If you have time, let them soften for an hour or two in the fridge before eating. Keeping a batch or two in the freezer is an easy solution for meal/snack prep and batch cooking.
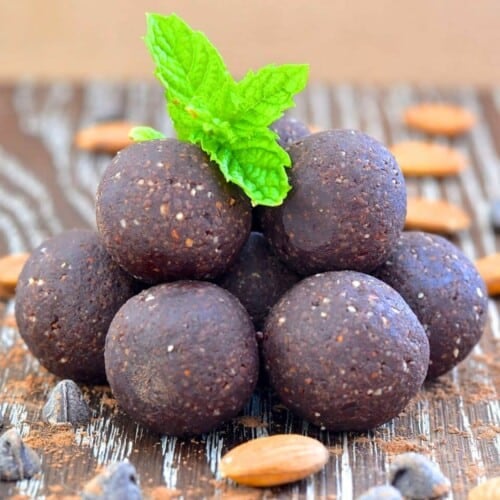
Hungry for more?
More no bake recipes:
Recipe
No Bake Oatmeal Peanut Butter Bars
Author:Ingredients
- 2 cups / 480 grams natural peanut butter , or any other nut or seed butter
- 1 cup / 240 mls maple syrup , or rice syrup
- 2 teaspoon vanilla extract
- 1 teaspoon salt , omit if the peanut butter is salted
- 6 cups / 540 grams rolled oats , or old fashioned oats. Not quick oats or steel cut oats.
RECOMMENDED EQUIPMENT
INSTRUCTIONS
- Line an 8 x 8 inch square pan with parchment paper and set aside. Alternatively you can half the recipe and use a 9 x 5 inch loaf pan.
- Add the peanut butter, maple syrup and salt to a small pan and set on the stove top over the lowest heat for a minute or two until the peanut butter gets soft and they are easy to stir together. Once they are, remove from the heat, add the vanilla and stir to combine everything well.
- Put the oats in a large mixing bowl and pour in the peanut butter mixture. Stir together really well with a wooden spoon until you can no longer see any dry oats.
- Pack the mixture into the lined pan, pressing it down really well all over so it's really compacted. You can use your hands or the bottom of a glass or mug to press it down.
- Place in the refrigerator to set for at least 2 hours. Lift carefully out of the pan onto a cutting board and using a large sharp knife, cut into bars. I recommend cutting into 18 bars.
- Store in an airtight container in the fridge for up to 2 weeks.
NOTES
- Try not to use "dry" nut butter, a.k.a. the bottom of the jar. The nut butter you use should be smooth and creamy to help make the mixing process as easy as possible and to stop the bars from being too crumbly.
- It's really important to pack the mixture into the pan well. Press it down with the bottom of a mug or glass or your hands. The tighter it's packed, the more your bars will hold together.
- Don't attempt to remove or cut the bars from the pan until after 2 or more hours. Any sooner and they may fall apart.
- Don't forget to line the pan with parchment paper or else the oatmeal bars will be hard to remove.
- Since there is no added coconut oil or vegan butter in this recipe the bars are quite fragile. Some crumbling is to be expected.
- Use a sharp knife to safely and easily cut the bars.
- Make a double batch for Sunday meal prep and enjoy them all week long!
💌 SAVE THIS RECIPE!
Watch out for more tasty treats coming your way! Unsubscribe at any time.
Kyle says
This has been my go-to workweek breakfast for the last few years. I make them ahead, cut them into squares, and then just pull one out of the freezer each day as I head out the door. By the time I get to work it's defrosted and goes great with coffee.
I like to substitute one of the cups of oats with nuts or seeds (sunflower seeds, chia seeds, flax seed, pumpkin seeds, etc.) for a bit of variety.
Melanie McDonald says
Love the seed additions! Glad you're enjoying the recipe, Kyle and thank you for the review!
Nicola says
Easy and very morish! Very filling.
Dianna says
They were very easy to make and turned out amazing. Will definitely add this recipe to my weekly meal prep.
Sophia Williams says
Have you tried it with golden syrup instead of maple syrup anyone?
suzi says
thinking of playing with this recipe tomorrow. would the texture allow me to roll them into balls and toss them into crushed coconut? how do they hold their shape out of the fridge?
Melanie McDonald says
They hold their shape fine out of the fridge once you've let them set up well. They would probably roll into balls as long as you squeeze/compact them really, really well. They are definitely too dry to roll in coconut and have it stick though. You could dip in melted chocolate first to help ;O)
Denise Condreay says
Would it totally destroy the recipe if I added dried cranberries?
Melanie McDonald says
You can add any dried fruit. Just be careful how much, because it might affect how they stick together if you add too much.
Kanchan says
Hi melanie
I stay in India where maple syrup is not easily available
Is there a substitute for it
A Virtual Vegan says
Rice syrup works. I would imagine agave would too although I haven't tried it.
Lorna McLeod says
can't get enough of these keep making double batches! YUM YUM YUMMY
Lana Anderson says
Love these! These bars are super easy to make and delicious! I did not have enough maple syrup on hand for 1 cup, so added a little honey to make of the difference. Turned out very well. These are very rich, so I plan to cut into 32 bars. Also, my bars did not turn out too crumbly for which I am thankful.
Lorna McLeod says
ABSOLUTELY the BEST!!!! You did it again! Can't get enough...YUM YUM YUM!
A Virtual Vegan says
Thank you Lorna!!
Julie Purcell says
Hi Mel, thankyou for your recipes. I made these last night, they were so quick & easy to make. I was looking for a heart healthy sweet treat & these are just right with just enough sweetness.
A Virtual Vegan says
Thank you Julie. I'm really pleased you enjoyed them!