The best Vegan Sugar Cookies! These buttery cut-out cookies don't spread while baking, so they will keep their sharp, defined edges. With tender slightly chewy edges, thick soft but not too soft centres, and foolproof cookie icing they are perfect for any holiday or occasion.

💌 SAVE THIS RECIPE!
Watch out for more tasty treats coming your way too! Unsubscribe at any time.
FEATURED COMMENT
"These are the easiest and best cookies I've made in ages, I've just made them in a tiny camping oven outside my campervan, with no scales or even a rolling pin! They still turned out perfect and they really don't spread!!!" - Teresa ⭐️⭐️⭐️⭐️⭐️ More reviews →
If you're looking for Vegan Sugar Cookies that hold their shape, don't spread, come together easily with no unusual ingredients, and taste amazing, I've got you covered!
Perfect for gifting, sending, and all sorts of occasions like Valentine's Day, Easter, Mother's Day, Christmas, Thanksgiving, or just when you need to keep the kids entertained on a rainy Sunday.
These cut-out cookies are buttery and fragrant with thick, slightly chewy edges and soft tender middles. They keep their sharp edges as they bake and can stand up to plenty of icing, because what's a sugar cookie without lots of sugar cookie icing?
And speaking of icing, if you want a foolproof easy vegan cookie icing recipe that is perfectly smooth, shiny, dries quickly, and is firm but not break your teeth hard, I've got you covered there too!
There's certainly a time and a place for crackly-spreading cookies, but this is not it...So grab your rolling pin and favourite cookie cutters, and let's stamp out pretty little shapes, decorate (to the best of our abilities), and enjoy perfect vegan sugar cookies!
Mel x

Ingredients
Here is what you need at a glance, along with some important ingredient notes:
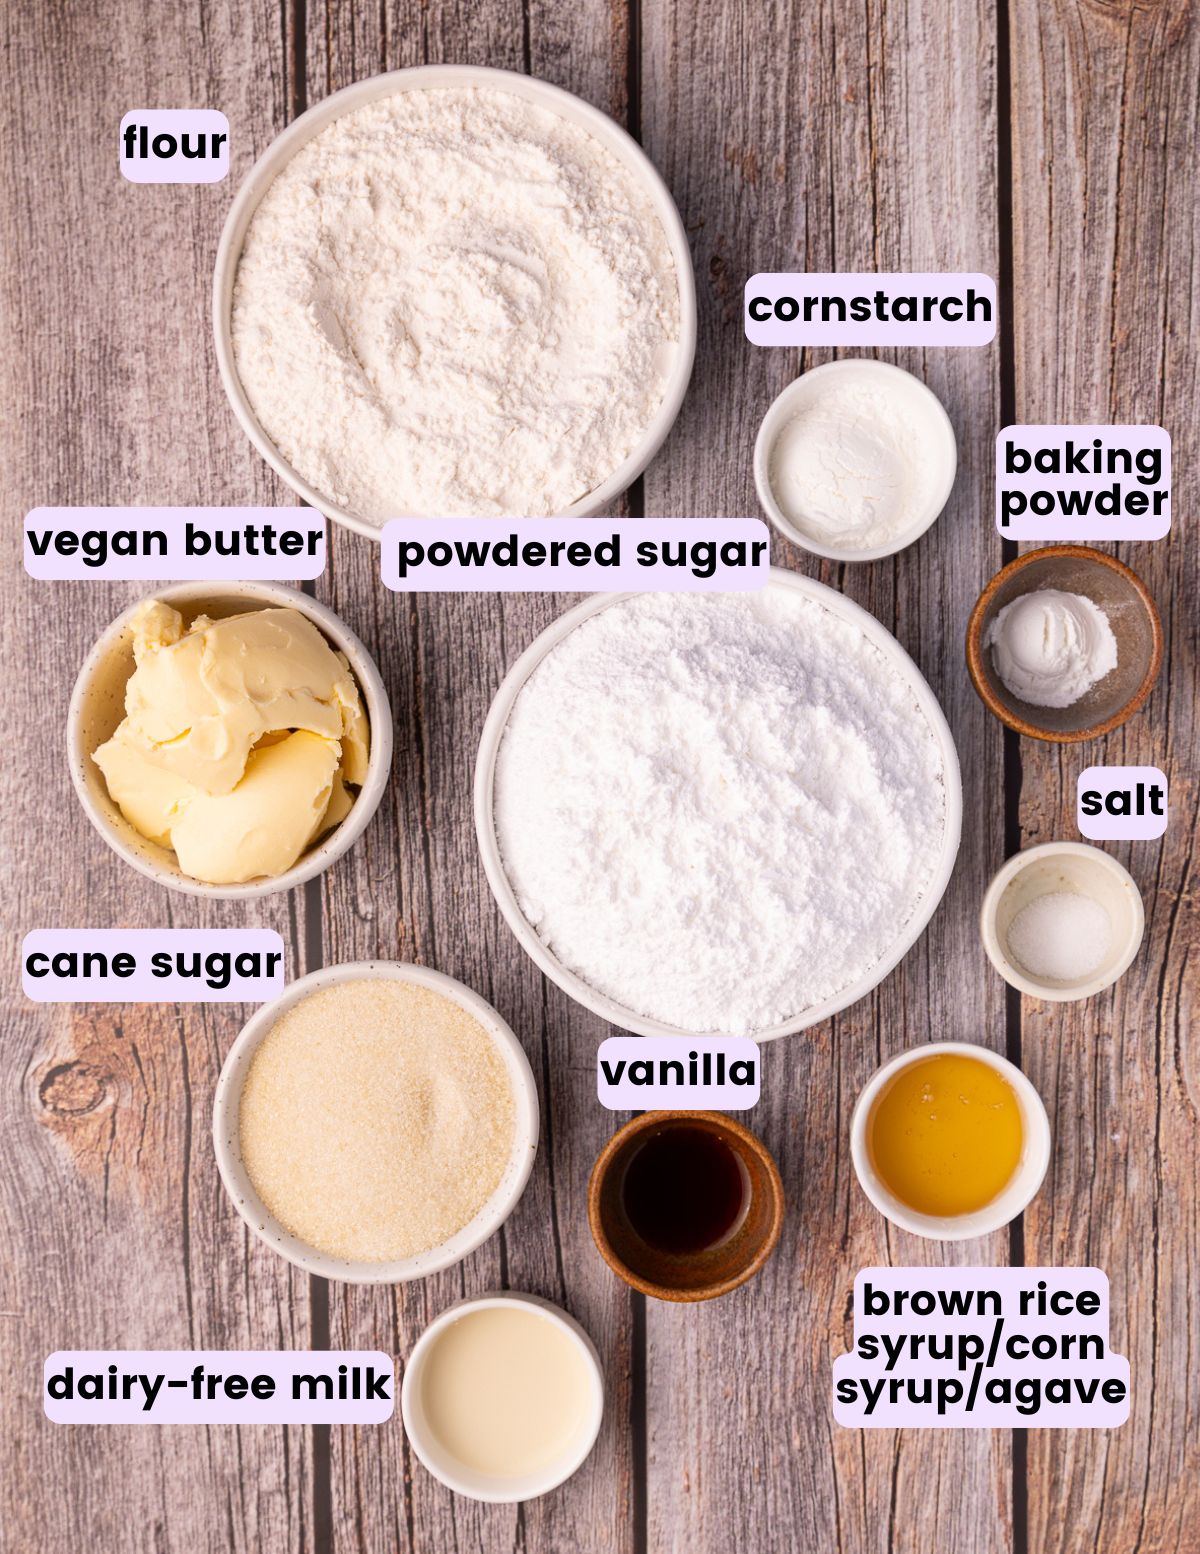
- Flour - Simple all-purpose flour. Use plain flour in the UK. Don't use cake flour in this recipe.
- Sugar - This must be cane sugar or white granulated sugar. Wondering about vegan sugar brands? See the FAQs! The sugar sweetens the cookies and adds structure and texture. Darker sugars won't work in this recipe.
- Cornstarch - This is the egg substitute in this eggless sugar cookie recipe. It's a key ingredient and gives the cookies a really great texture and helps stop them spreading. I don't recommend omitting it or using anything else.
- Vegan butter - Important for great buttery flavour. Harder dairy-free butter will give you better cookies than soft margarine-style ones. I use the tub Earth Balance for my recipe testing.
- Dairy-free milk - Any such as cashew milk, soy milk, oat milk, or almond milk will do. I do recommend using unsweetened if possible.
- Vanilla - I like just vanilla in my sugar cookies. If you like to use some almond extract you can safely add up to ½ teaspoon of almond extract in addition to the vanilla.
- Baking powder - This is for leavening and lightness. Don't worry they won't rise, spread, or get puffy and they will be perfectly flat for decorating.
For the icing
- Powdered sugar- This is for the sugar cookie icing. I love Wholesome Sweeteners brand BUT for this recipe, I don't use it. I find that it makes a very off-white dirty-looking white icing, so I use cheaper grocery store powdered sugar which is much whiter. That's ok here (in Canada) as it's vegan but if you are in the US you might need to use the Wholesome Sweeteners brand if you struggle to find another. If it is a little off-white you could use brilliant white gel food colouring to brighten it up.
- Brown rice syrup or light corn syrup - This gives the icing a better texture and some shine which is important when you want them to look pretty. I think agave syrup would also work well but I haven't personally tried it. Don't use maple syrup. It does not work in the same way.
- Vanilla - I don't find the small amount used affects the colour of white icing much at all but omit it if you want it absolutely brilliant white.
OPTIONAL
- Food colouring - I recommend using gel food colouring because liquid food colouring will alter the consistency of the icing too much. Don't forget to check it's vegan. I used Satin Ice Food colour Gel which I purchased at Michaels. Amazon also sells it.
- Sprinkles - You can use coloured coarse/sanding sugar, sprinkles, or any other decorations. Don't forget to check they are vegan though! I use coloured coarse sugar and sprinkles from Luxe Cake Store on Amazon. Sweetapolita also sells lots of different vegan sprinkles (and food colouring) and ships to Canada and the US.
Equipment
To make vegan sugar cookies you will need:
- Electric mixer/handheld mixer
- Rolling pin ( I love this Joseph Joseph one for getting a really even rollout.)
- Baking sheets
- Parchment paper
- Cookie cutters
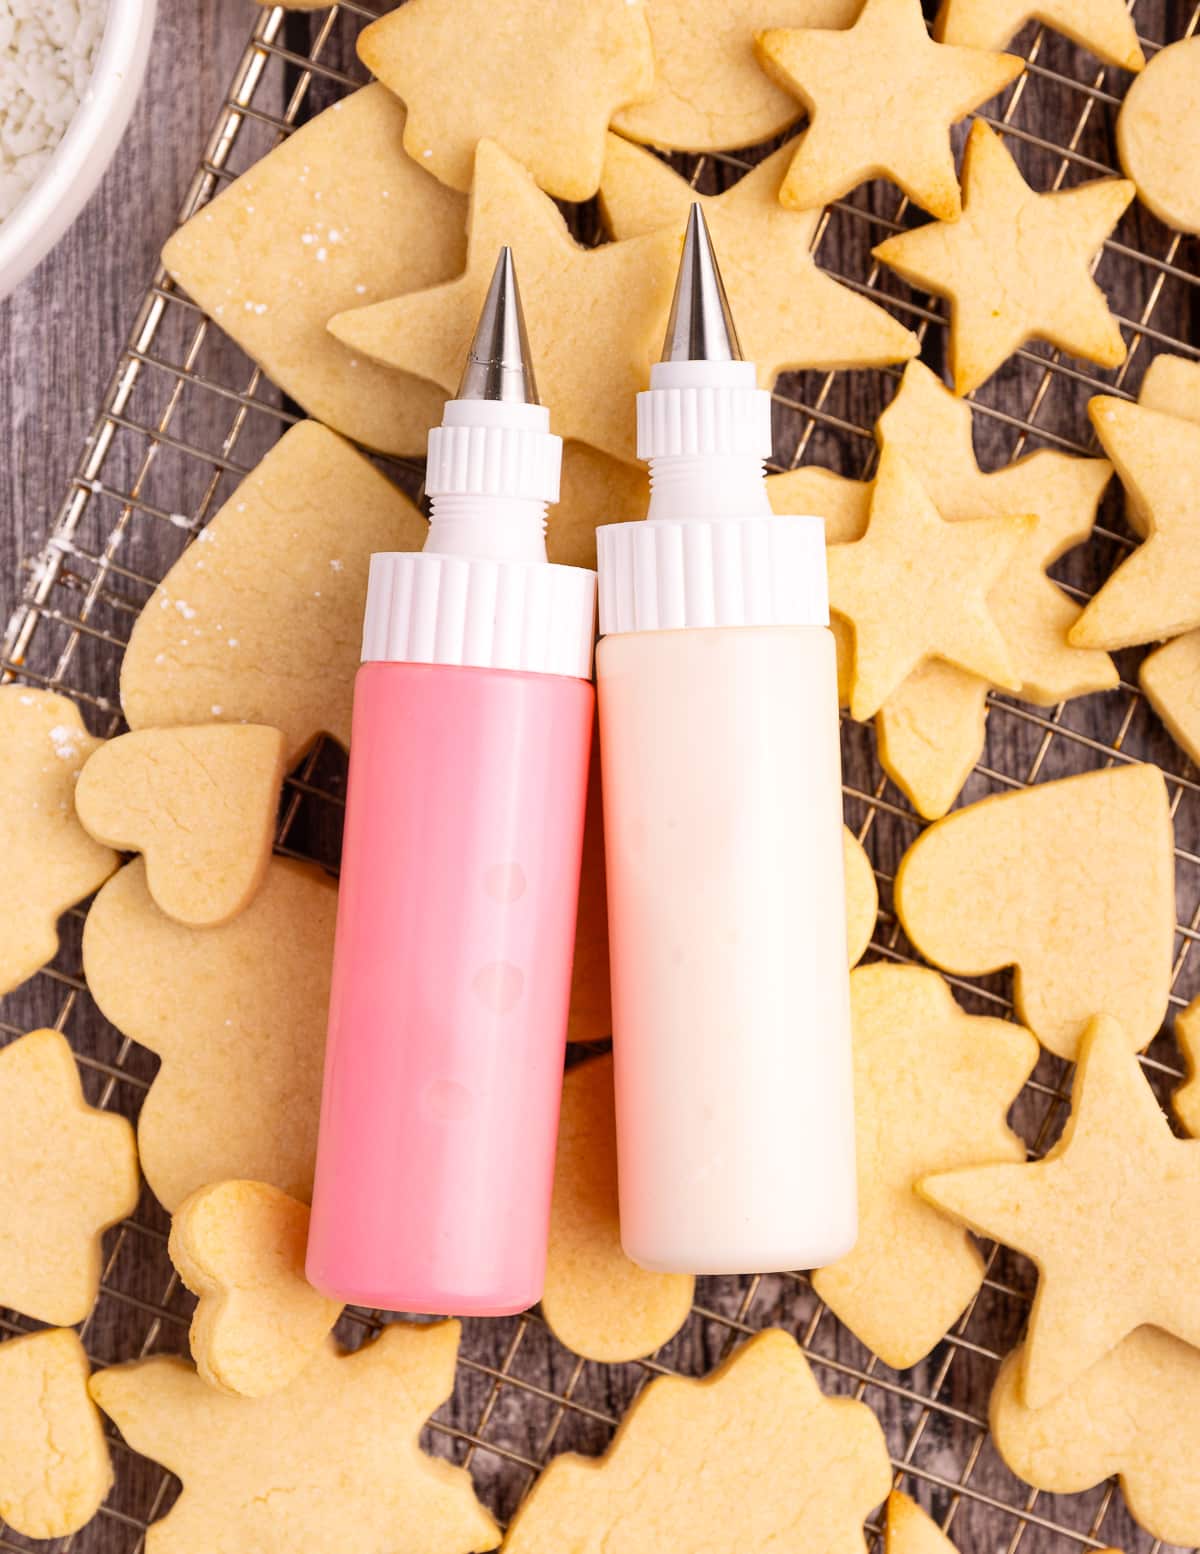
- Piping bags/tips or squeeze bottles. Couplers too if you only have one tip and want to switch between icing colours easily. I really like using squeeze bottles. They are less intimidating than piping bags/tips and very easy to use, especially for children. I learned through trial and error that #4 piping tips work best for flooding cookies. #2 is good for finer detail.
Let's Make Vegan Sugar Cookies!
Can't wait to make them? The full printable recipe is below, but first, let me walk you through the steps to set you up for success in your kitchen. I recommend watching my recipe video if you're more of a visual learner:
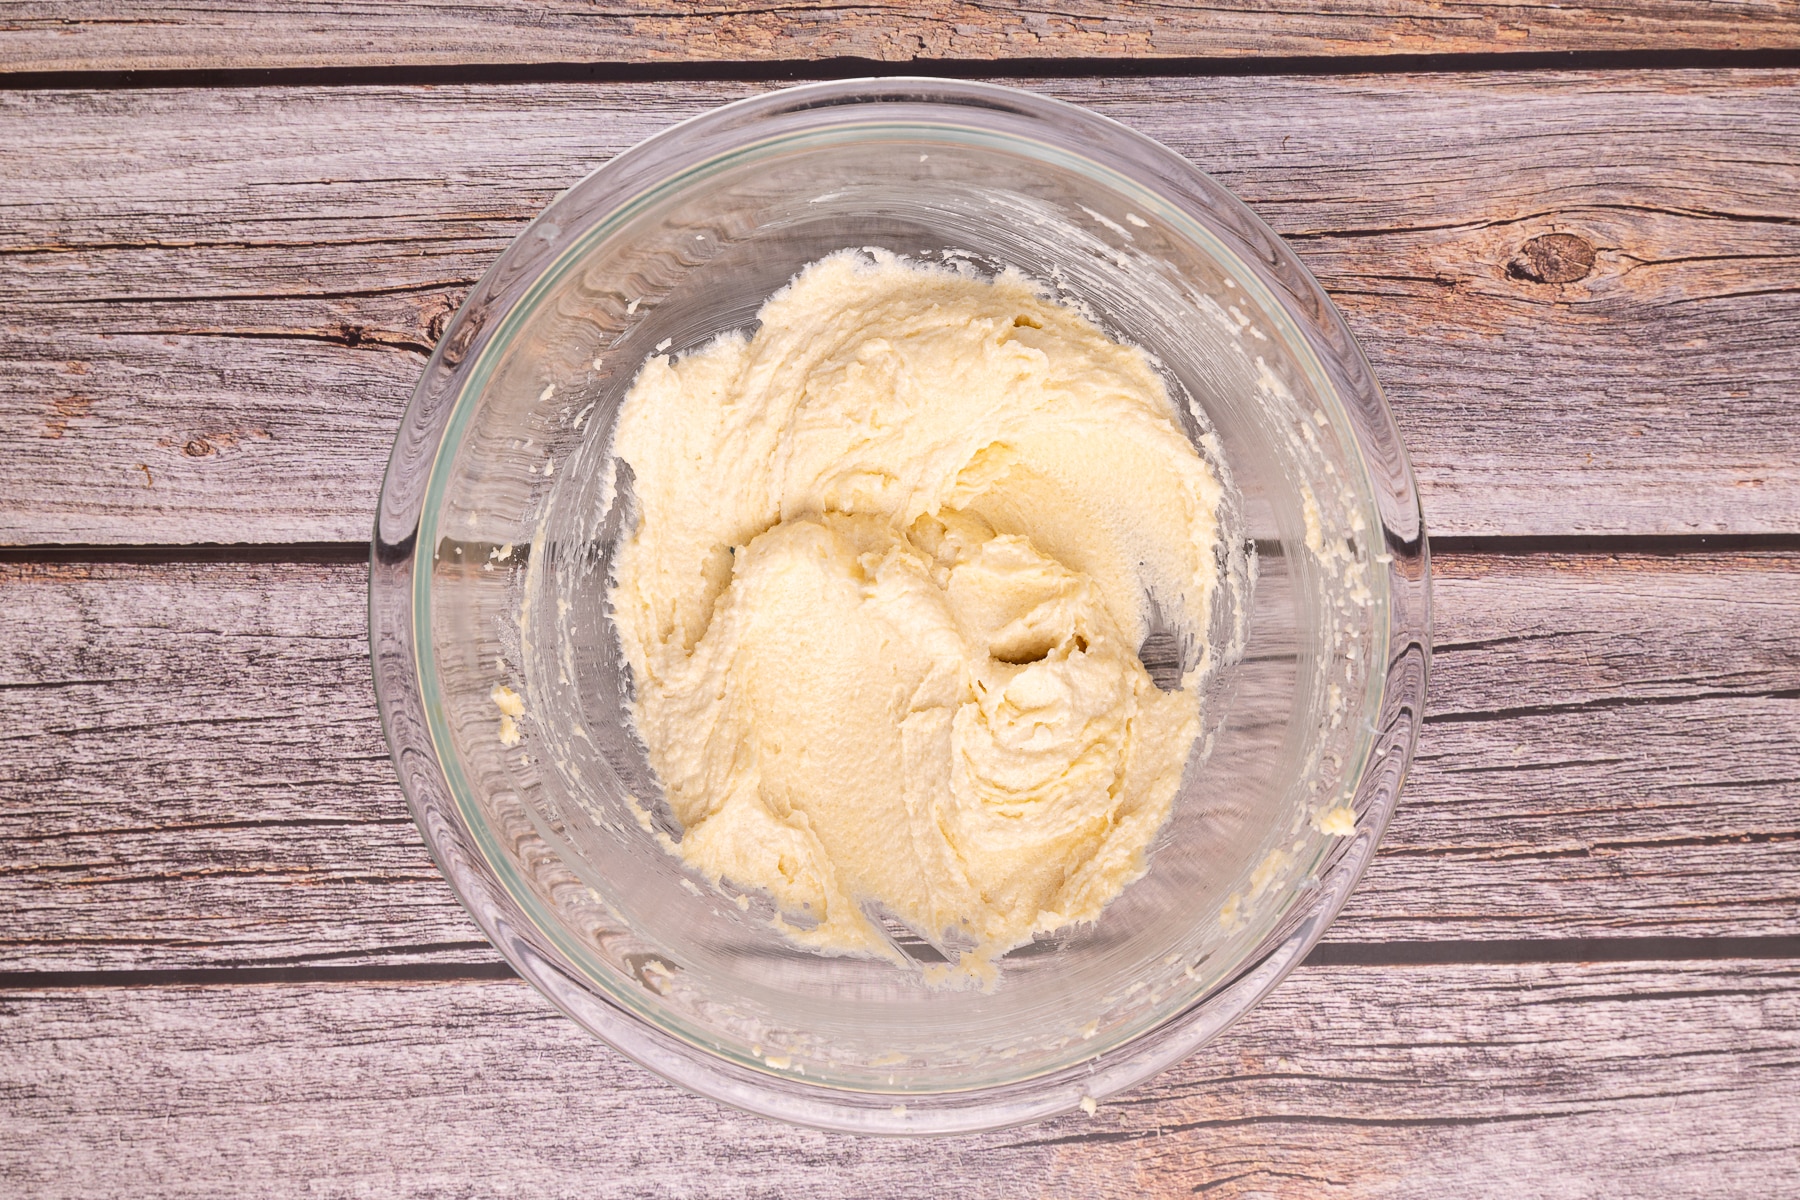
1 - Beat the butter and sugar until pale and fluffy then add the vanilla and almond extract (if using), cornstarch, milk, and sea salt. Mix again to combine.
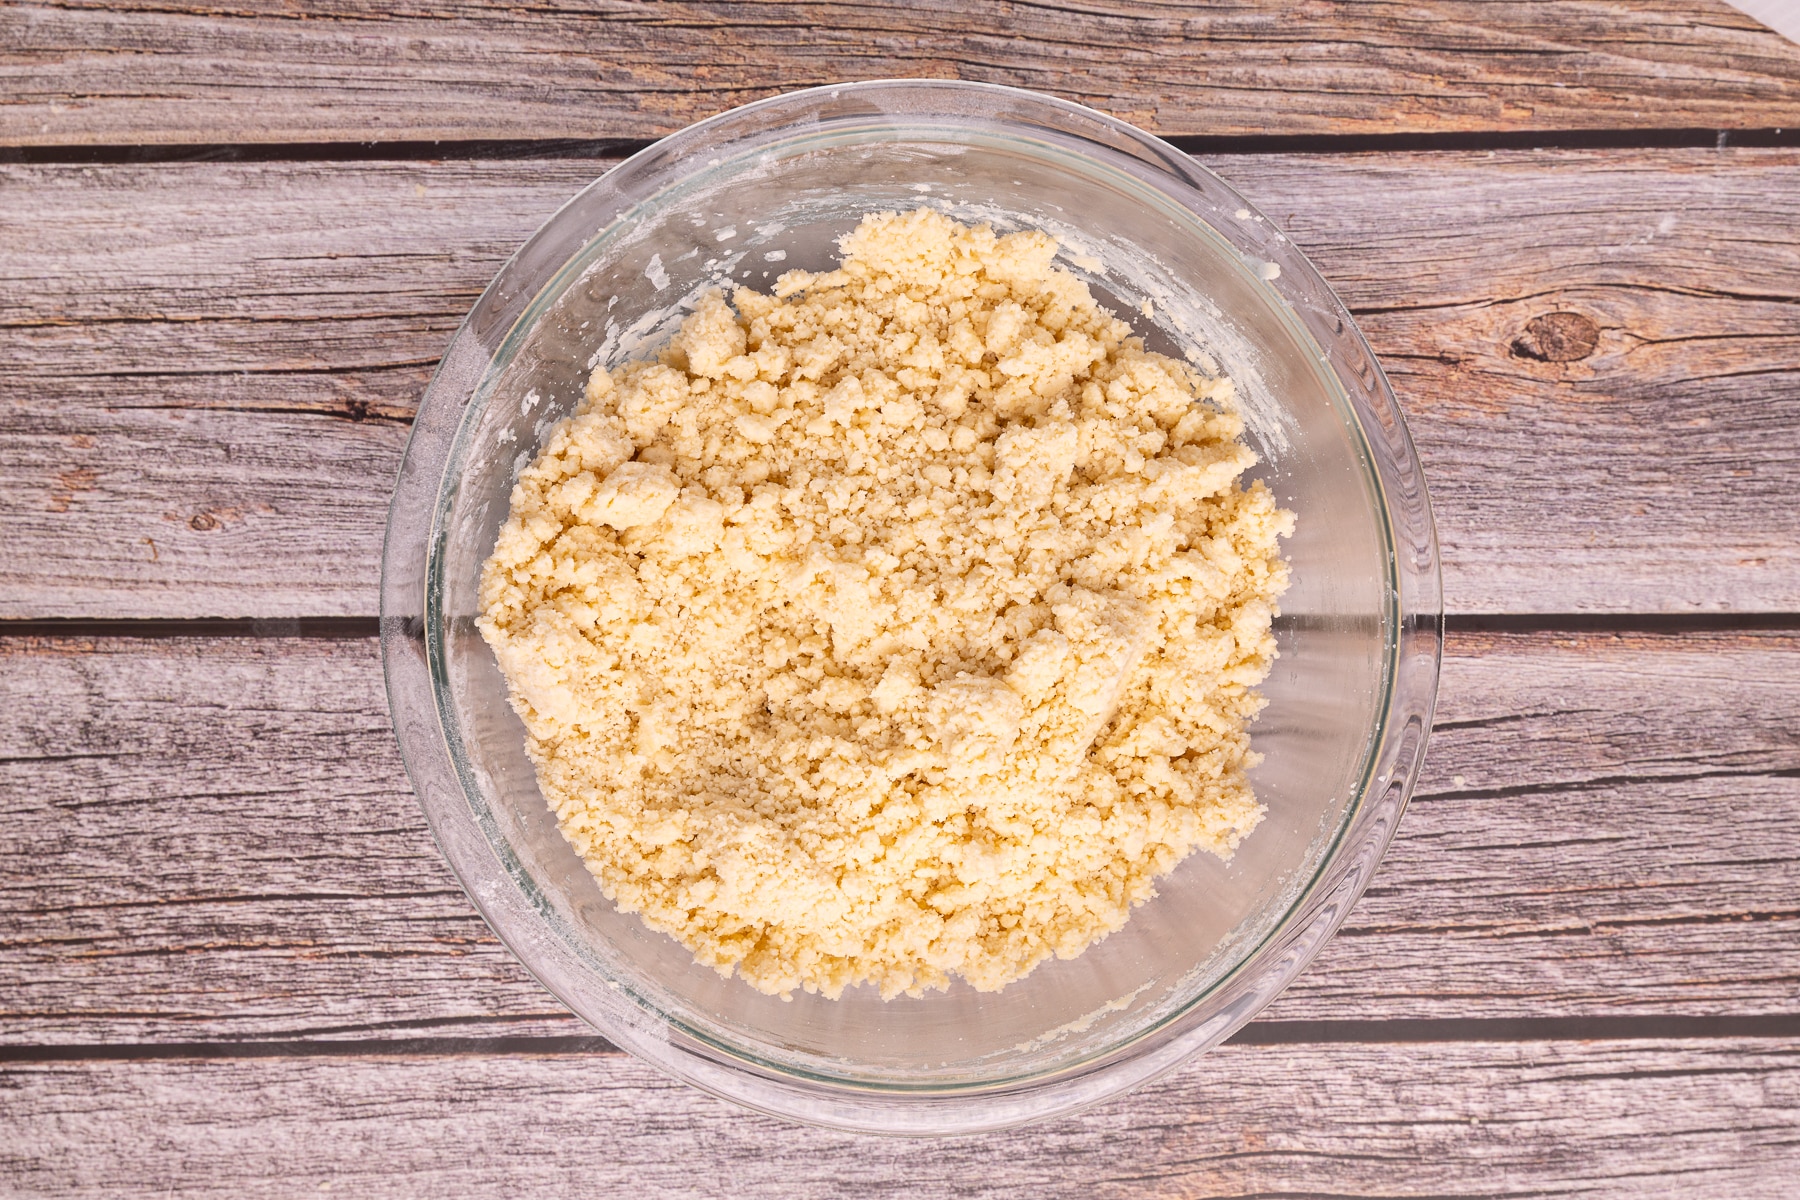
2 - Mix in the flour and baking powder to form a crumbly-looking cookie dough. It will look dry but as long as you have measured the flour accurately it will come together when you squeeze it. The dry dough is what makes the cookies great! Note that if your butter is particularly soft or you beat the sugar and butter together for a long time then your dough could look softer, moister, and less crumbly. That's fine too. Don't worry.
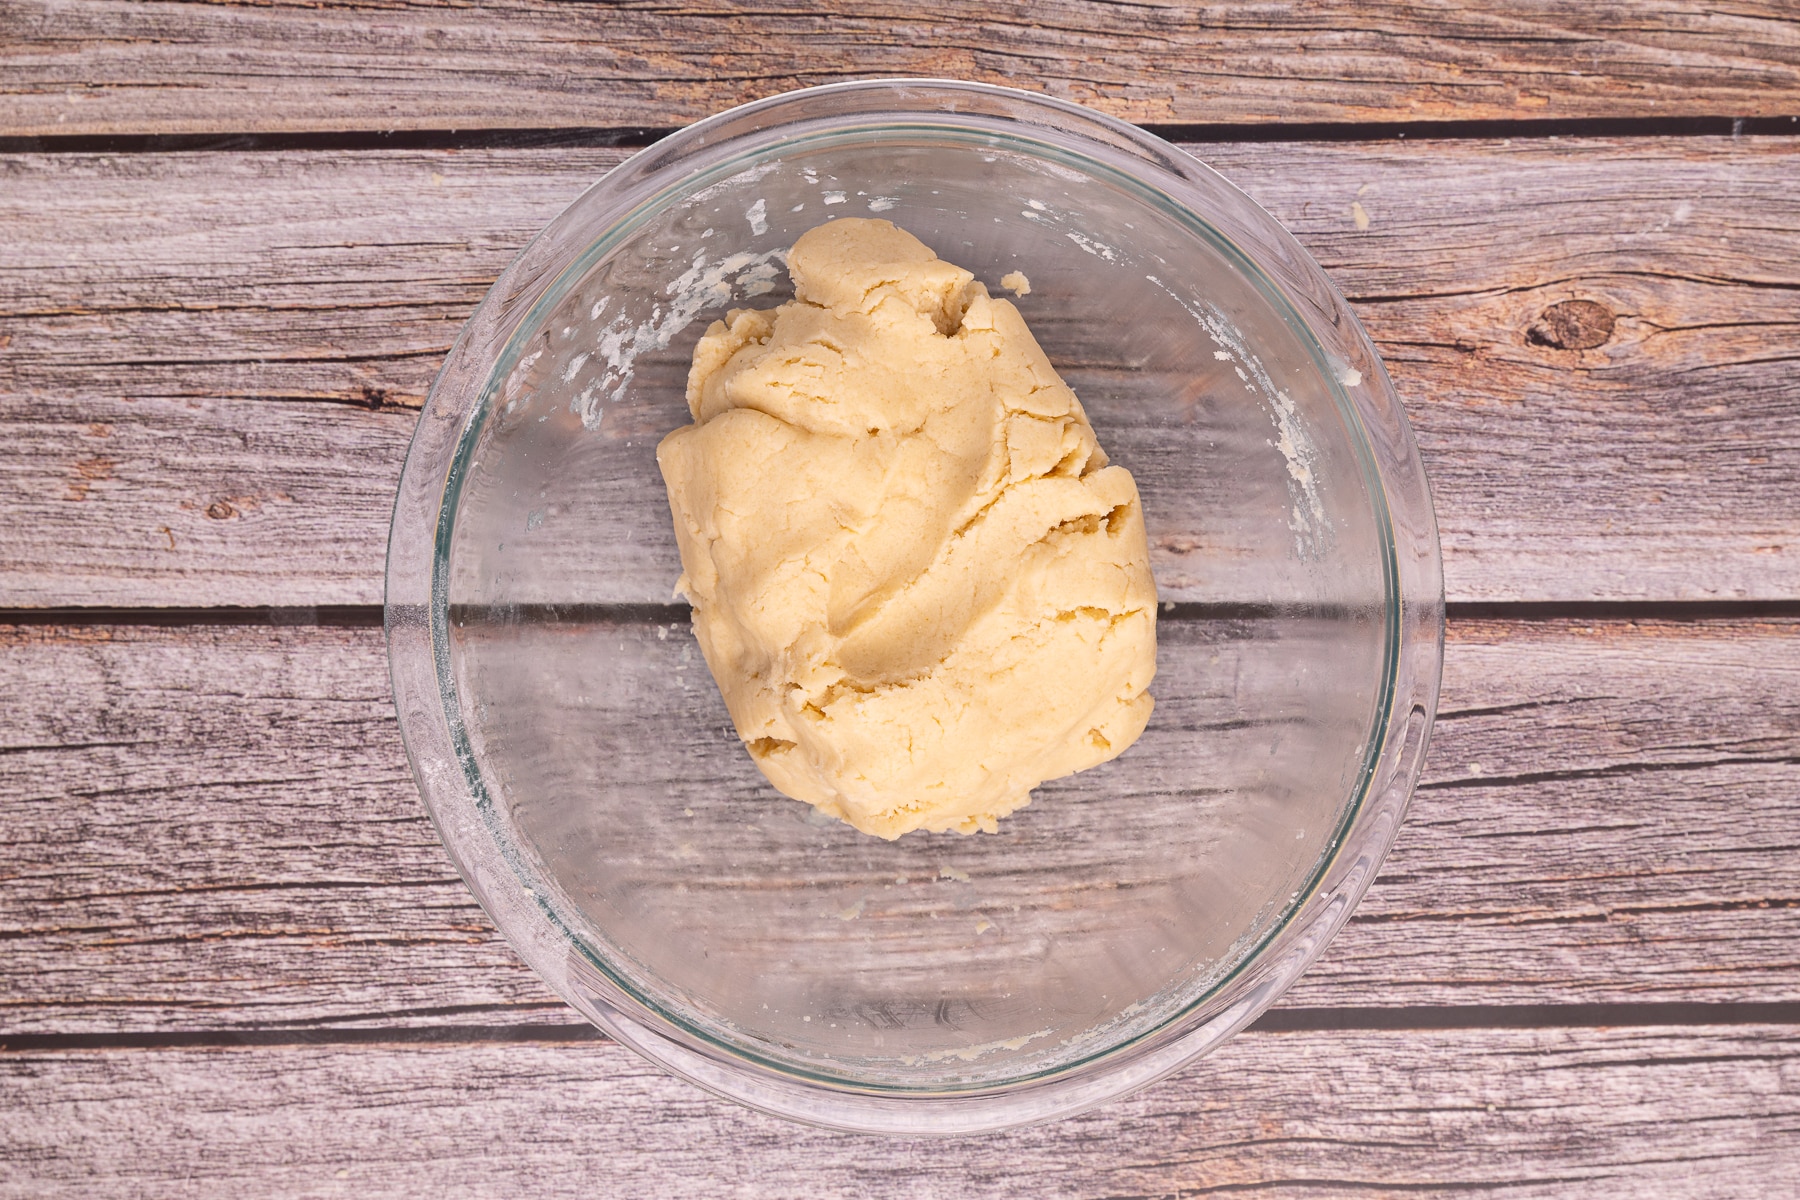
3 - Knead the crumbles together into a smooth ball. Don't be tempted to add more milk. For the best texture, it is important to limit the moisture.
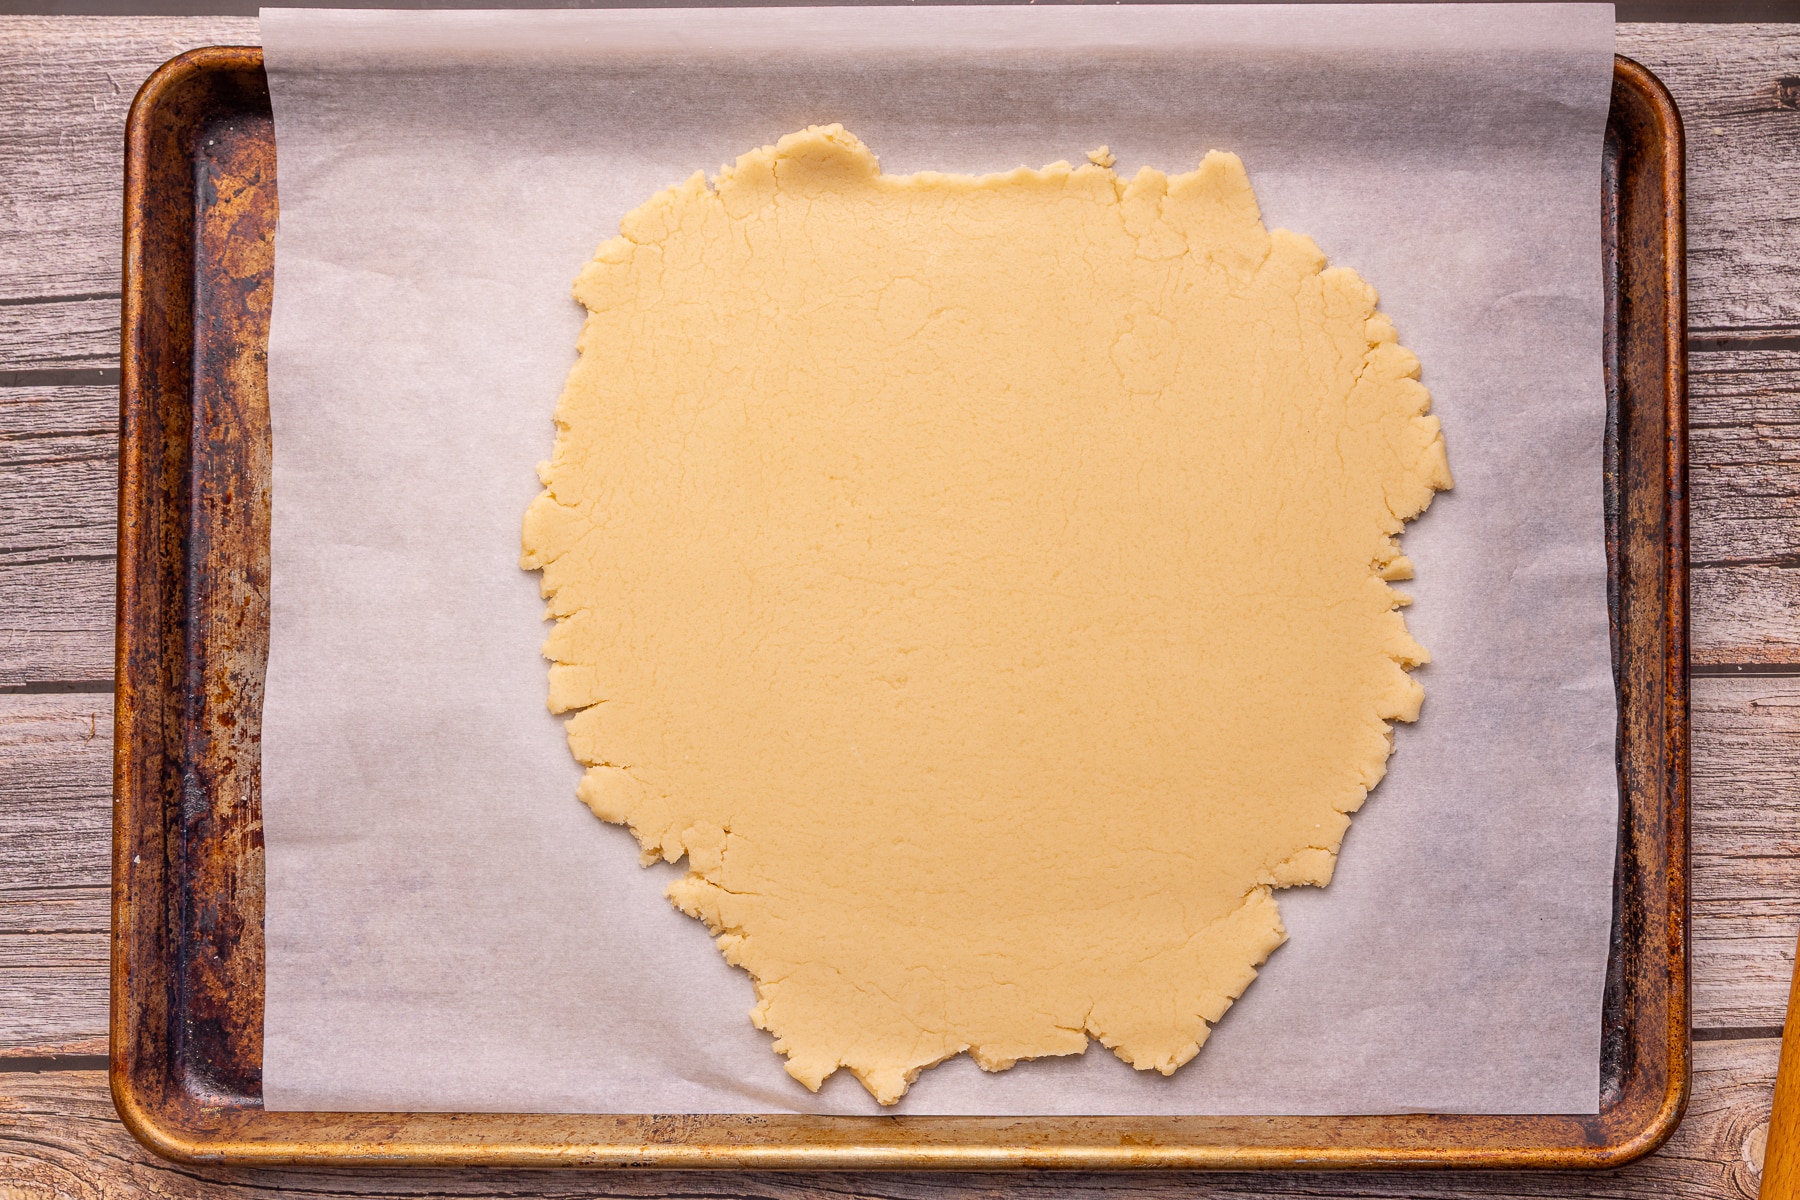
4 - Roll the dough out right after mixing. Doing this while the dough is warm means it is much easier to roll (it gets really hard when chilled). I like to place a piece of parchment paper on top and roll over it as then you don't need to worry about sticking. Once rolled slide onto a baking sheet and put in the freezer for 10 minutes, or refrigerate for half an hour (or longer but cover first). These cookies won't spread even if you don't chill the dough, but for nice clean, well-defined cuts the chilling is important.
5 - Cut out the cookies and place them on lined baking sheets. Re-roll any scraps. Bake the cookies until they are just starting to become golden on the bottom and still pale on top, then cool.

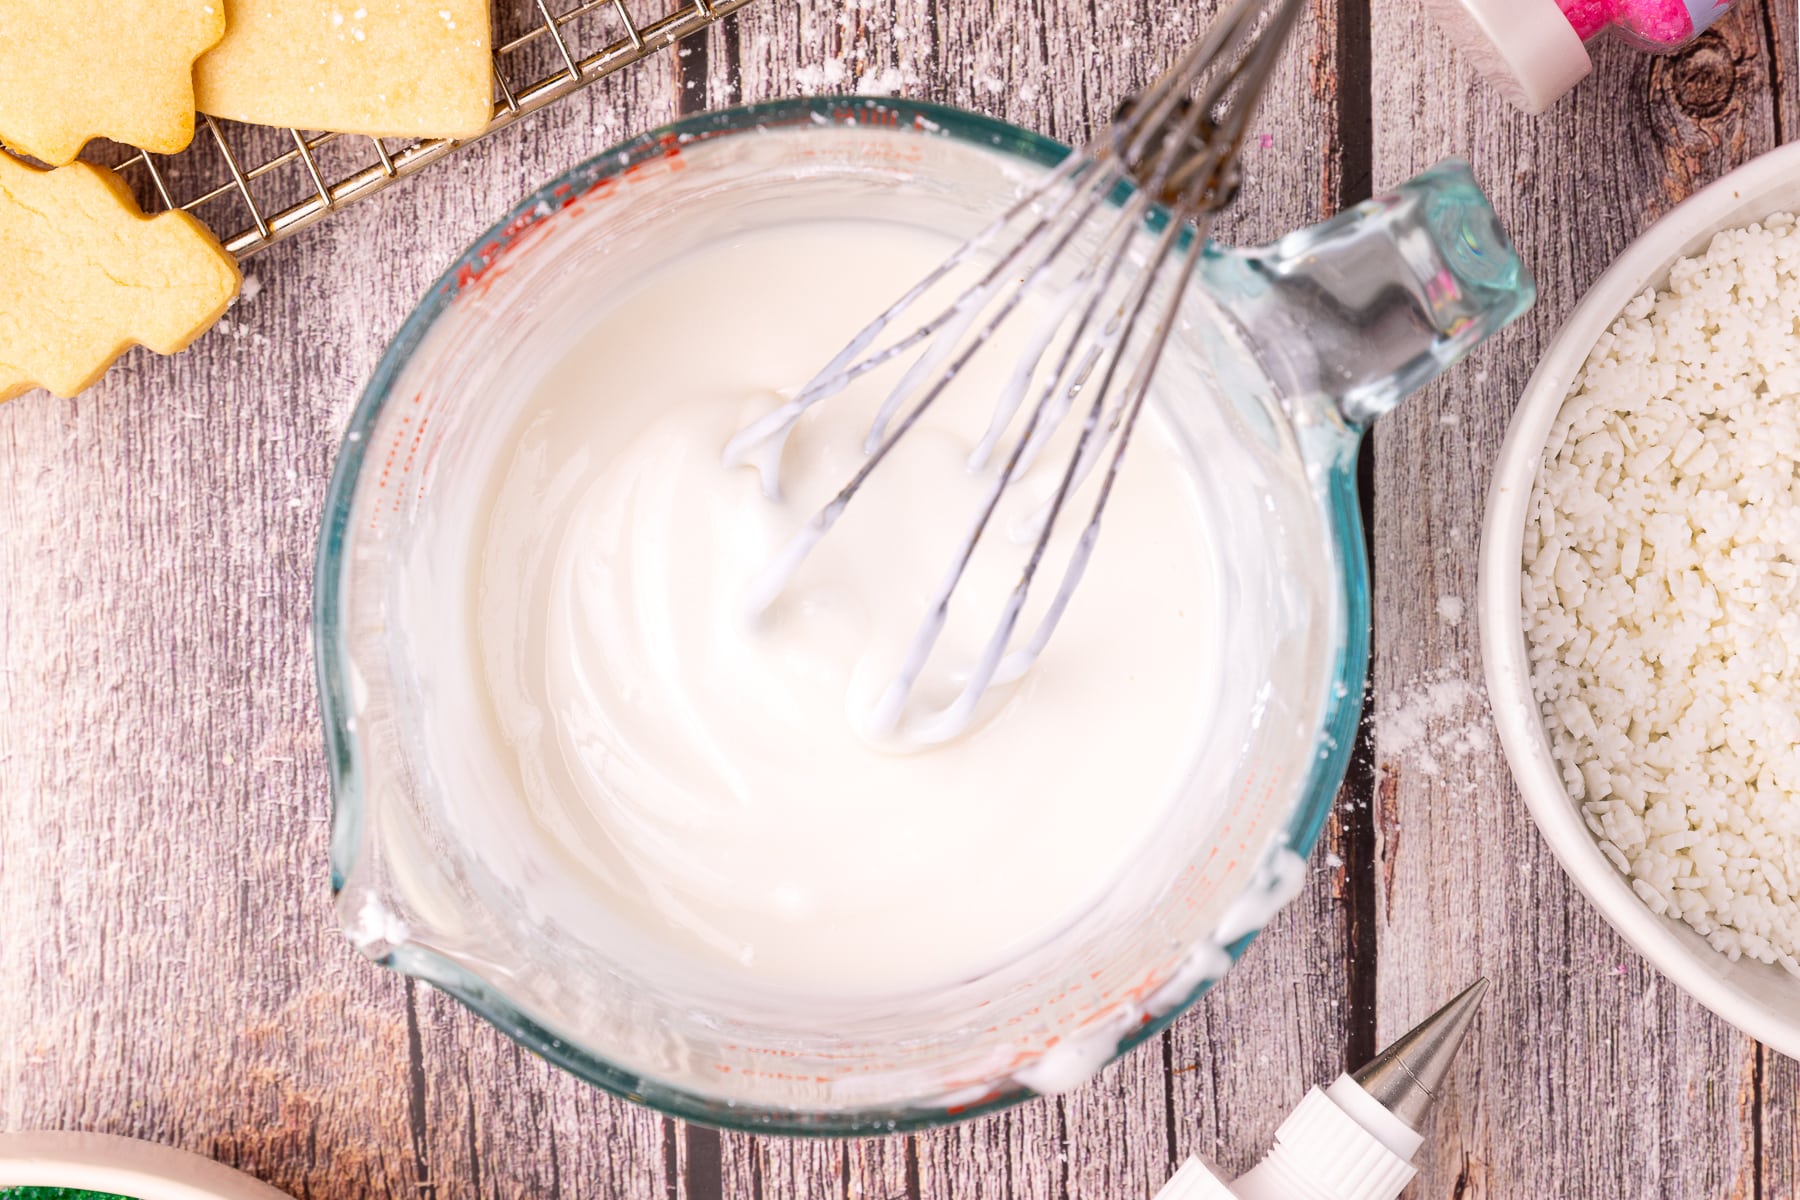
5 - Whisk together the easy sugar cookie icing. Divide it and add gel food colouring as needed.
6 - Decorate the cookies and allow them to dry completely before storing. They dry pretty quickly.

Vegan Sugar Cookie Success Tips
Getting a vegan cut-out cookie to be absolutely perfect can be difficult but I've done all of the experimenting and testing for you. If followed exactly (that means no changes to ingredients or steps) you can be confident that this recipe will produce the best vegan sugar cookies every single time! Some more tips to ensure success:
- Weigh your ingredients. If ratios are off it could cause your cookies to spread, or your dough to be too dry. Weighing is the only way to be accurate and get consistent results.
- Bake on baking sheets lined with parchment paper. Don't bake them with no liner, or even worse on a greased baking sheet because they could spread.
- Use light-coloured baking sheets so your sugar cookies stay nice and pale. Darker pans absorb more heat and will make your cookies get darker on the bottom and sides.
- Check your oven temperature is accurate. Cookies can spread if the oven temperature is too low. The reason these cut-out cookies are baked at a relatively high temperature (for cookies) is to help stop them from spreading.
Making Ahead
This recipe is a very convenient one, and the process can be broken up over days or even months. You can:
- Make the dough, roll it out between parchment paper, and leave it in the fridge for up to 3 days before cutting or baking (cover with cling wrap or foil so it doesn't dry out).
- Make the dough, cut the cookies, place them on a baking tray then keep them in the fridge for up to 3 days before baking (cover them so they don't dry out).
- Roll and cut the cookies then freeze them for up to 3 months before baking.
- Bake and store at room temperature or in the fridge for a few days before decorating.
- Or bake and decorate then store for up to 12 days in the fridge or 3 months in the freezer.
Recipe FAQs
To test the vegan butter, poke it with your finger. Your finger should make an indent without sinking, slipping, or sliding into the butter. The butter should not be melty or greasy and should feel cool to the touch, not warm.
Your sugar cookies should be set and just starting to colour on the bottom. They will feel a little soft if you poke the centre but will firm up more as they cool.
Here in Canada the 2 big sugar producers, Rogers, Lantic, and Red Path, are all vegan, and in the UK and Europe pretty much all sugar is vegan. If you are in the US you will need to be more careful and research what brands are vegan in your area. Some common brands that you should be able to find easily and that are vegan include Wholesome Sweeteners, Kirkland Organic Cane Sugar, Trader Joe's, Bob's Red Mill, Florida Crystals, Billington's, Michigan Sugar Company, Imperial, Now Foods, and In The Raw. Also, all organic sugar is vegan by default wherever you are in the world.
Yes, these cookies freeze well. My favourite way to freeze them is to make and cut them, then flash freeze on a parchment-lined baking tray. Once hard transfer to a freezer-safe container and freeze for up to 3 months. Bake from frozen for 9 to 10 minutes at 400℉ (200℃). Cooked and decorated cookies can also be frozen for up to 3 months but they are better if frozen uncooked and baked fresh as above.
Yes! Use the vanilla or almond extract as called for in the recipe or try adding some citrus zest, or 1 teaspoon of an extract like maple, coconut, lemon, orange, or peppermint. You can even add your favourite spices like cinnamon or pumpkin spice. Just don't add any liquids like orange or lemon juice or you will affect the acidity, texture, and spread of the cookies. Extracts are fine because you need such a small amount to get a great flavour.
I have not had time to test this recipe with gluten-free flour. Usually in my cookies though, Bob's Red Mill 1 to 1 Baking Flour (the blue bag) works well. If you try it let me know how it goes in the comments!
I have not tested this recipe with arrowroot and it might not work in the same way in this recipe.

Recipe

Vegan Cut-Out Sugar Cookies
Author:WATCH HOW TO MAKE IT
Ingredients
FOR THE COOKIES
- 1 cup (220 grams) vegan butter , softened to room temperature
- 1 cup (200 grams) granulated white or cane sugar
- 2 tablespoons cornstarch
- 2 tablespoons dairy-free milk
- 2 teaspoons vanilla extract
- ½ teaspoon almond extract , optional
- ¾ teaspoon fine sea salt
- 3 cups (375 grams) all-purpose flour , (plain flour in the UK)
- 2 teaspoons baking powder
FOR THE ICING
- 2 cups (250 grams) powdered sugar
- 2 teaspoons brown rice syrup, light corn syrup, or agave syrup
- ½ teaspoon vanilla extract
- ⅛ teaspoon almond extract , optional
- a small pinch sea salt
- 2 to 3 tablespoons water
TO DECORATE
- a few drops gel food coloring if desired
- sprinkles
INSTRUCTIONS
- In a stand mixer (or large mixing bowl with a hand mixer), beat the vegan butter and sugar together until light and fluffy. Add the cornstarch, milk, vanilla extract, almond extract, and sea salt and mix again to combine.
- Add about ⅓ of the flour (just eyeball it, no need to be exact) with the baking powder. Mix slowly to roughly combine then add the rest of the flour and mix again until completely combined. Scrape down the sides as necessary. Towards the end get in there with a spatula/spoon and give it a quick mix by hand to make sure all the flour in the bottom and sides is picked up. It will look crumbly but don't worry.
- Using your hands (inside the bowl or on a clean counter) gently squeeze and knead the crumbly dough into a smooth ball then lift it out onto a piece of parchment paper the size of a large baking sheet. Top with a second piece of parchment paper, and roll to a thickness of ¼ inch (6mm). If you only have smaller baking sheets cut the dough in half and roll out in 2 batches.
- At this point, you can cut and bake the cookies and they won't spread, but for ease of cutting and the best sharp, clearly defined edges I recommend chilling as per the next step.
- Slide the dough, (still between the two pieces of parchment paper) onto a baking sheet. If you rolled it out in 2 smaller batches you can lay them gently on top of each other on one baking sheet. Pop in the freezer for 10 minutes, or chill in the fridge for 30 minutes (or up to 3 days). If keeping the dough in the fridge for over 24 hours cover the tray with plastic wrap or foil to prevent it from drying out.
- When ready to bake preheat your oven to 400℉ (200℃) and place a shelf ready in the middle of the oven.
- Remove the cookie dough from the fridge. Peel off the top sheet of parchment paper, cut out shapes with cookie cutters and arrange them on parchment paper-lined baking sheets. If using different-sized cutters group small cookies together and larger ones together as the cooking time will vary slightly.
- Re-roll scraps of dough by pressing them together and then rolling them out between the parchment paper. If at any point the dough starts to get too soft, chill or freeze it for 5 to 10 minutes before continuing.
- I recommend baking the cookies one baking sheet at a time on the middle shelf for even cooking. Put extra baking sheets of cookies in the fridge or freezer while they are waiting their turn.
- Bake for 7 to 8 minutes (based on 2½ to 3-inch cookies at ¼ inch thick on a light-colored baking sheet). Time will vary slightly depending on size so use your judgment. They should be pale with a hint of golden on the bottom. If your oven has hot spots, rotate the baking sheet halfway through bake time and add an extra minute to make up for the heat lost when opening the door.
- Allow them to cool slightly on the baking sheet for 5 minutes then transfer to a wire rack. Make sure they have cooled completely before decorating.
FOR THE ICING
- To a medium bowl add the powdered sugar, syrup, vanilla, and salt. Gradually add the water a little at a time. Be careful as you hardly need any water. Add it in very small amounts and mix really well between additions. It will go from looking like it's way too dry, to perfect in the blink of an eye. You are looking for a thick consistency suitable for piping. If you lift the whisk and drizzle the icing into the bowl, the ribbon of icing it makes should hold its shape for a few seconds before melting back into the icing. I usually end up using 2 tablespoons and 1 teaspoon of water.
- If using gel food coloring add it now. Use only 1 to 2 drops at first, stir it in then add a little more as needed. Bear in mind that the color will darken as it dries.
- Decorate the cookies as desired and place them on a wire rack or baking tray to dry. It doesn't take too long to dry but I like to decorate them directly on a baking tray so that I can pop the entire thing in the fridge to speed up the setting.
NOTES
💌 SAVE THIS RECIPE!
Watch out for more tasty treats coming your way too! Unsubscribe at any time.



Pam says
Can I use almond butter (just ground almonds) instead of vegan butter? I don't want all the extra oil. Or are there any other things I can substitute for the vegan butter that don't include extra oil? Thanks!
Melanie McDonald says
I recommend following the recipe as written for best results. These won’t turn out well without the butter. For an oil-free recipe you could try this one. I recommend following the recipe as written for best results. These won’t turn out well without the butter. For an oil-free recipe you could try this one. https://avirtualvegan.com/almond-flour-chocolate-chip-cookies/ They are delish. You don’t need to add the chocolate chips if you don’t want to and you could still frost them. Hope that helps.
Elle says
Wow! I’m so impressed. This is the best sugar cookie cut out recipe we’ve tried. I didn’t chill the dough and they didn’t spread at all. The taste and texture is perfect. I had to add a tbsp more of milk because my dough was dry. The aquafaba and powdered sugar was perfection. I had to use 3tbsp of aquafaba for the consistency I needed.
Really great recipe. It’s going to be my only recipe I use from now on.
Thank you!
Melanie McDonald says
That makes me really happy. Thanks, Elle!
Jordan says
Gluten free worked really well! I made enough to share at thanksgiving AND for 3 classes of 1st graders to join in the fun!
Melanie McDonald says
Love to hear that! Happy Thanksgiving!
Humphrey says
Taste great. Didn’t spread. The cookie shape was perfect. Icing worked well for decorating. Will be my new go to cut out cookie recipe
Teresa says
these are the easiest and best cookies I've made in ages, I've just made them in a tiny camping oven outside my campervan, with no scales or even a rolling pin! they still turned out perfect and they really don't spread!!! thanks Mel
Melanie McDonald says
That's so good to hear, Teresa! I'm really pleased they worked out well for you with limited supplies. Thanks for giving them a try and leaving a review. It's much appreciated!
Glenda Fagan says
Thank you so much Mel! I miss my mother's sugar cookies at this time of year. We called them refrigerator sugar cookies too, because the dough was refrigerated before being rolled out and cut with the shapes. We had 2 different recipes passed down from the grandmother generation. One was soft and pillowy, the other firmer and crisper. I'm excited to try your recipe and bring back those Christmas memories!
Melanie McDonald says
I hope you enjoy them, Glenda!
Vanessa says
Where do you buy your vegan sprinkles from?
I have always been scared to bake sugar cookies. Now that I have grandchildren, I need to create memories and traditions.
Thank you for the recipe 💕
Melanie McDonald says
Amazon, or Sweetapolita for Christmasy ones. They both have absolutely loads of vegan ones. I link to the brand of Amazon ones I used in the post. Whole Foods and Vegan Supply both sell regular vegan sprinkles (not sparkly) though.
Vanessa says
Great, thank you. The Amazon link took me to the Amazon.com. Will try the other options that you posted. I must stop jumping right to the recipe. I miss good information. Thank you.